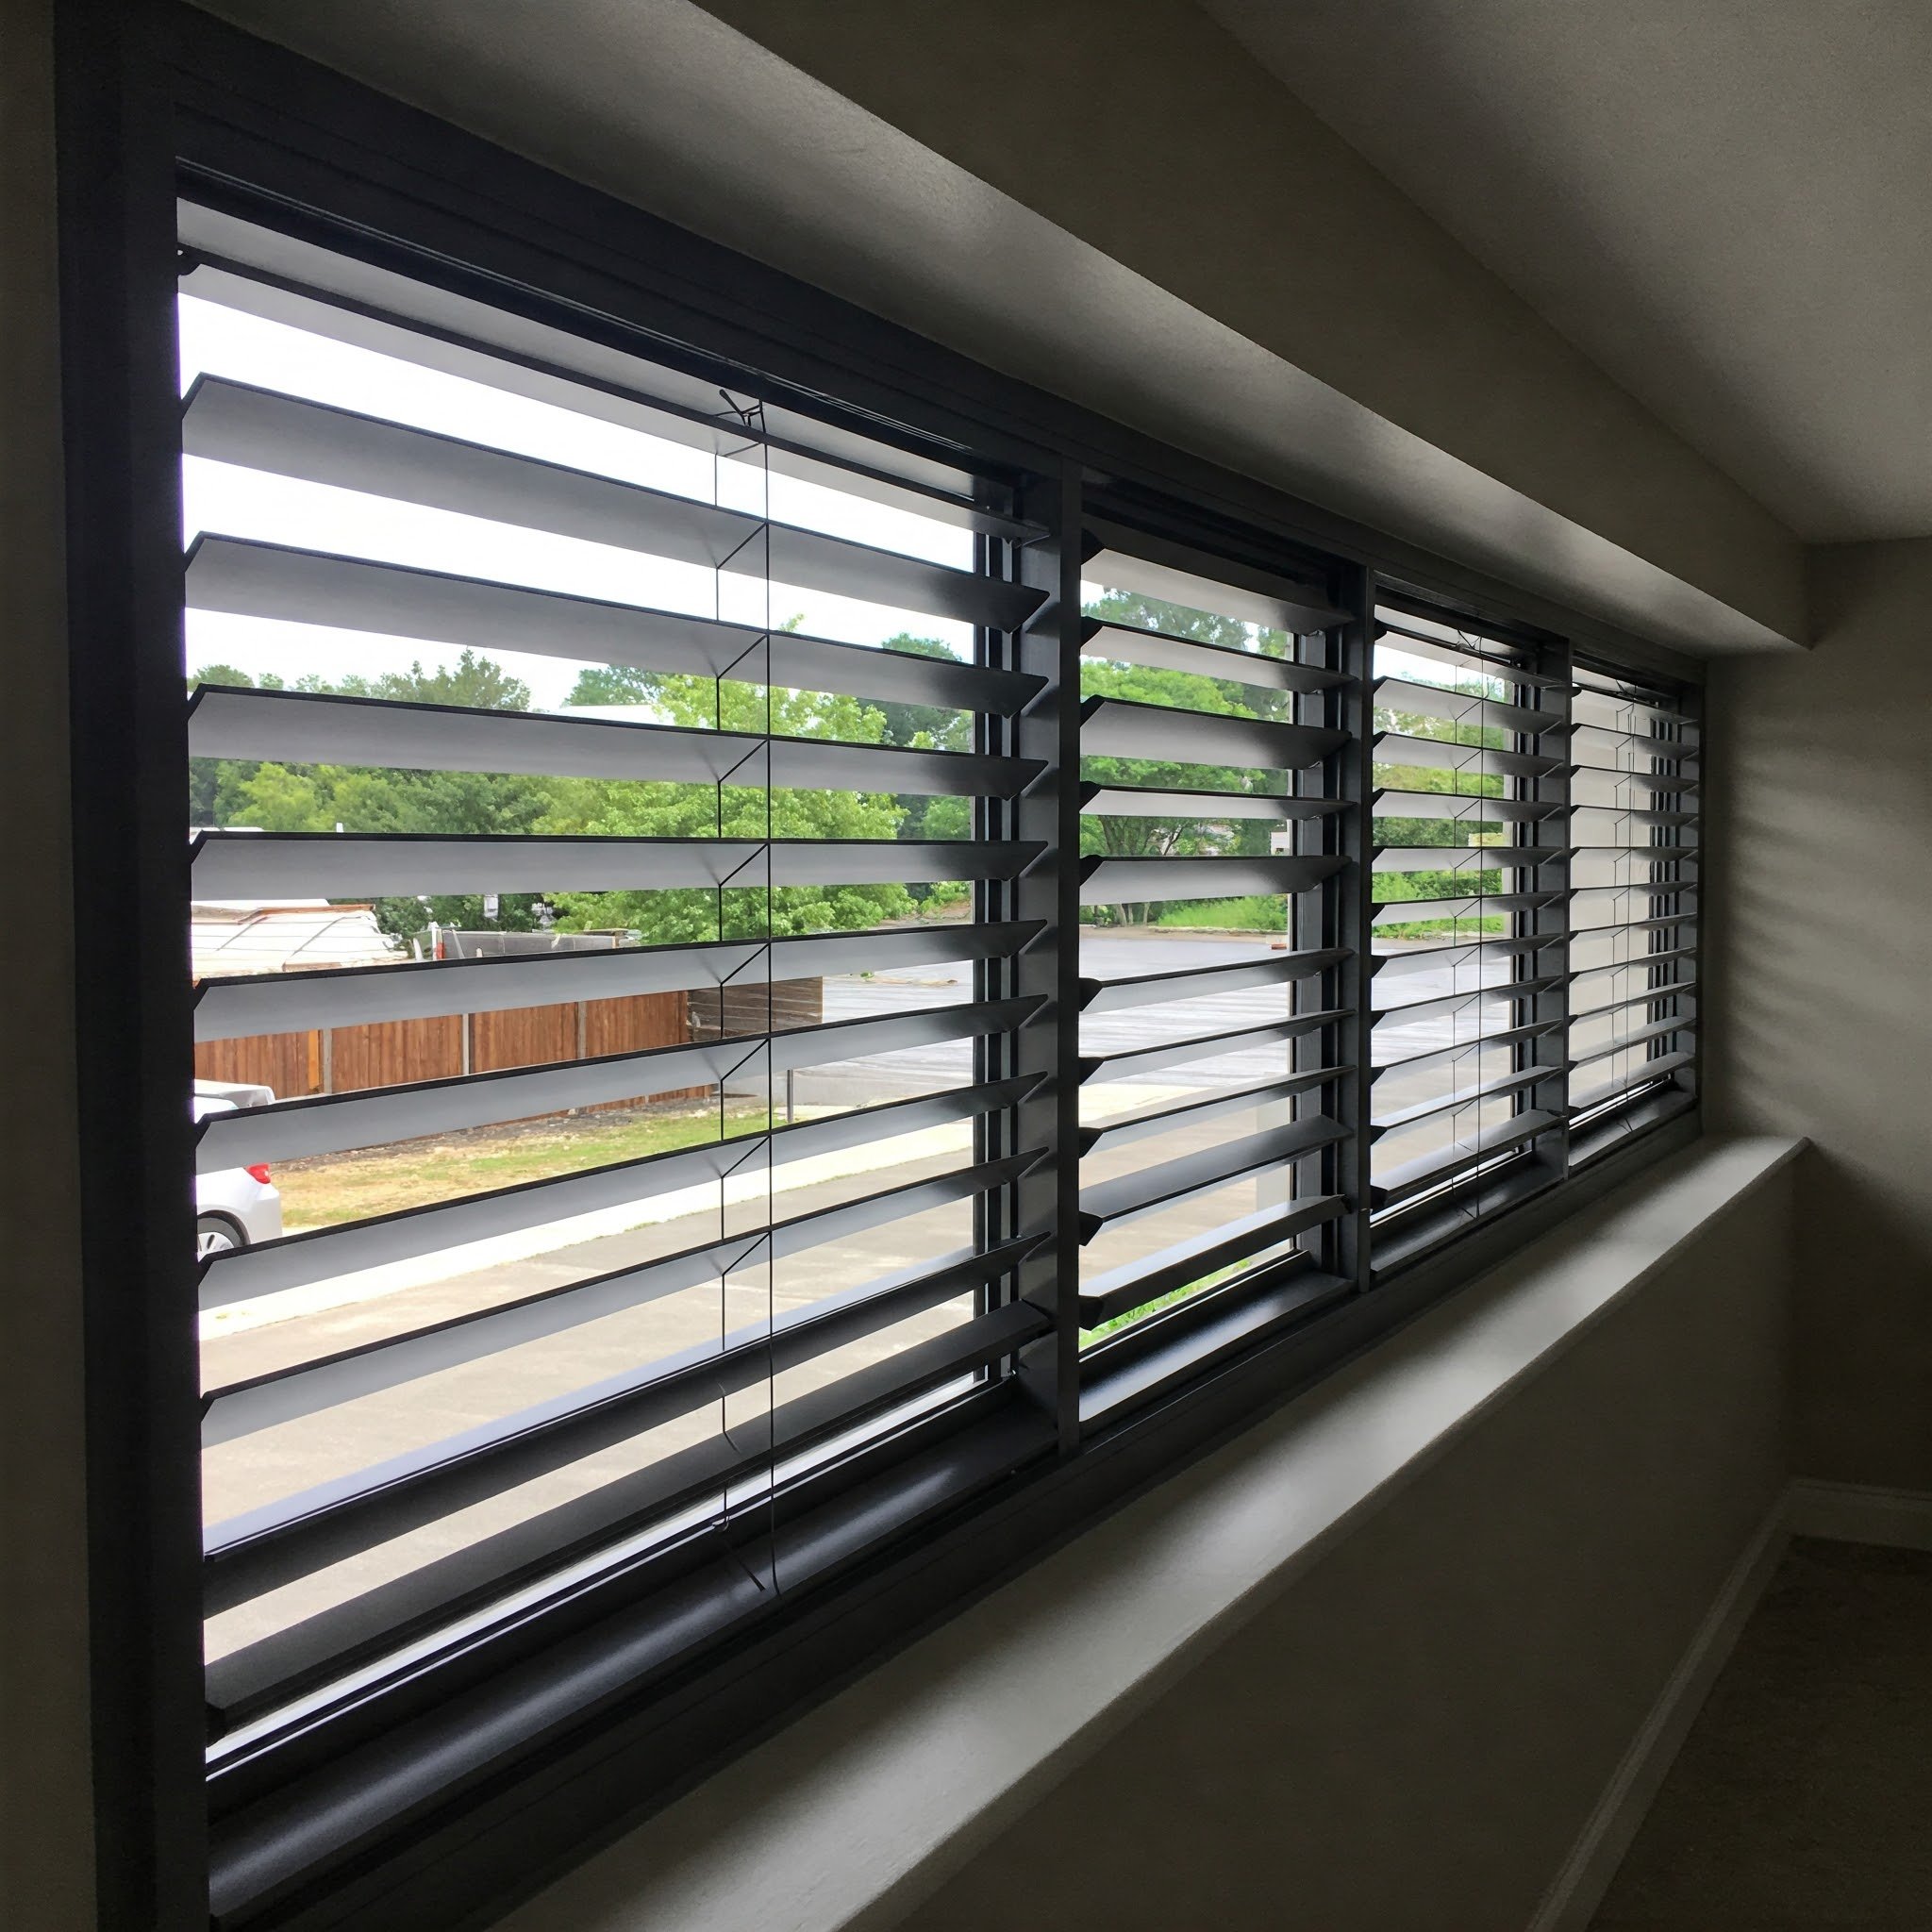
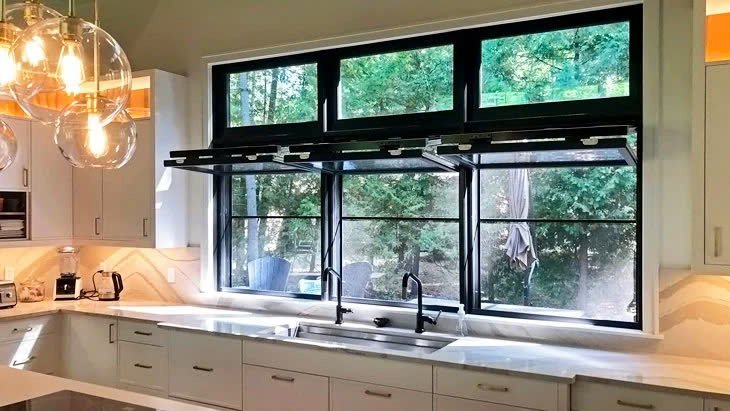
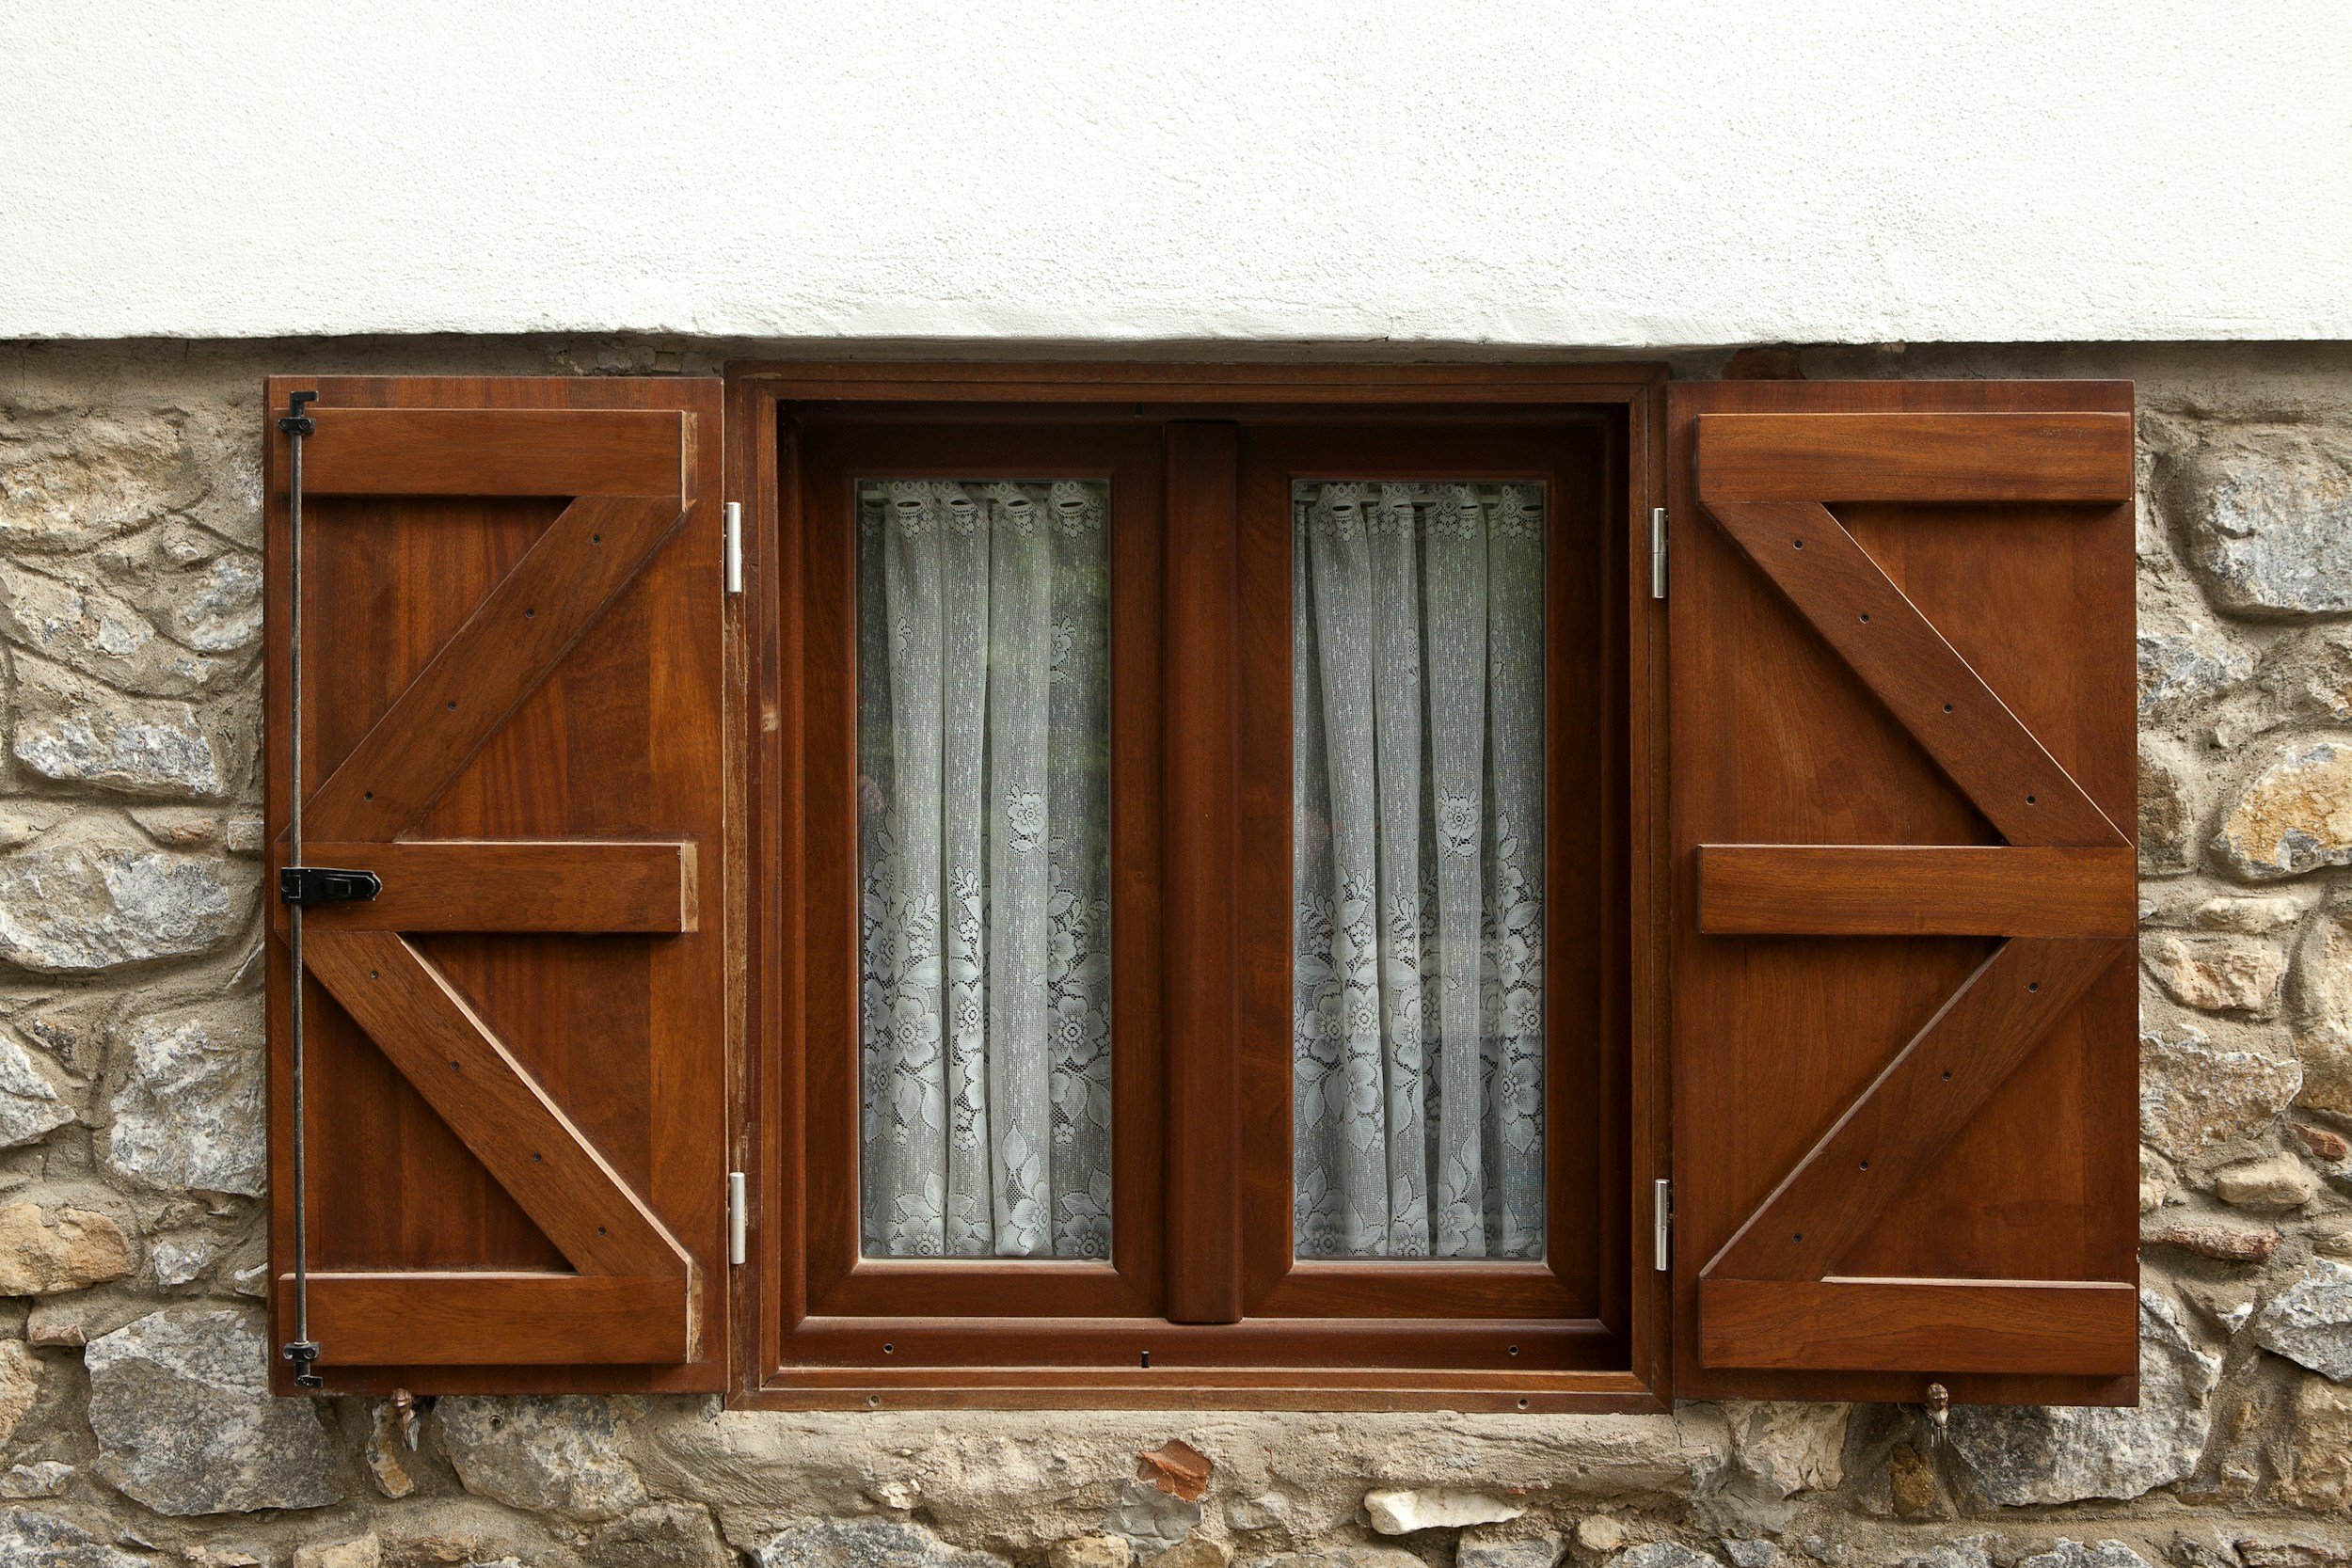
A Step-By-Step Window Replacement Guide
Follow this step-by-step window replacement guide for a seamless upgrade, covering everything from selecting new windows to installation and finishing touches.
Doing a window replacement in your house is not an ordinary home improvement project; in most cases, professionals are recommended to do it. However, if you are rather experienced in in-home improvement and do not mind getting into a massive procedure, it is possible.
Remember, when it comes to installing new replacement windows, there is no margin for mistakes, and this could prove very expensive. Still onboard? Let’s begin.
What You’ll Need
· Safety glasses
· Tape measure
· Cut-resistant gloves
· Cut-resistant sleeves
· Impact driver
· Saw: a piece of 1 by 4
· Hammer
· Level
· Masking tape
· Heat gun
· Utility knife
· Reciprocating saw
· Putty knife
· Screws
· Pry bar
· Flashing tape
· Chisel
· Shims
· Caulking
· Drop cloth
· Low-expansion foam
1. Get the Rif of The Old Window
Before starting window replacement, you’d better protect yourself, and that means protecting your home.
When you are beginning to do windows replacement it will be beneficial to cover the floor and the window area both outside and inside with drop cloths and put on eye protection, protective gloves, and sleeves. Check the sizes of the new replacement window so that it fits the opening before the old one is replaced.
2. Get Rid of The Glass
If you have an operable window, then the first thing that has to be done is to take out the sash which is the element that opens and comes with the window’s glass and the frame. As for the fixed part, the glass must be removed to be able to tear out this part.
On one side it is sealed with an adhesive and on the other side there is a strip know as glass stop. Once it’s relaxed enough, take a putty knife and place it in between the frame and glass so that it can break the hard bond. Now, do so slowly and gently to avoid breaking the glass.
3. Remove Structural Components
Once you have all the glass out, you will then be required to take out any additional support structures within the window frame so that you are just left with an outline of the window.
4. Clear The Opening
Carry out any form of clearance of the opening to get rid of any materials, such as debris, excess mortar, nails, and dust, among other things, that may cause a problem when installing the new window. In many cases, the new window’s frame is much deeper compared to the old window. As such, you may want to create a ‘cut-back’ by cutting away a strip of the window stool and the sheetrock to accommodate the new window.
5. Flashing The Opening
Flashing tape sheds any moisture that may get between the sheathing and the exterior of your home; for this to work effectively, it will require to be lapped from the top down so that the moisture has no other direction to travel but downwards and out of your house. From the sill of the opening, flashing tape should be applied.
6. Set The Window
Newly installed window replacement units should be well positioned so that they can function and operate as they are intended to be plumb, square, and level. Level to plumb and square, although some of them are hung windows and casements, windows must be leveled to allow the weeping system of the windows to drain effectively. Put the window in place with the help of shims under it and use a level to ensure the window sill is horizontal adjusting the shims if they are required.
7. Secure The Window
Ensure the window gets installed perfectly; the window frame lies halfway in the gap, and use shims to keep a level reveal and install about two screws on a single end of the window and into the house frame. The studs need to be doubled, and this will give you three inches of material, and you will need a screw that is long enough to pass through the surface at least 2- 2 ½ inches deep into the framing.
8. Foam The Window
It is wise to utilize a low-expansion foam used in windows’ sealing to completely seal the space between the opening and window because the expansive foam can exert a lot of pressure on the new window and can make it malfunction and, in extreme cases, cause the glass to crack.
9. Caulking The Window
After your foam is dried up, you can apply caulk to the joint where the window and its opening meet. Basically, this window replacement idea is to paint the edge, and it would be best to use painter’s tape to ensure you get clean edges.
Stay up to date with our latest ideas!