15 Creative Craft Room Ideas for Every Space
Transform even the tiniest corner into a crafting paradise with these 15 innovative craft room ideas. Get organized, stay inspired, and let your creativity flourish!
Have you ever felt your creativity stifled by a cluttered workspace or a lack of proper storage? If so, you’re not alone. Having a dedicated and well-organized craft room can make the difference between merely dabbling in your artistic pursuits and genuinely thriving in them. Think of it as your personal workshop—where yarn, paint, or beads are never more than an arm’s reach away, and every item has its perfect little niche. It doesn’t matter whether you’re short on square footage or working with an entire spare room; the key is to harness every inch of available space with intentional design and clever organization. Ready to let your imagination take center stage? Below, you’ll discover 15 creative ideas to set up a craft room that not only fits your space but also energizes your passion for making beautiful things.
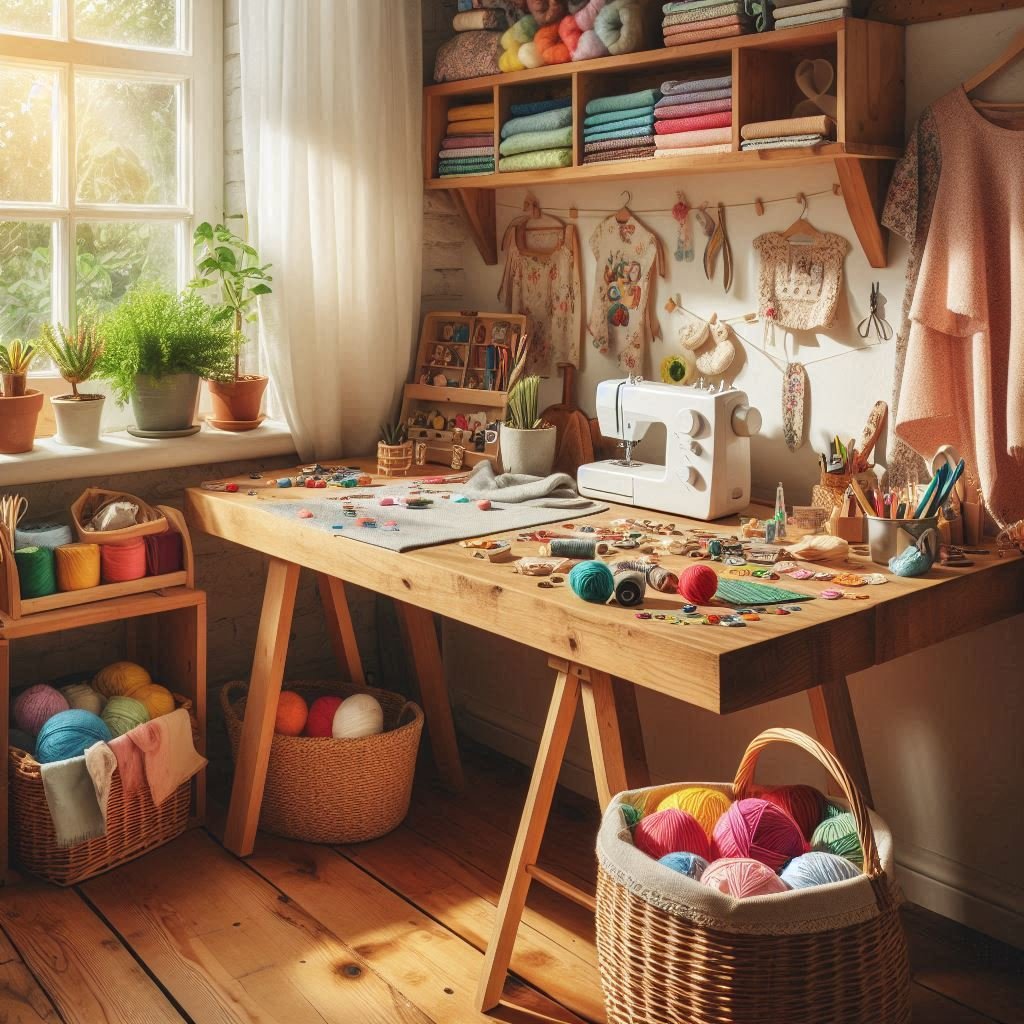
1. Establish a Dedicated Crafting Zone
No matter how large or small your living space may be, having a designated area for crafting can drastically improve your productivity. Consider cordoning off a nook in your living room, converting a corner of your garage, or reclaiming that abandoned closet space. By declaring it “the craft zone,” you’re making an intentional decision that this place is for one purpose only—pure, unadulterated creativity. Even a fold-down desk or a simple table against a wall can provide the firm foundation you need. The idea is to carve out an enclave that keeps your supplies in sight, your mind focused, and your hands free to create. Once you define that boundary, you’ll find it easier to slip into your imaginative headspace whenever inspiration strikes.
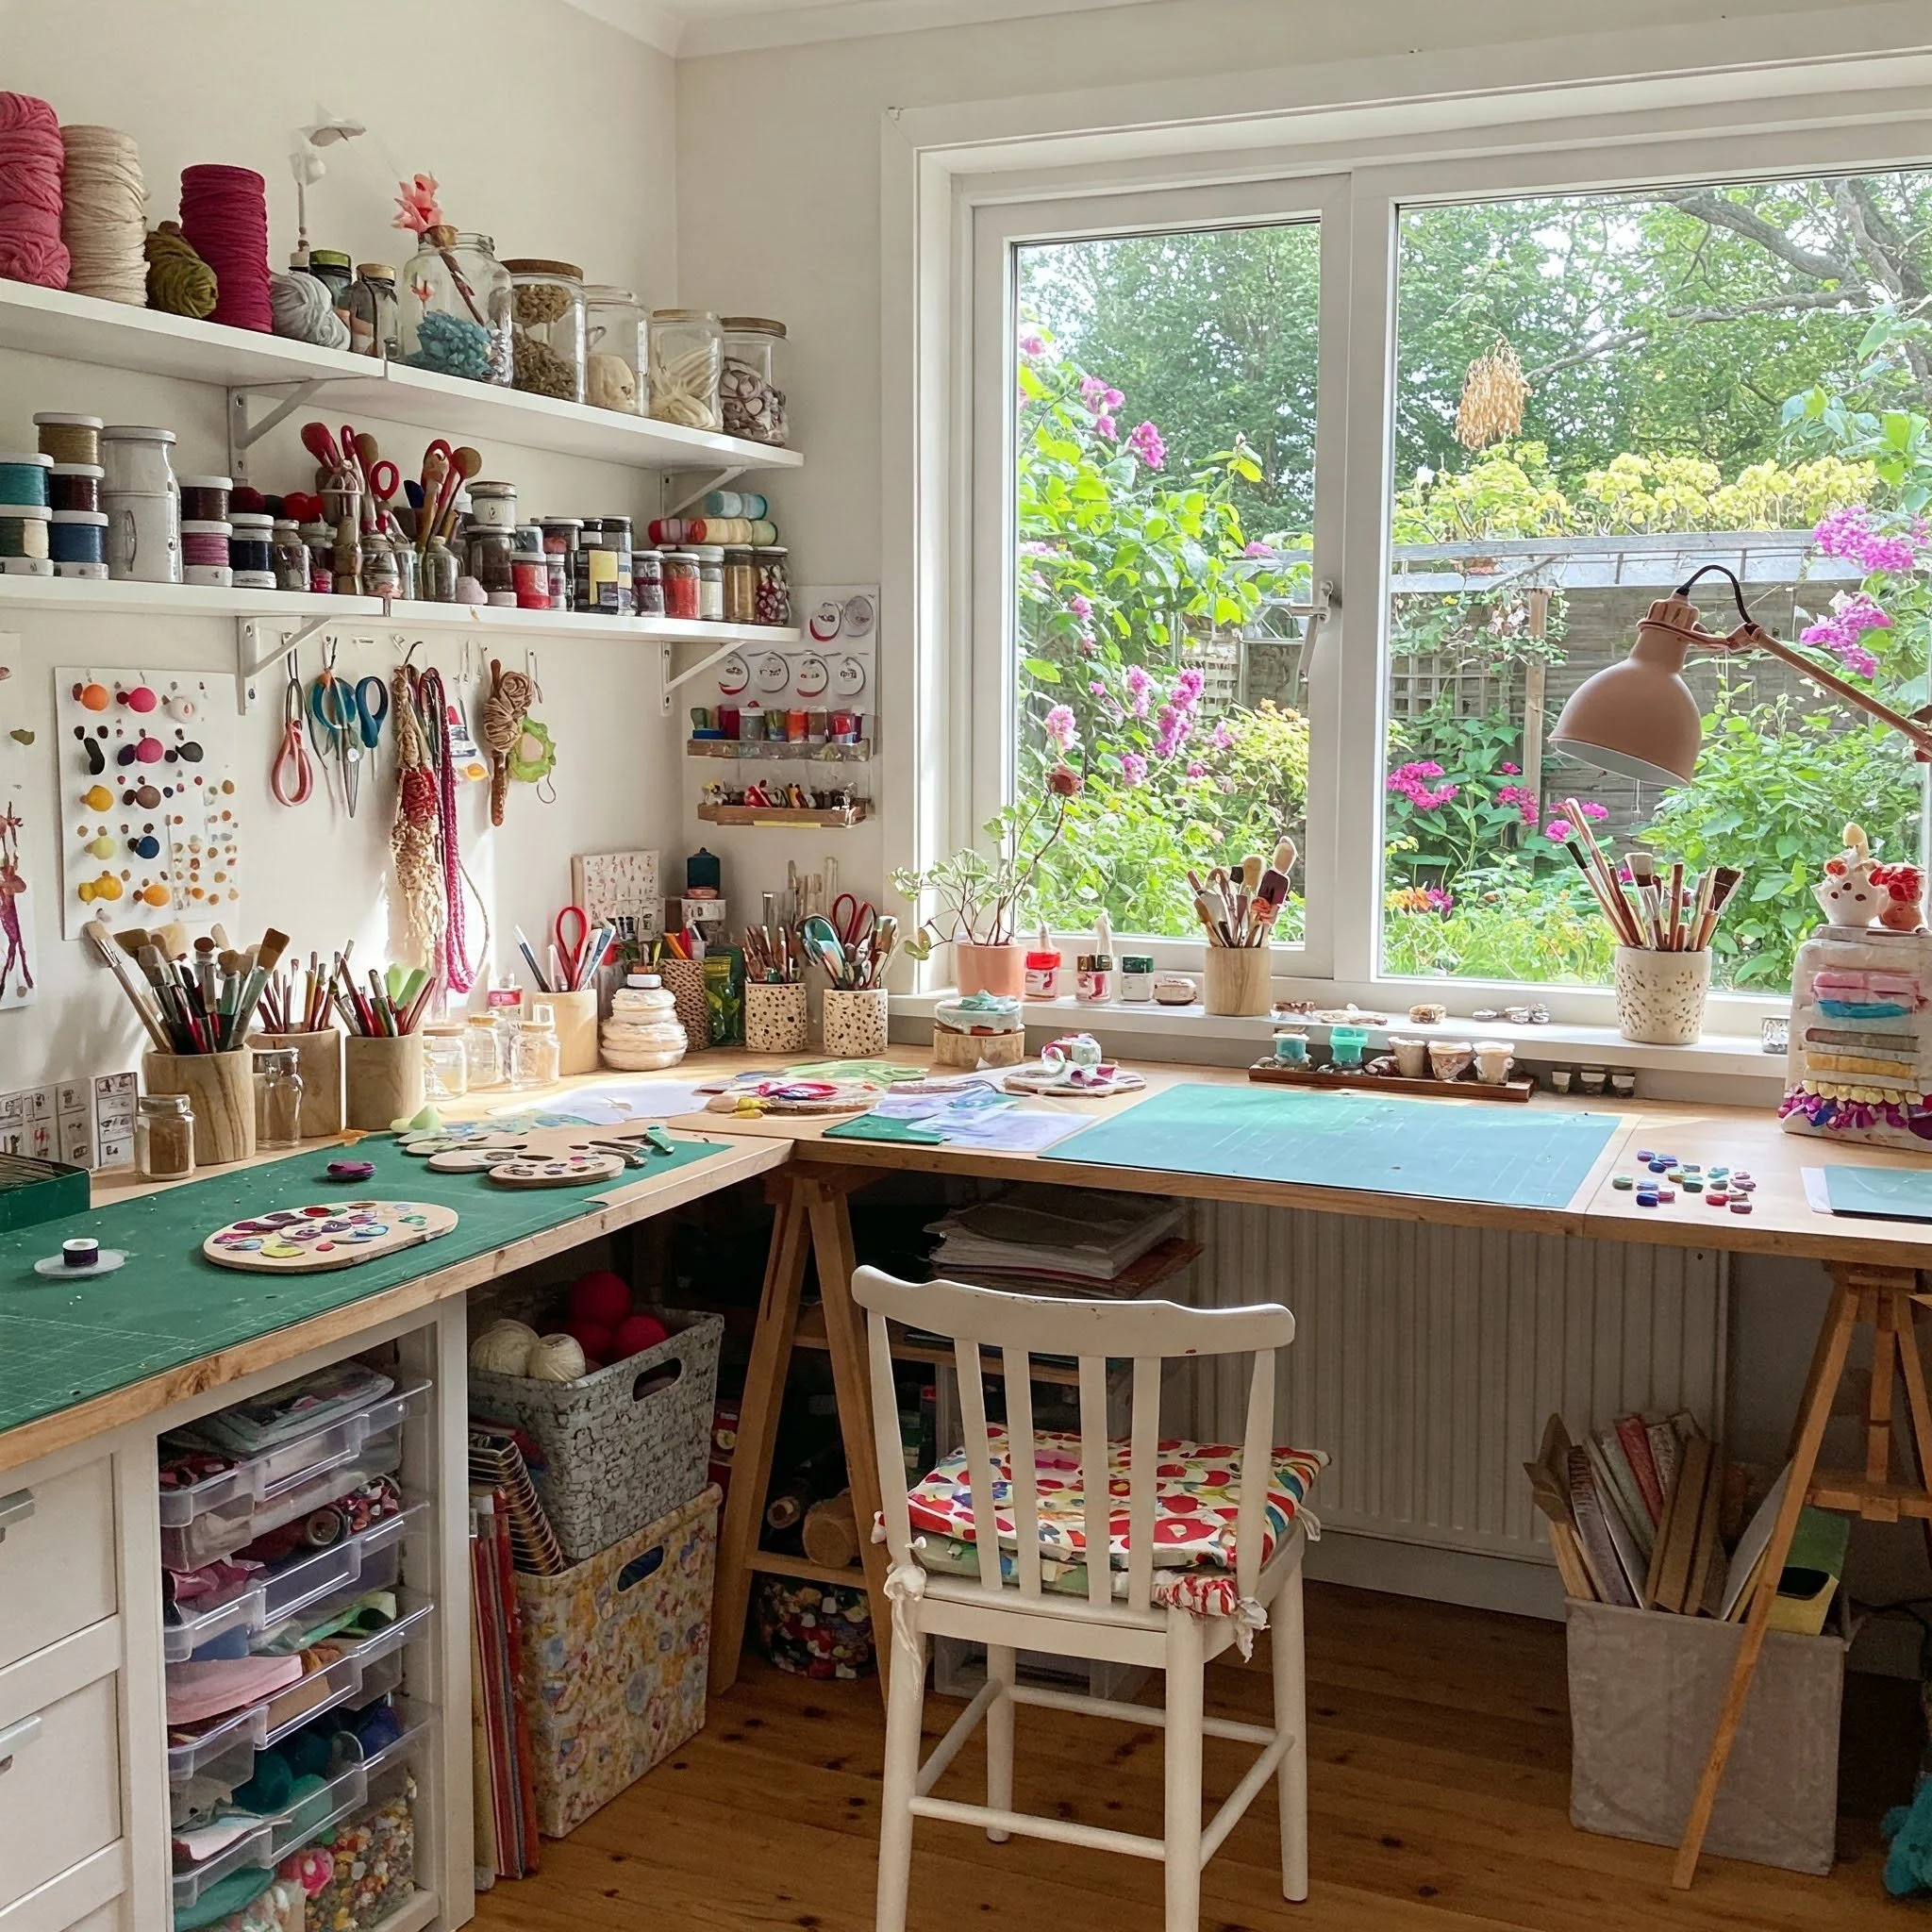
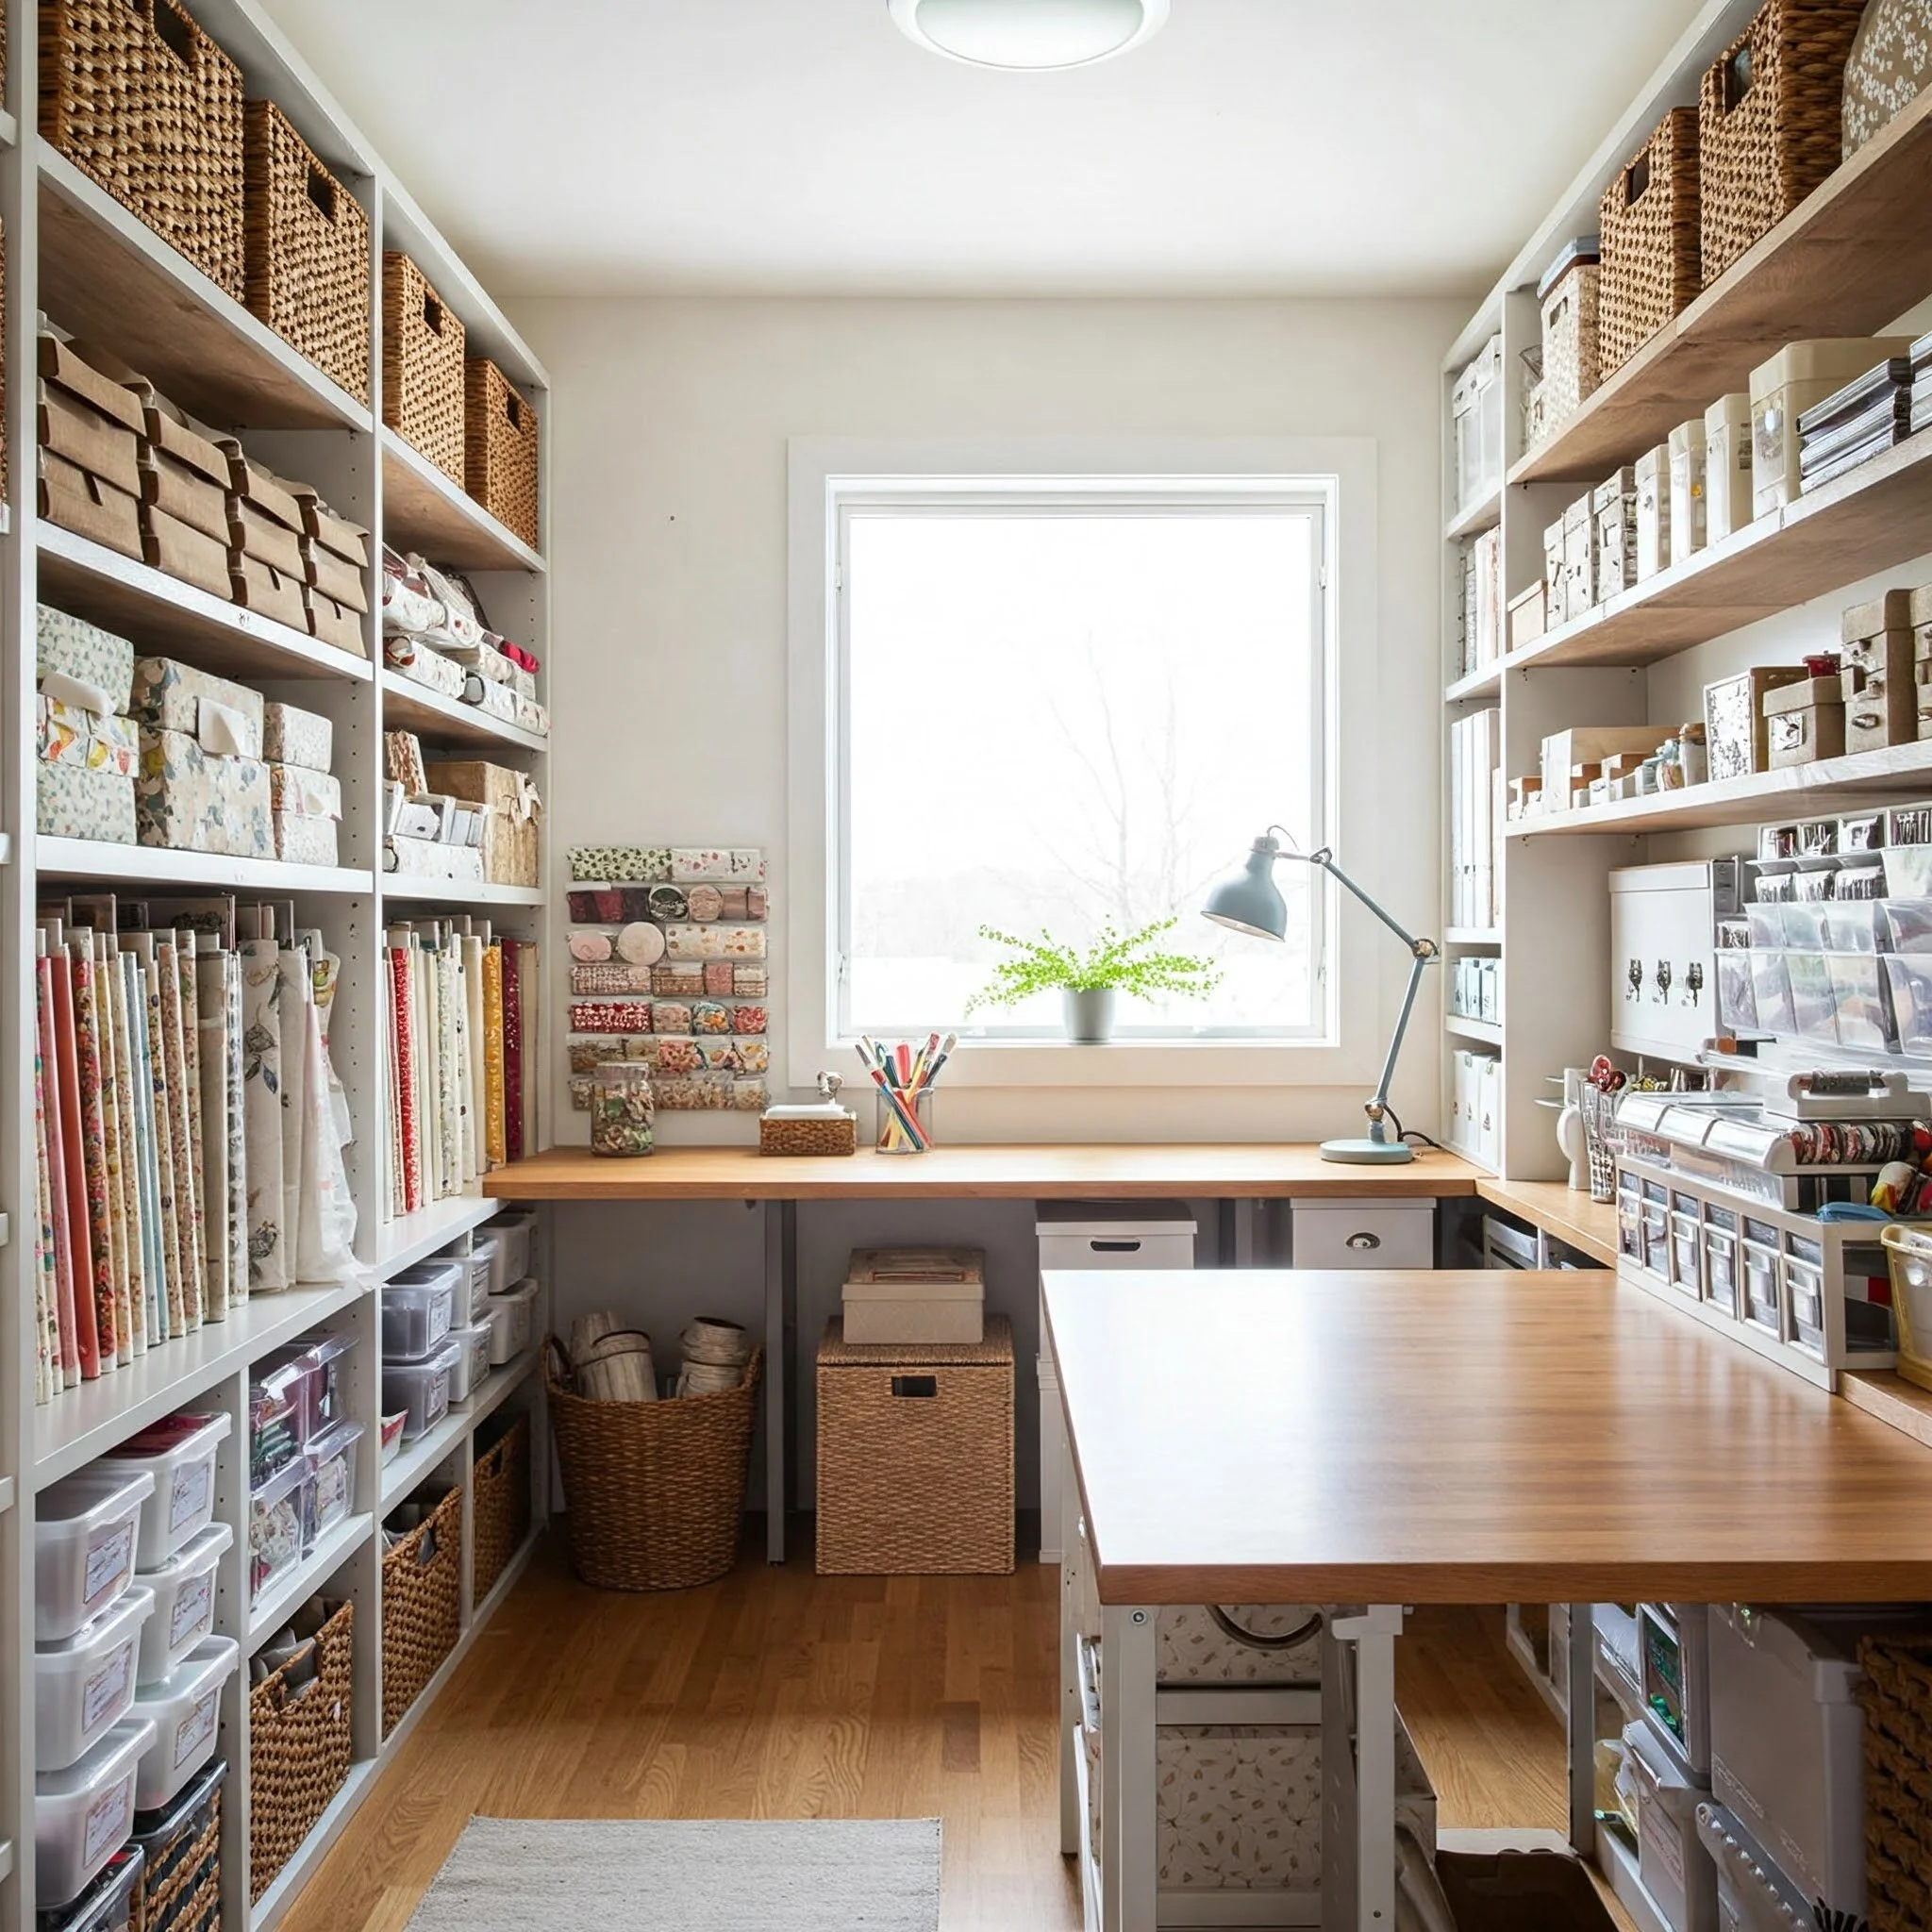
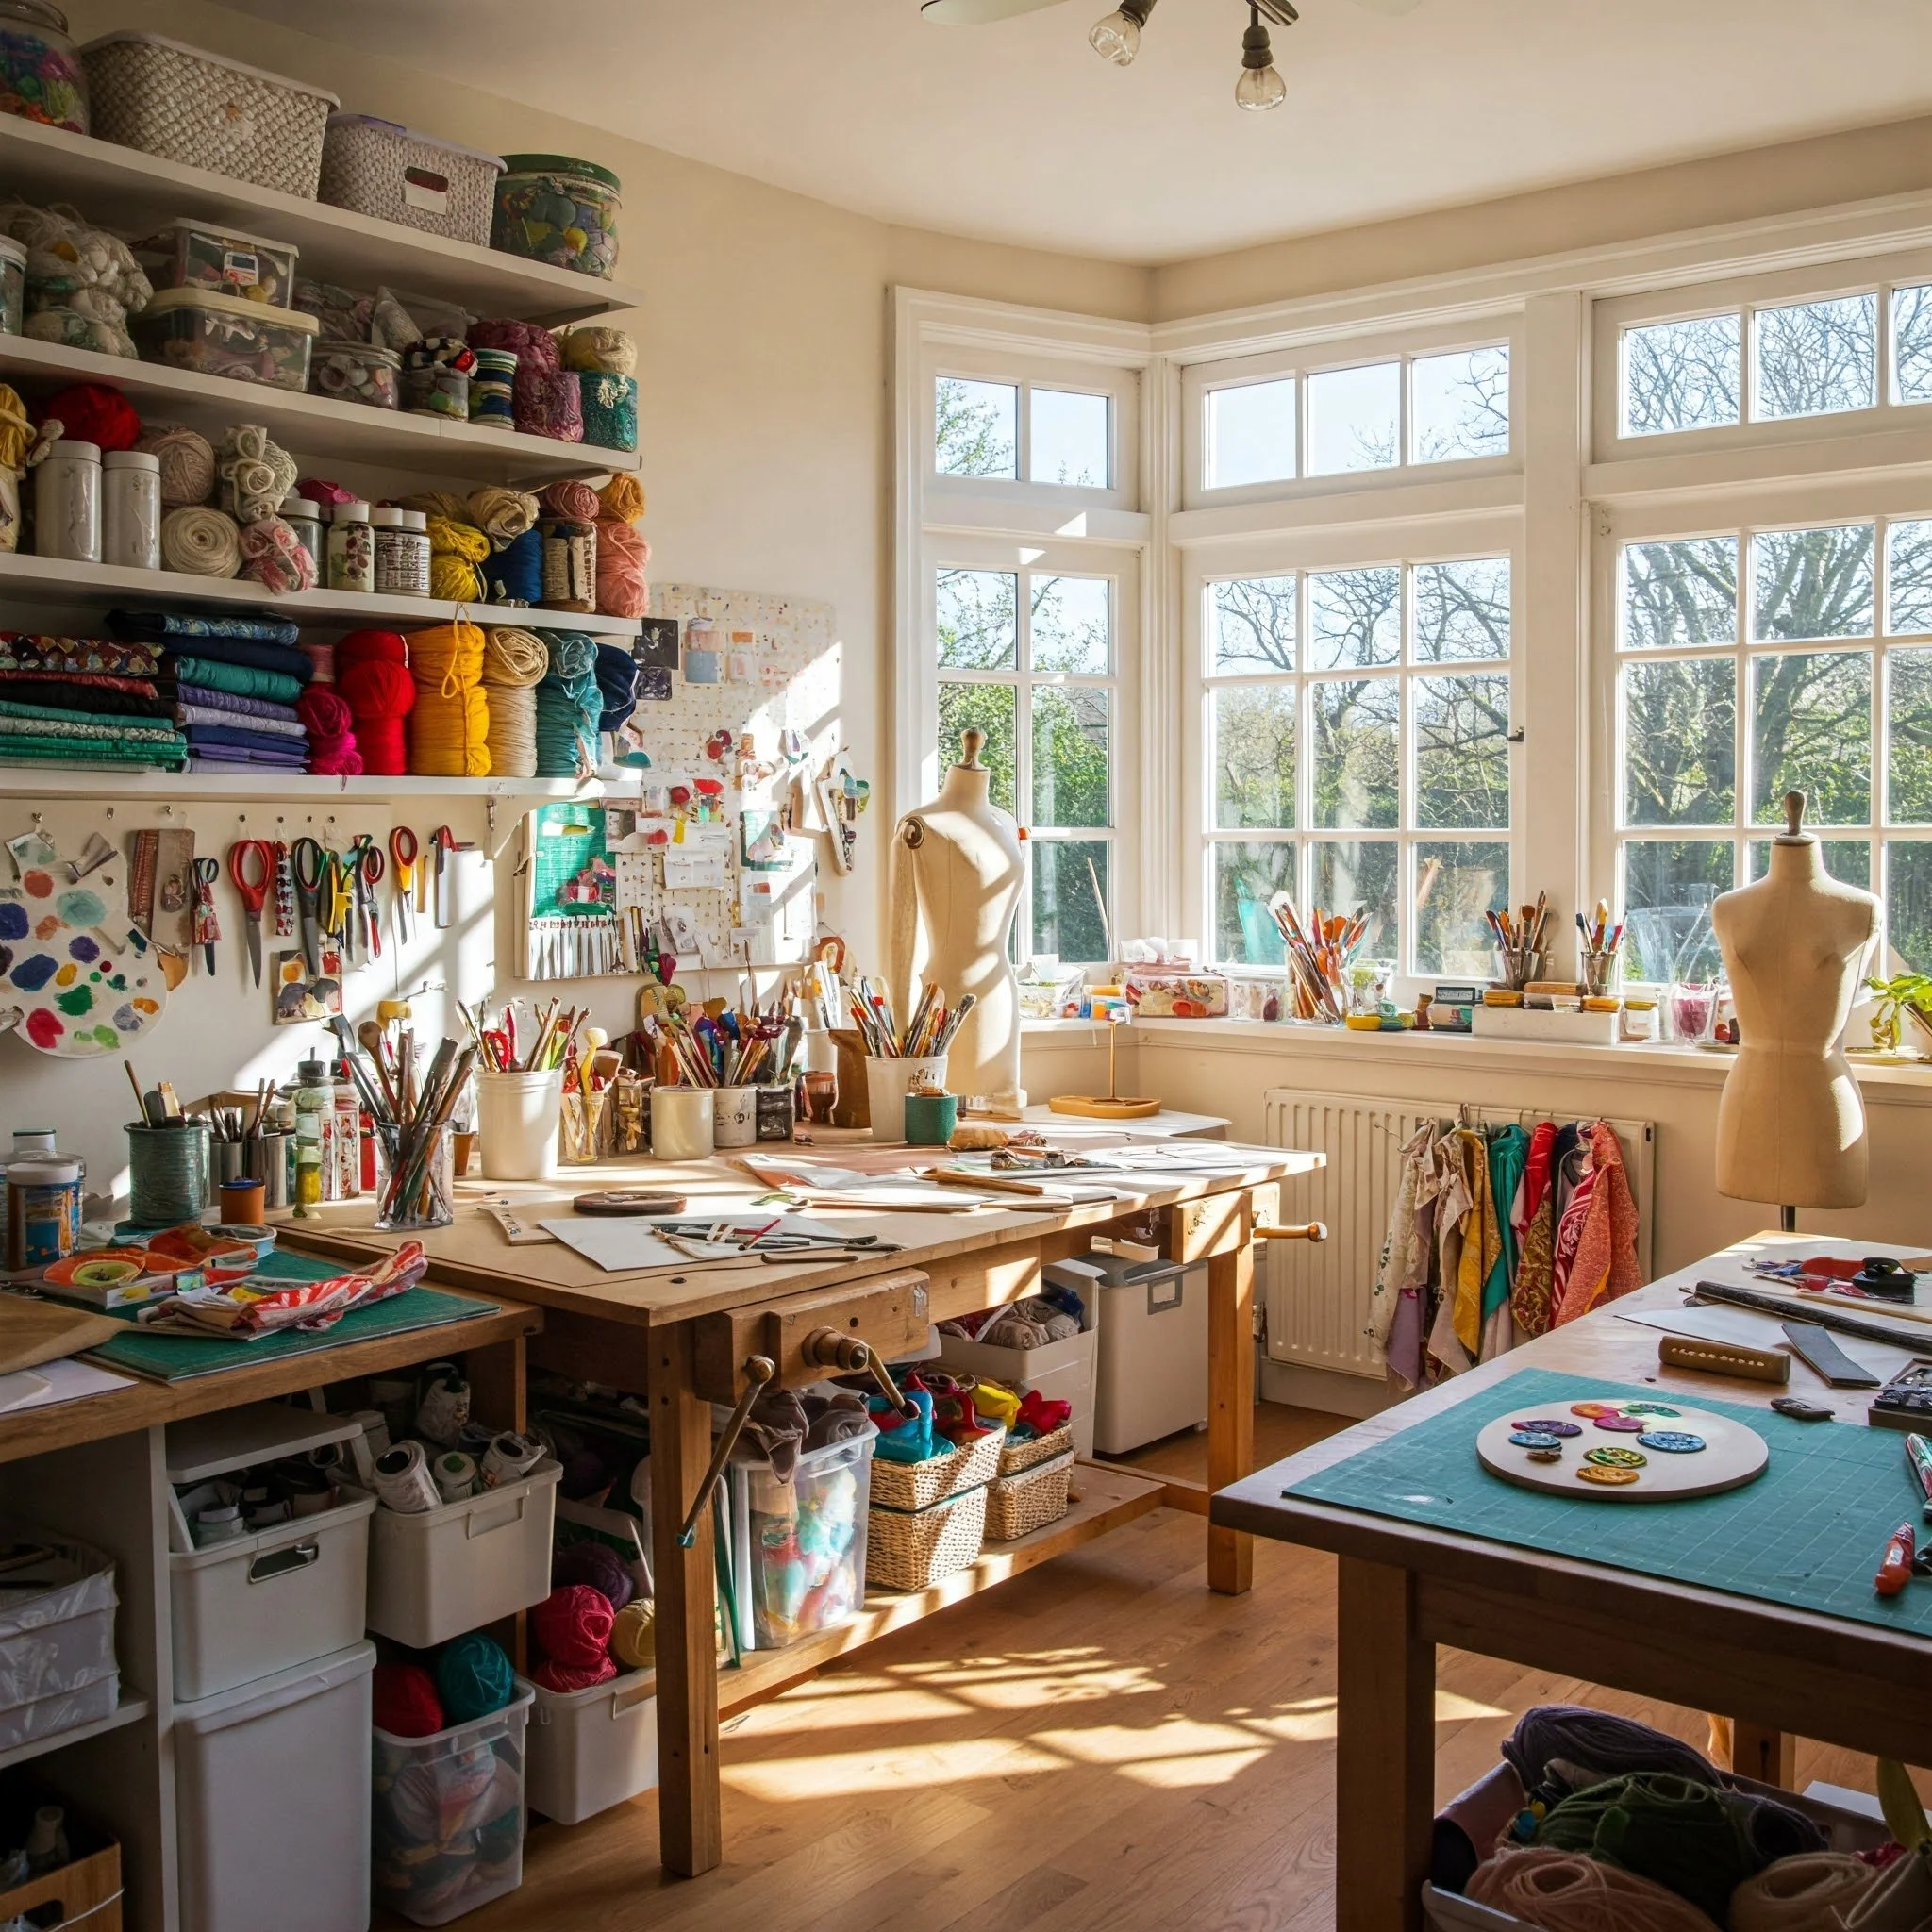
2. Make the Most of Vertical Storage
When floor space is limited, think up—literally. Vertical storage is like a secret weapon for small craft rooms and tight corners. Imagine a wall lined with neatly labeled cubbies, floating shelves, or hanging racks brimming with ribbons, brushes, and scrapbook paper. Not only does this free up precious desk real estate, but it also puts everything at eye level, making your next project’s materials easy to grab. Tall, slender bookcases can be transformed into crafting towers by adding baskets or dividers for different items. For an extra touch, install hooks or rails along the wall to hang scissors and other tools. Essentially, the more you use your vertical space, the more room you’ll have to spread out that big, beautiful crafting idea you’ve been saving.
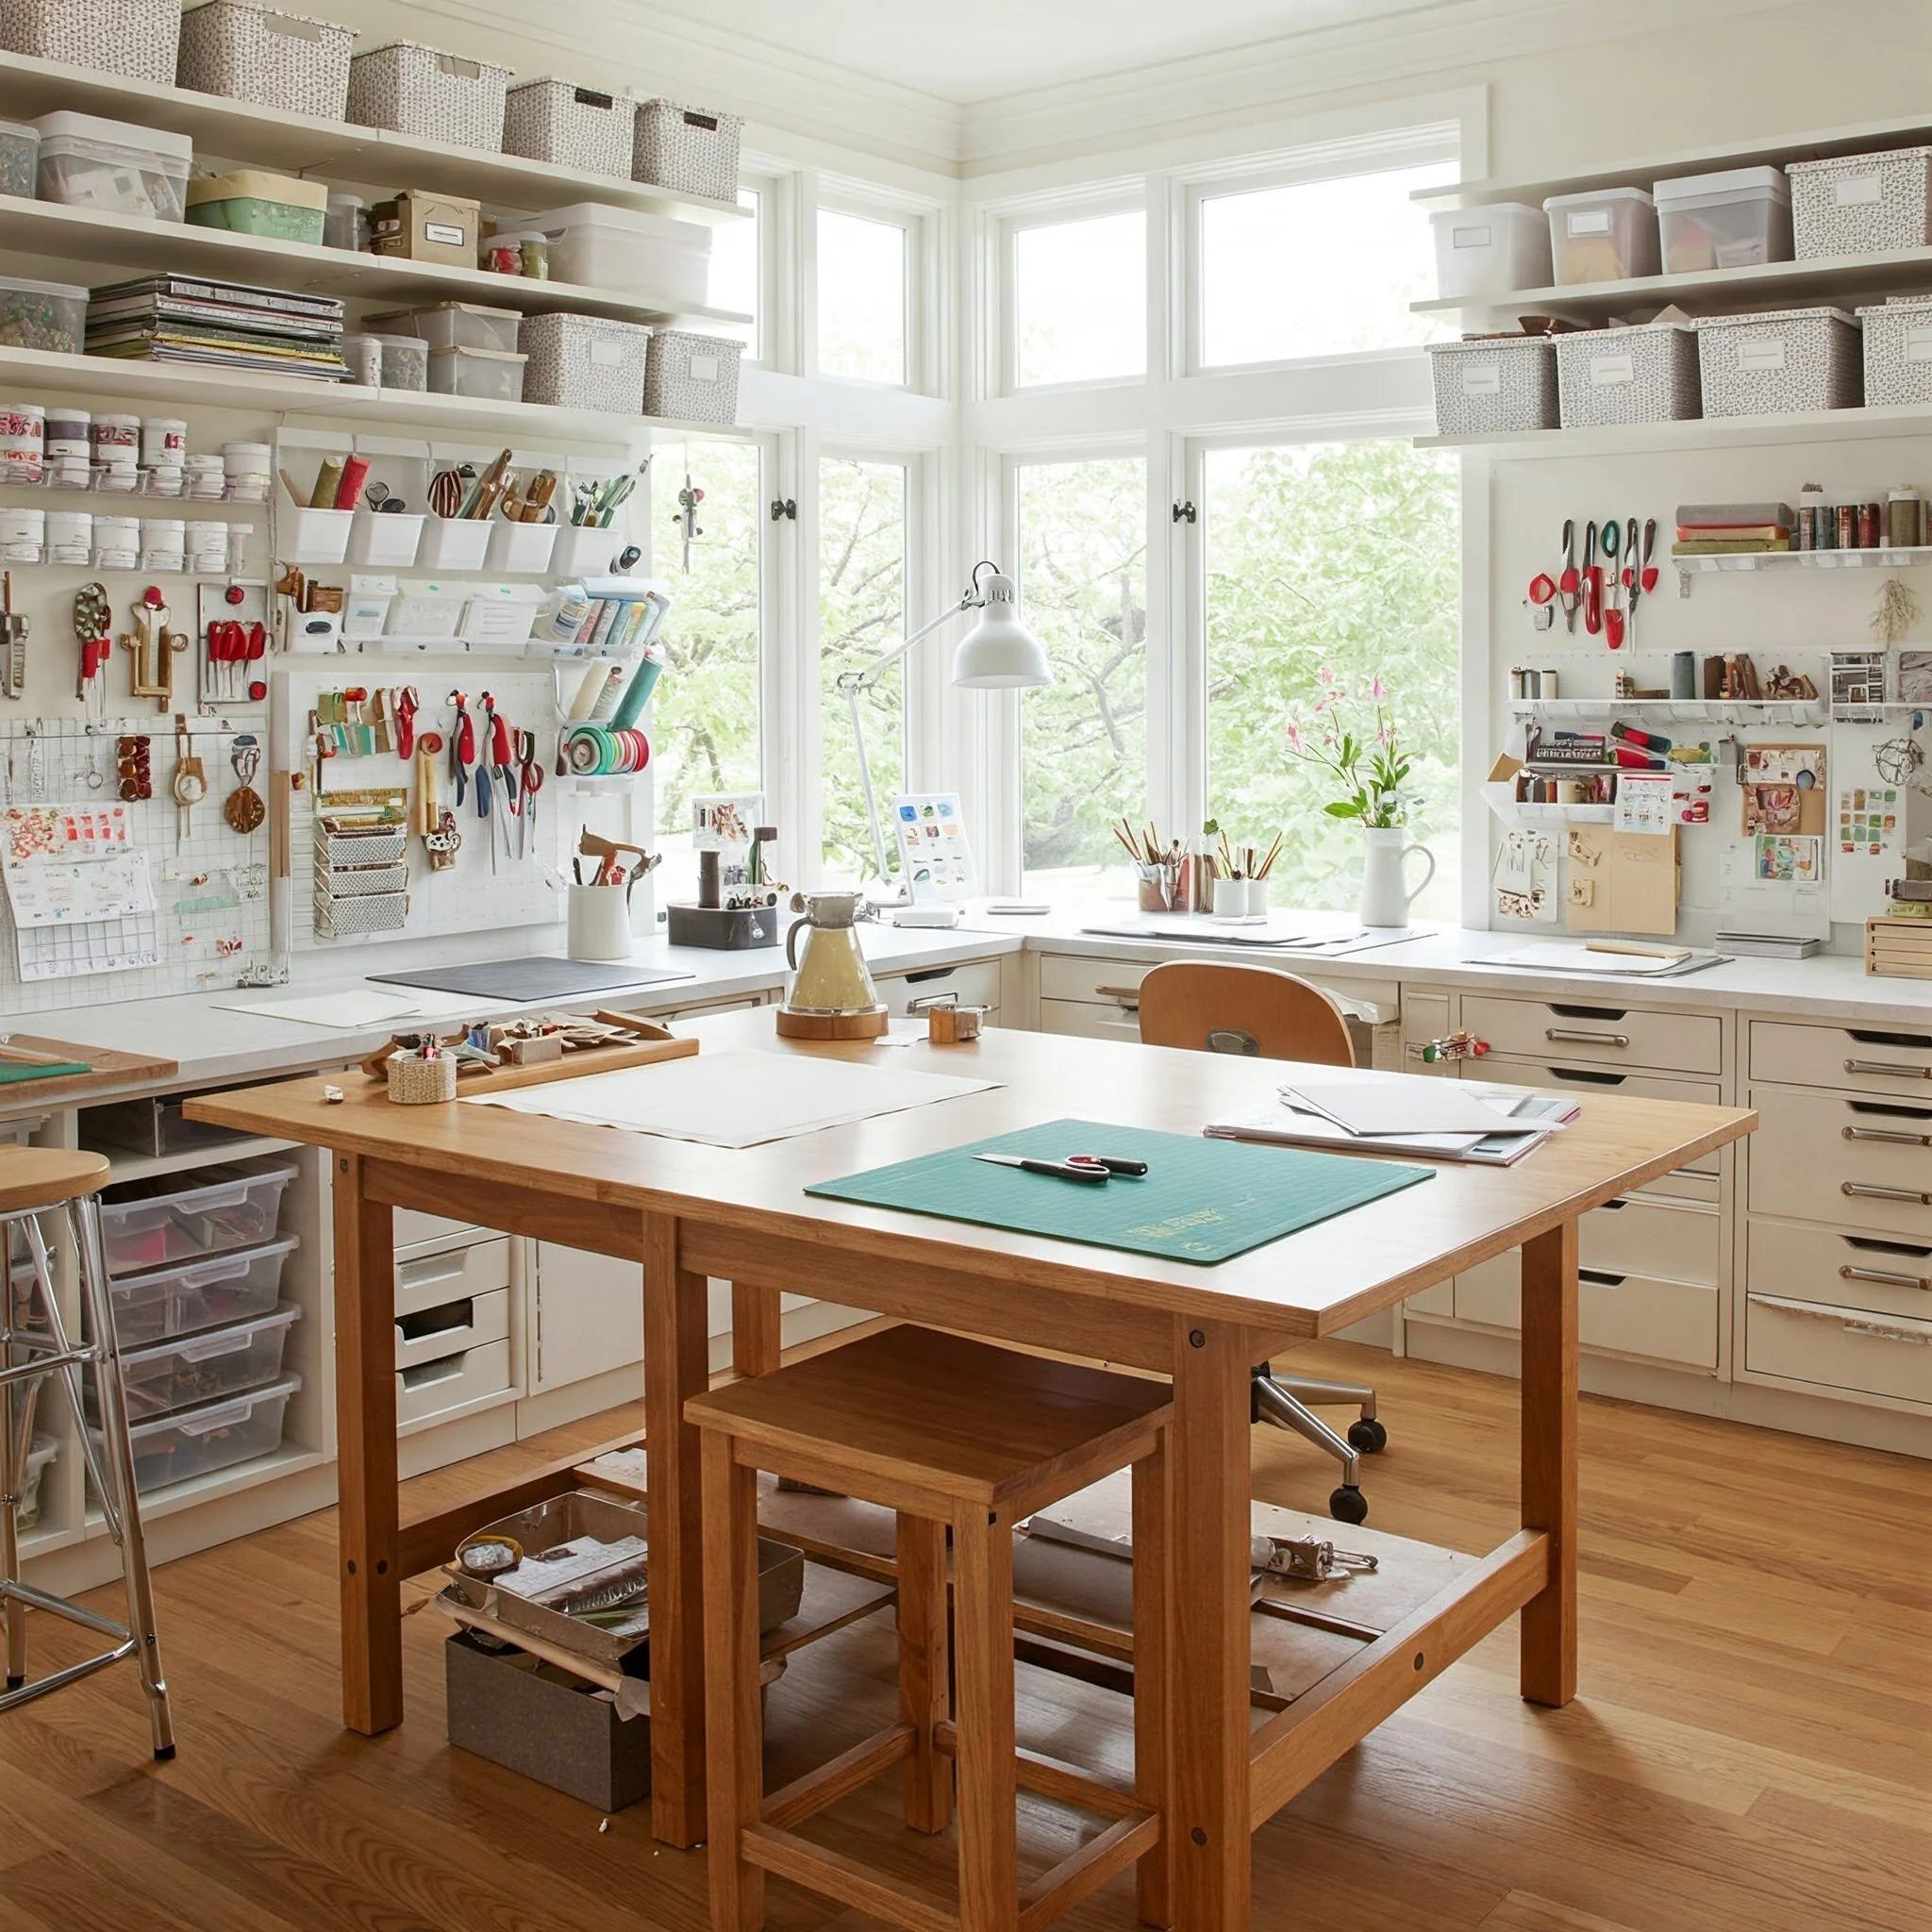
3. Pick the Perfect Work Surface
Your work surface is the heart of your craft room—the stage where all the magic happens. Whether you’re painting miniature figurines or sewing vibrant quilts, the right table can make your projects infinitely more enjoyable. Look for a sturdy piece with ample room to lay out your materials. If space is a challenge, consider a foldaway desk that you can tuck against a wall when not in use. Another clever trick is a tabletop on adjustable legs, so you can switch between a standing or seated position, offering relief for your back during lengthy projects. Don’t forget about the power of easy-to-clean surfaces. Spills are inevitable, and a wipeable tabletop can save you hours of scrubbing when your creativity runs a little wild.
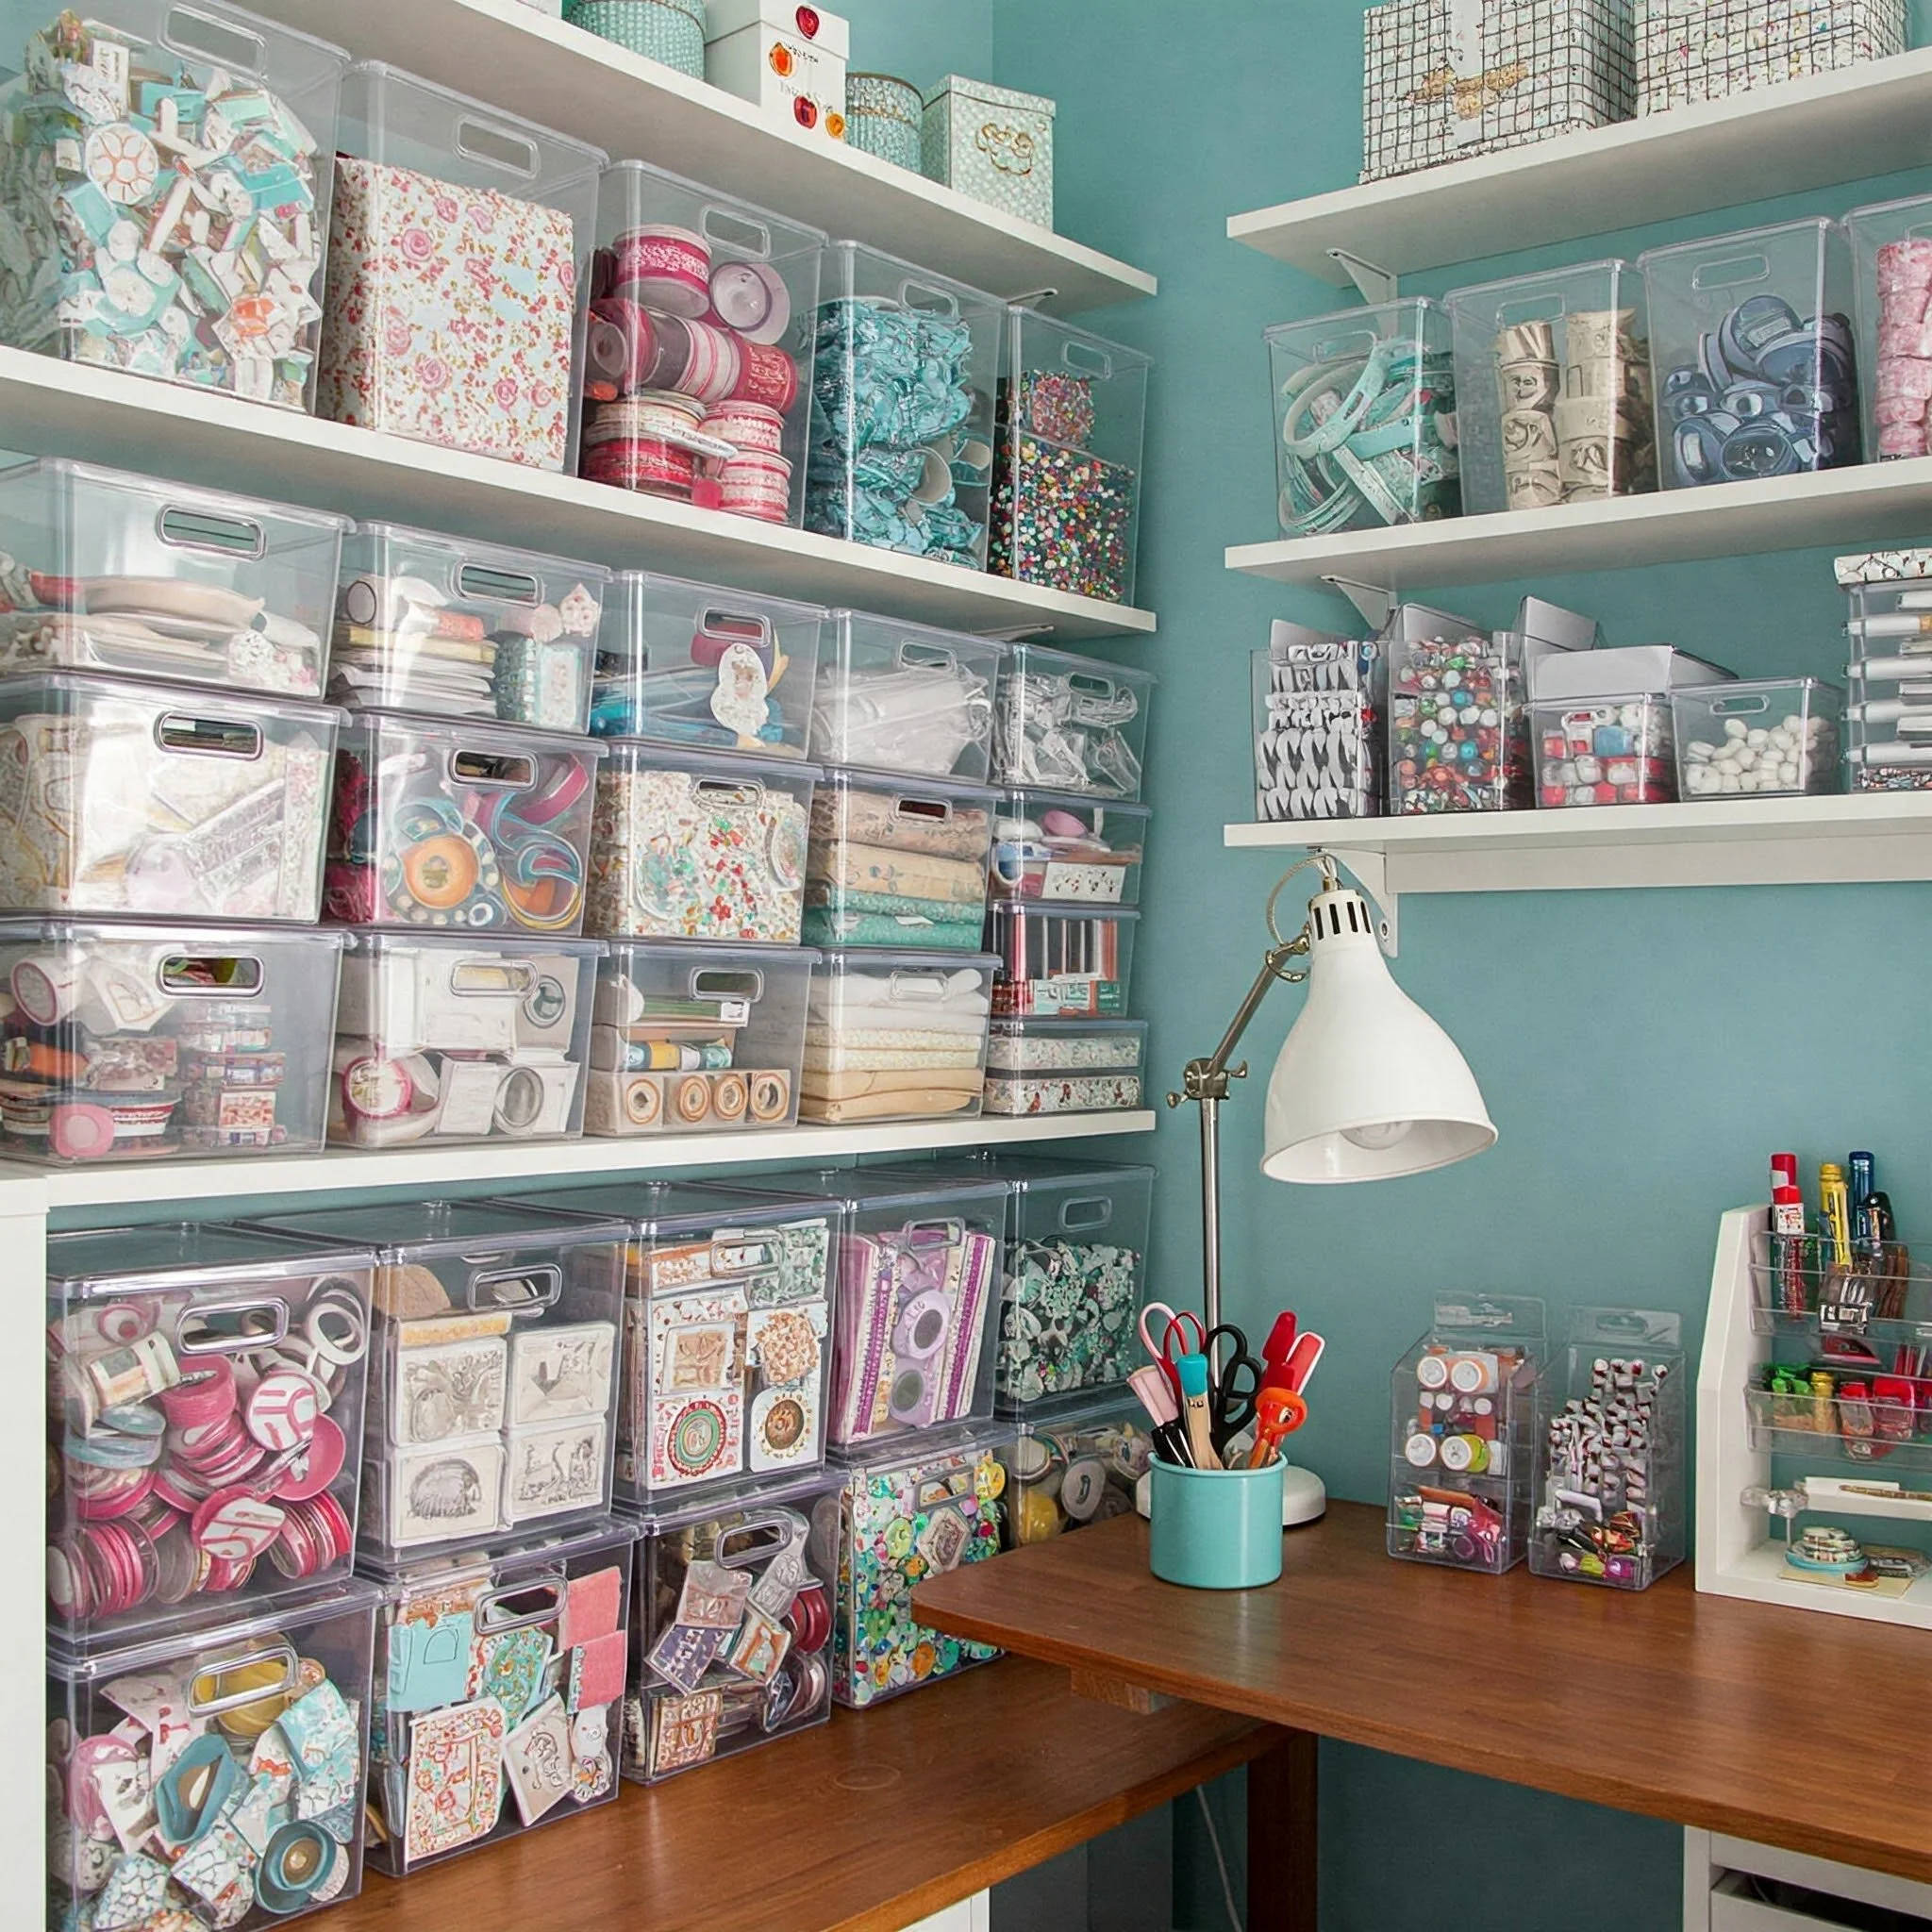
4. Use See-Through Storage Bins
Out of sight can sometimes mean out of mind—and in a craft room, that’s the last thing you want. Clear storage bins work wonders by showcasing your supplies without forcing you to rummage through dozens of opaque containers. Think of them as tiny showcases, each brimming with colorful threads, glittery stickers, or pristine cardstock waiting to come to life. Stash these see-through boxes on shelves, within cabinets, or even stacked neatly under a table. With a quick glance, you’ll know exactly what you have, preventing you from buying duplicates or forgetting that perfect spool of ribbon. Plus, there’s an unspoken aesthetic appeal—rows of transparent bins filled with vibrant supplies can double as a rainbow-like display that boosts your creative mood.
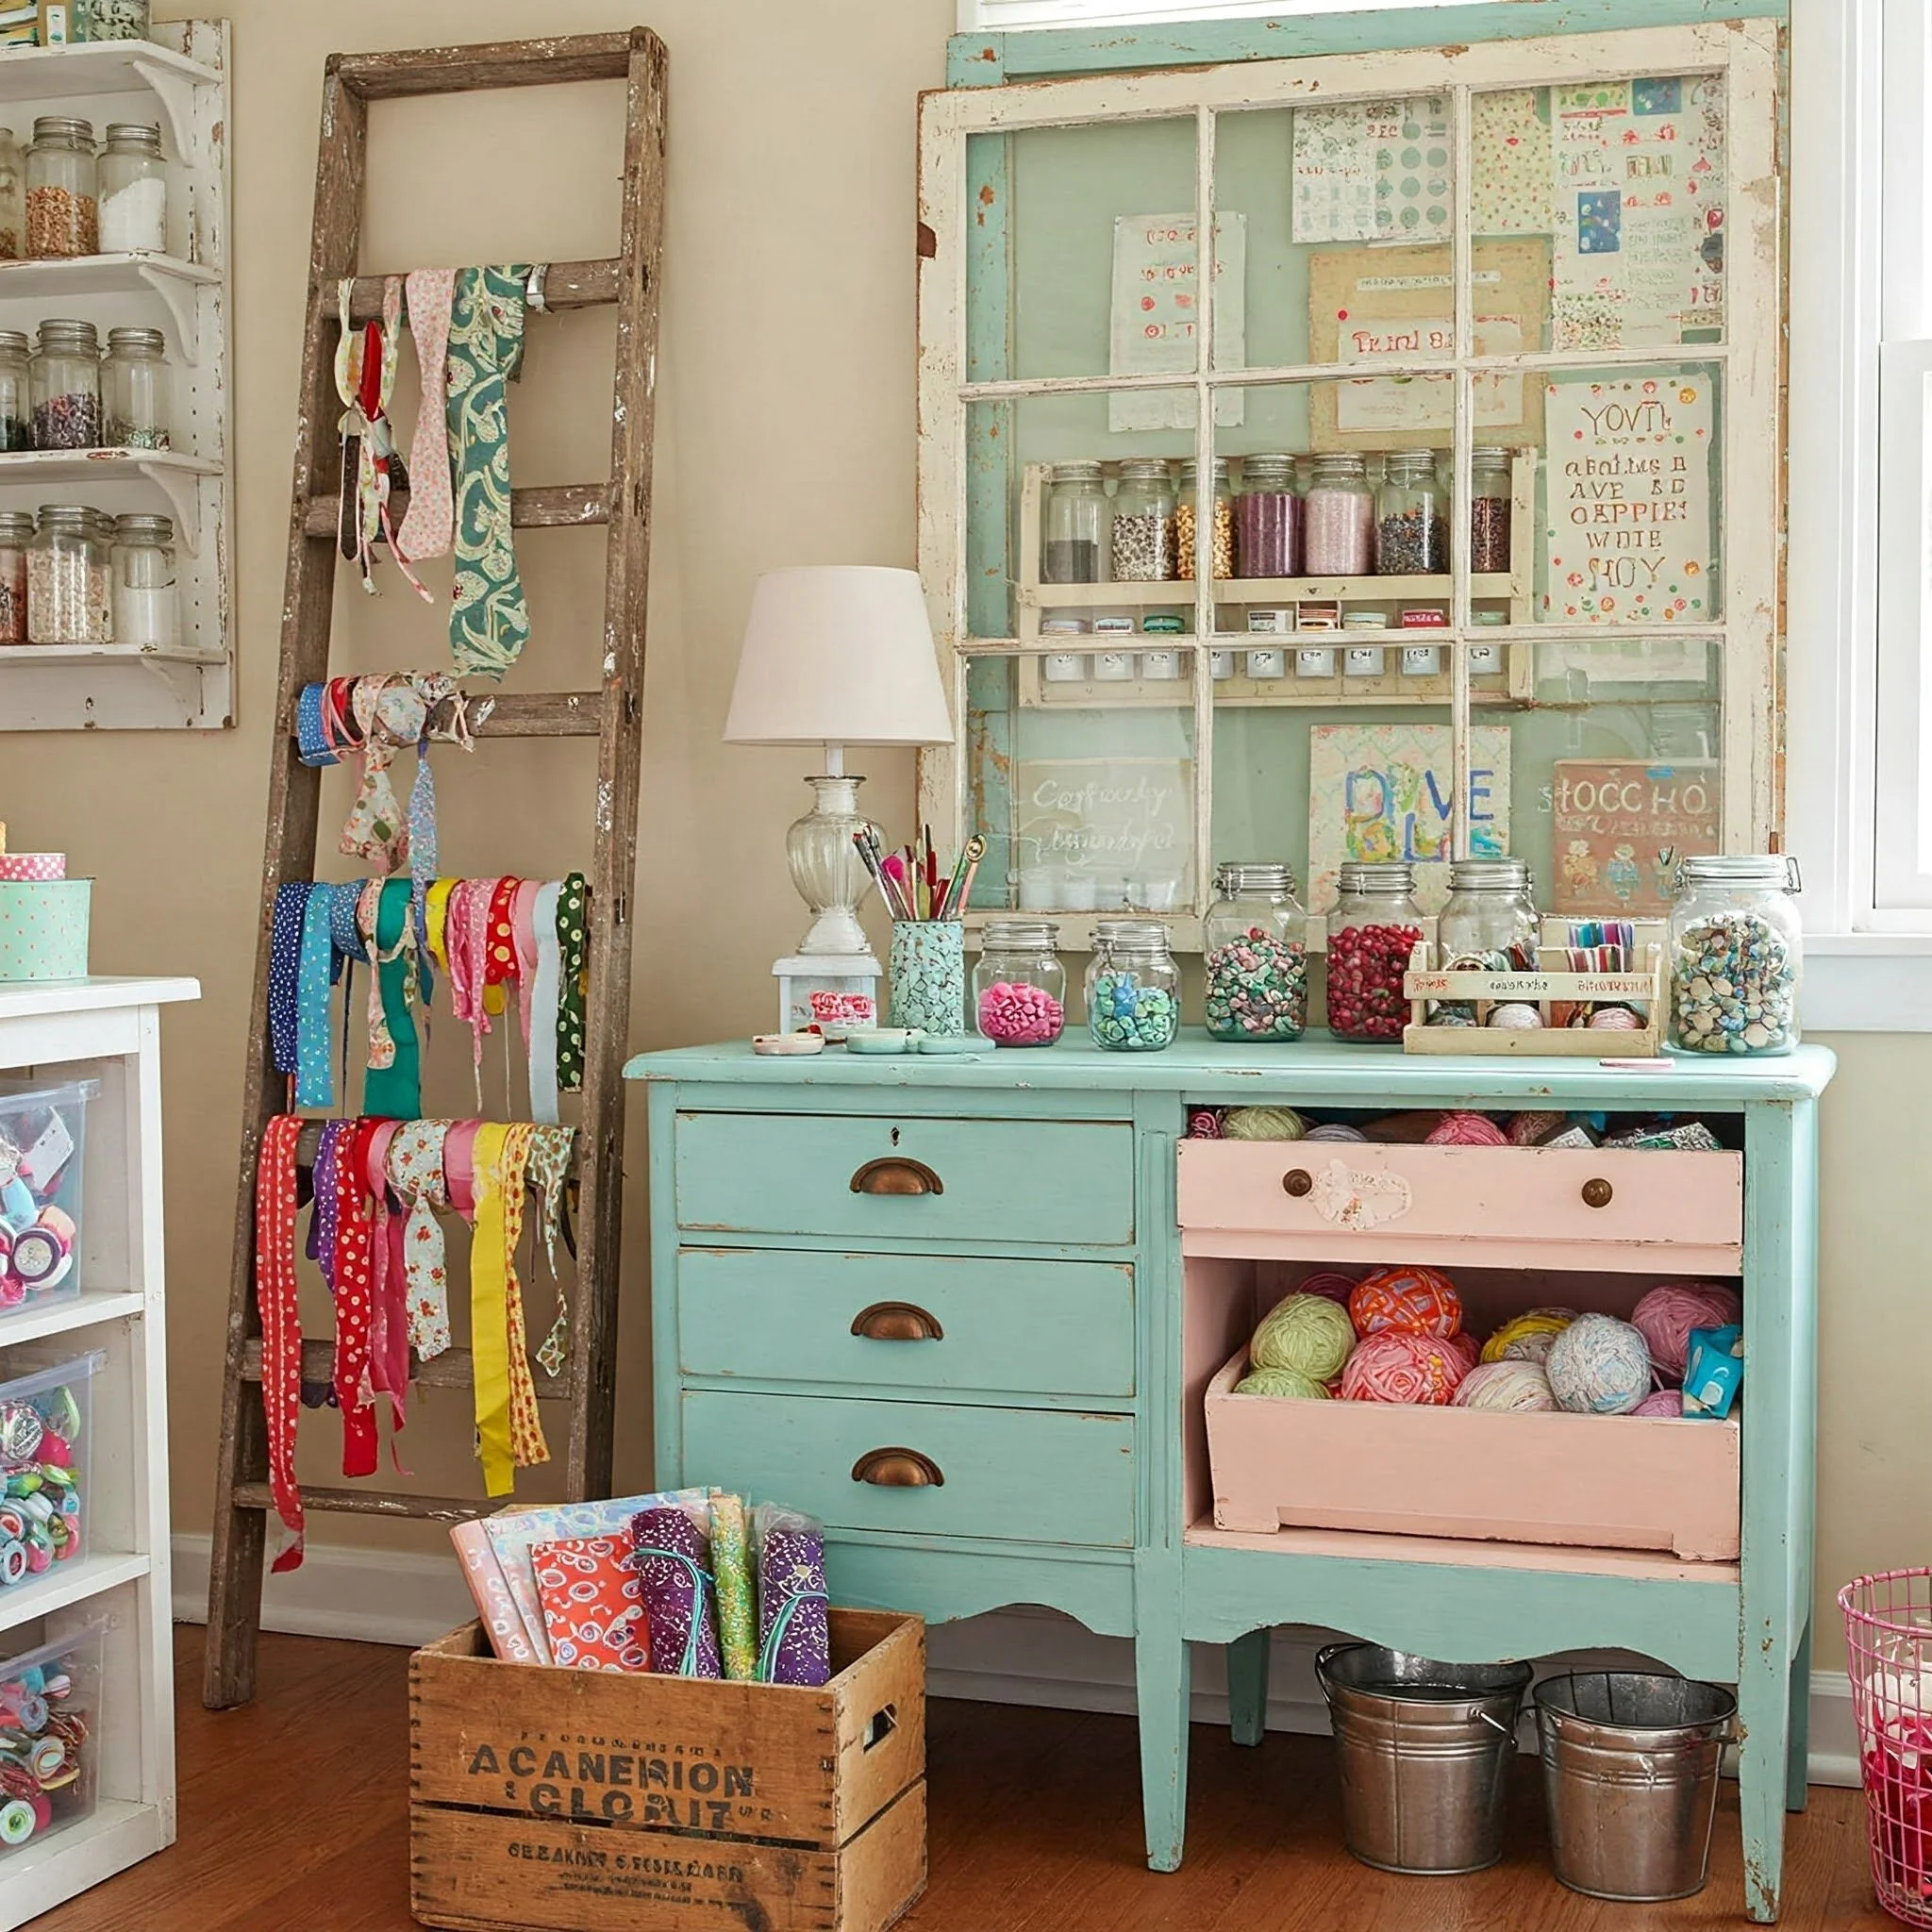
5. Repurpose Furniture for Clever Organization
Who says you need brand-new, pricey furniture to create a functional craft room? Sometimes, your home already has the perfect pieces hiding in plain sight. That old dresser you were about to toss? With a coat of paint and some new knobs, it transforms into a stylish storage unit for fabric and yarn. A vintage hutch can become a craft cabinet where you store jars of buttons, markers, or adhesives. Don’t be shy to experiment—maybe your living room bookshelf can migrate to your craft room, carrying baskets and plastic trays filled with supplies. By repurposing furniture, you’re not just saving money; you’re also adding unique character to your workspace. Think of it like giving that old piece a second life to support your endless imagination.
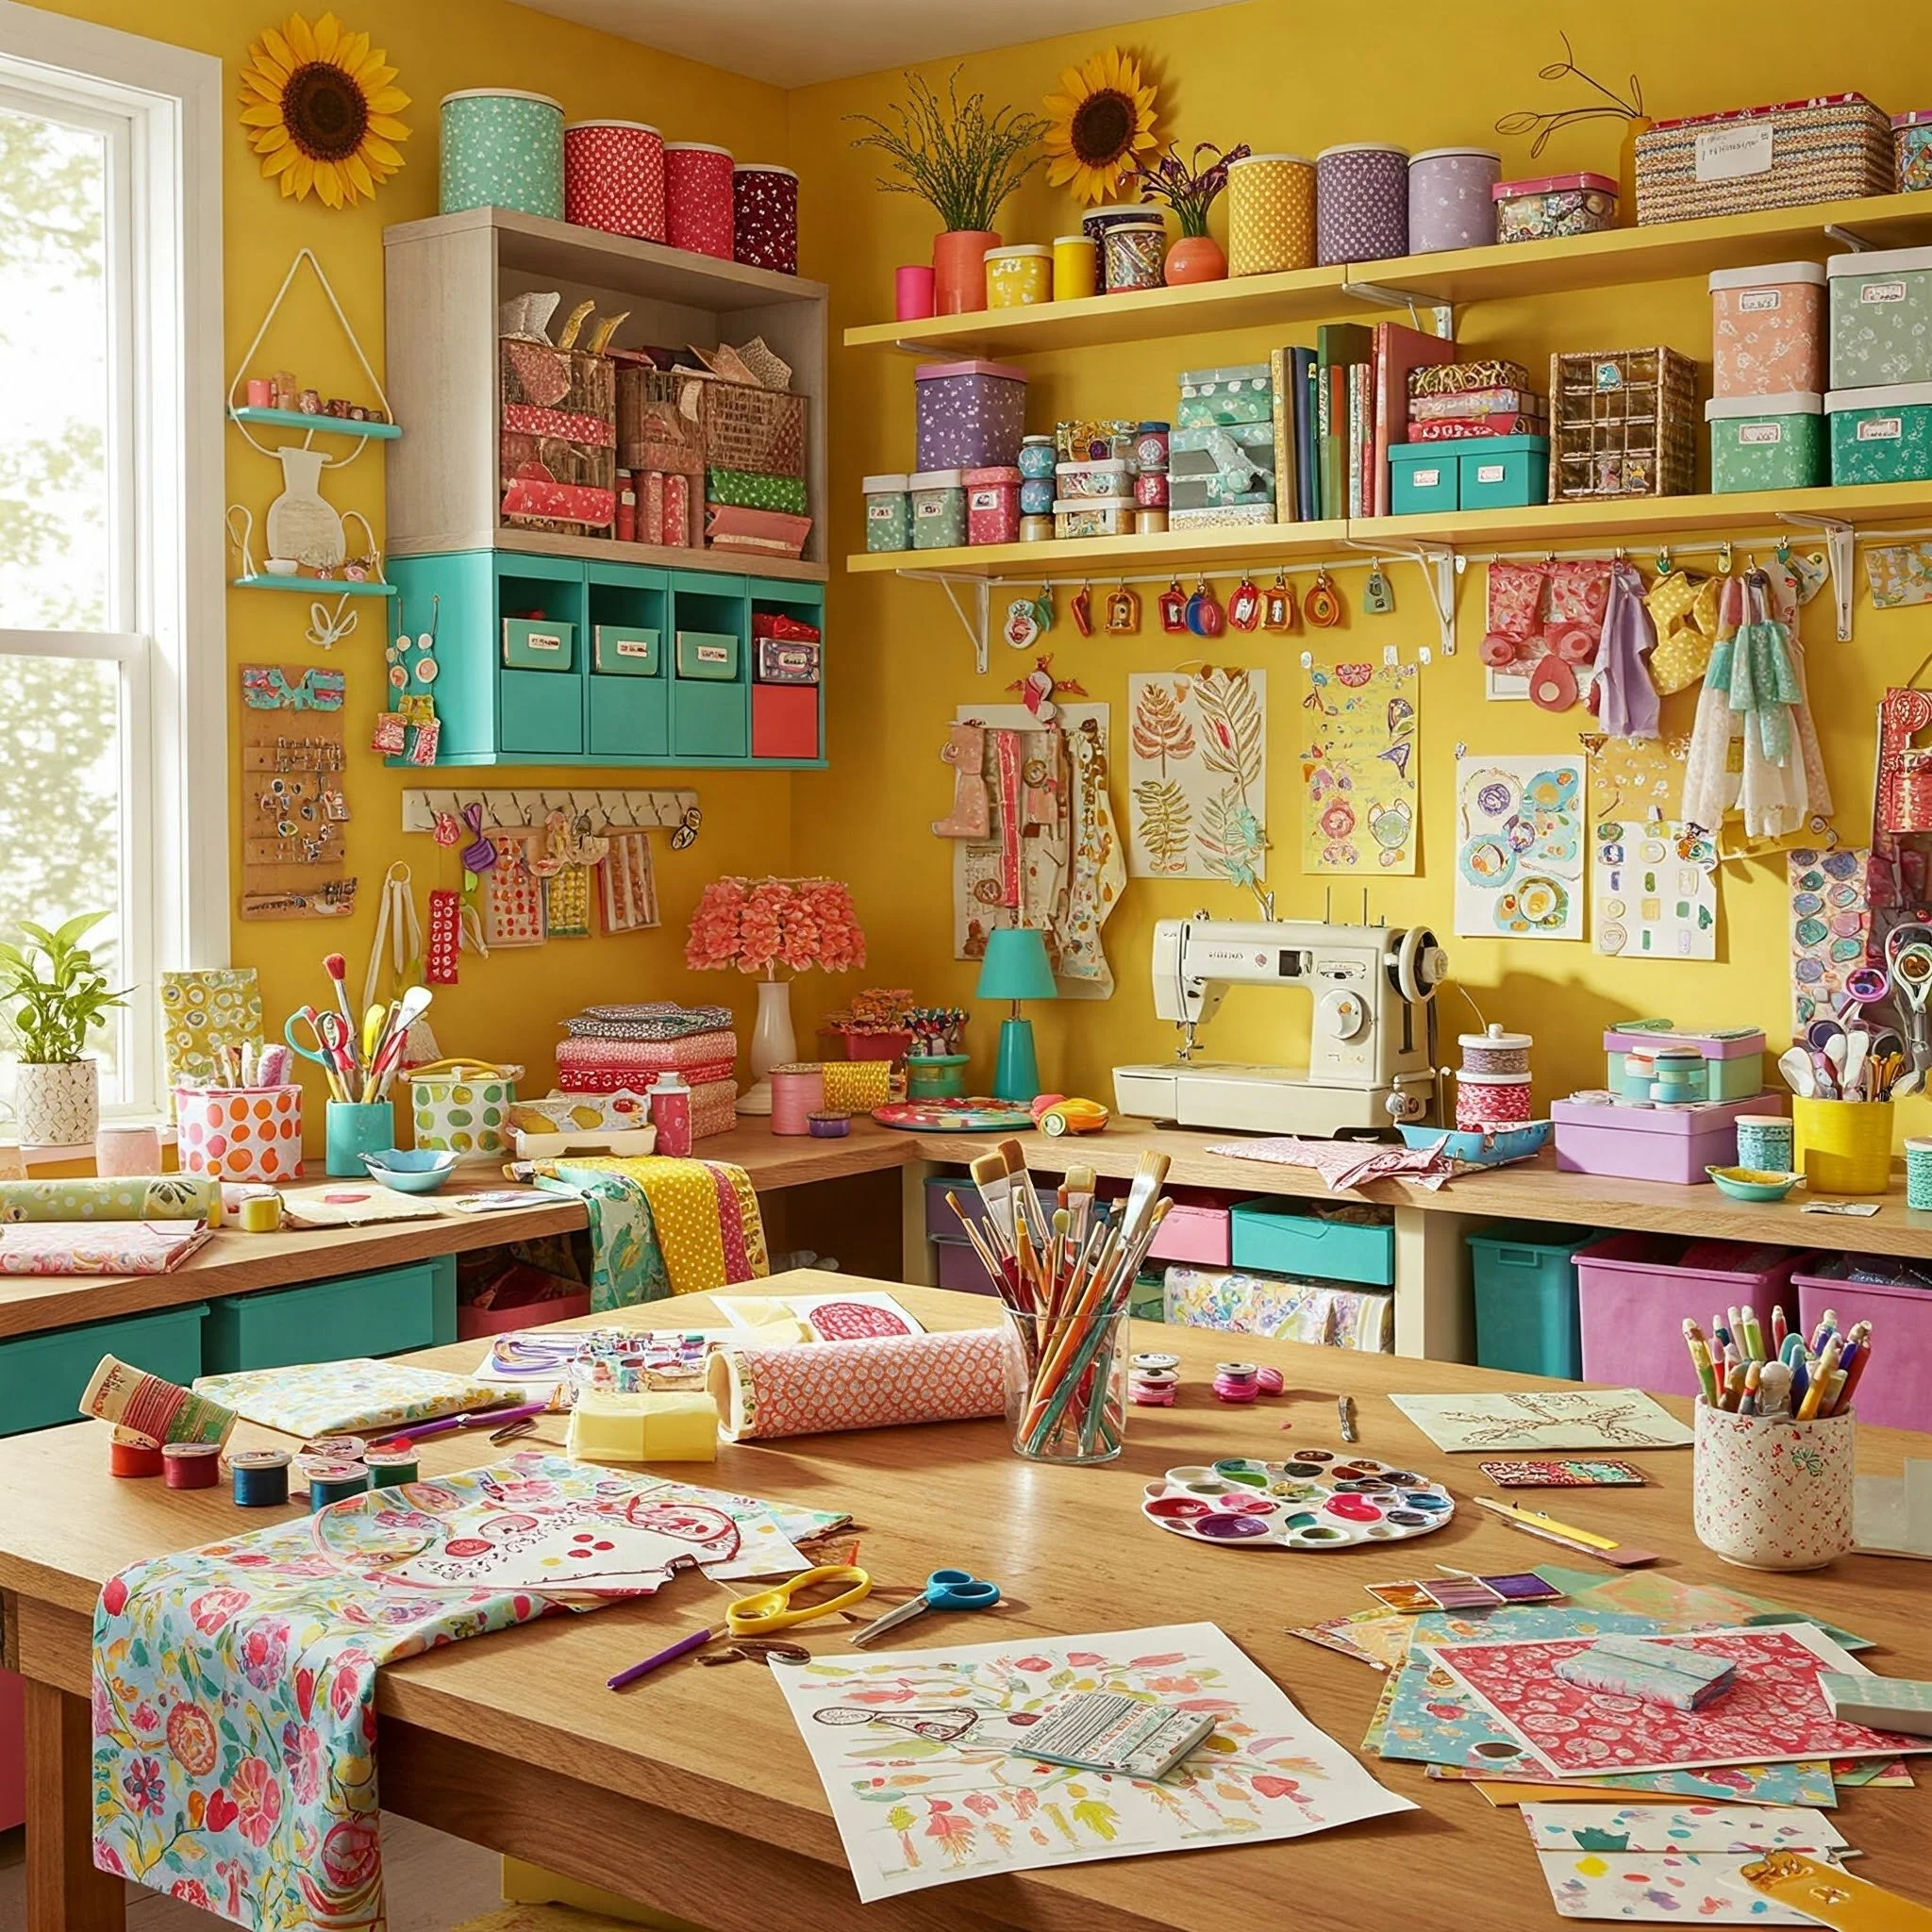
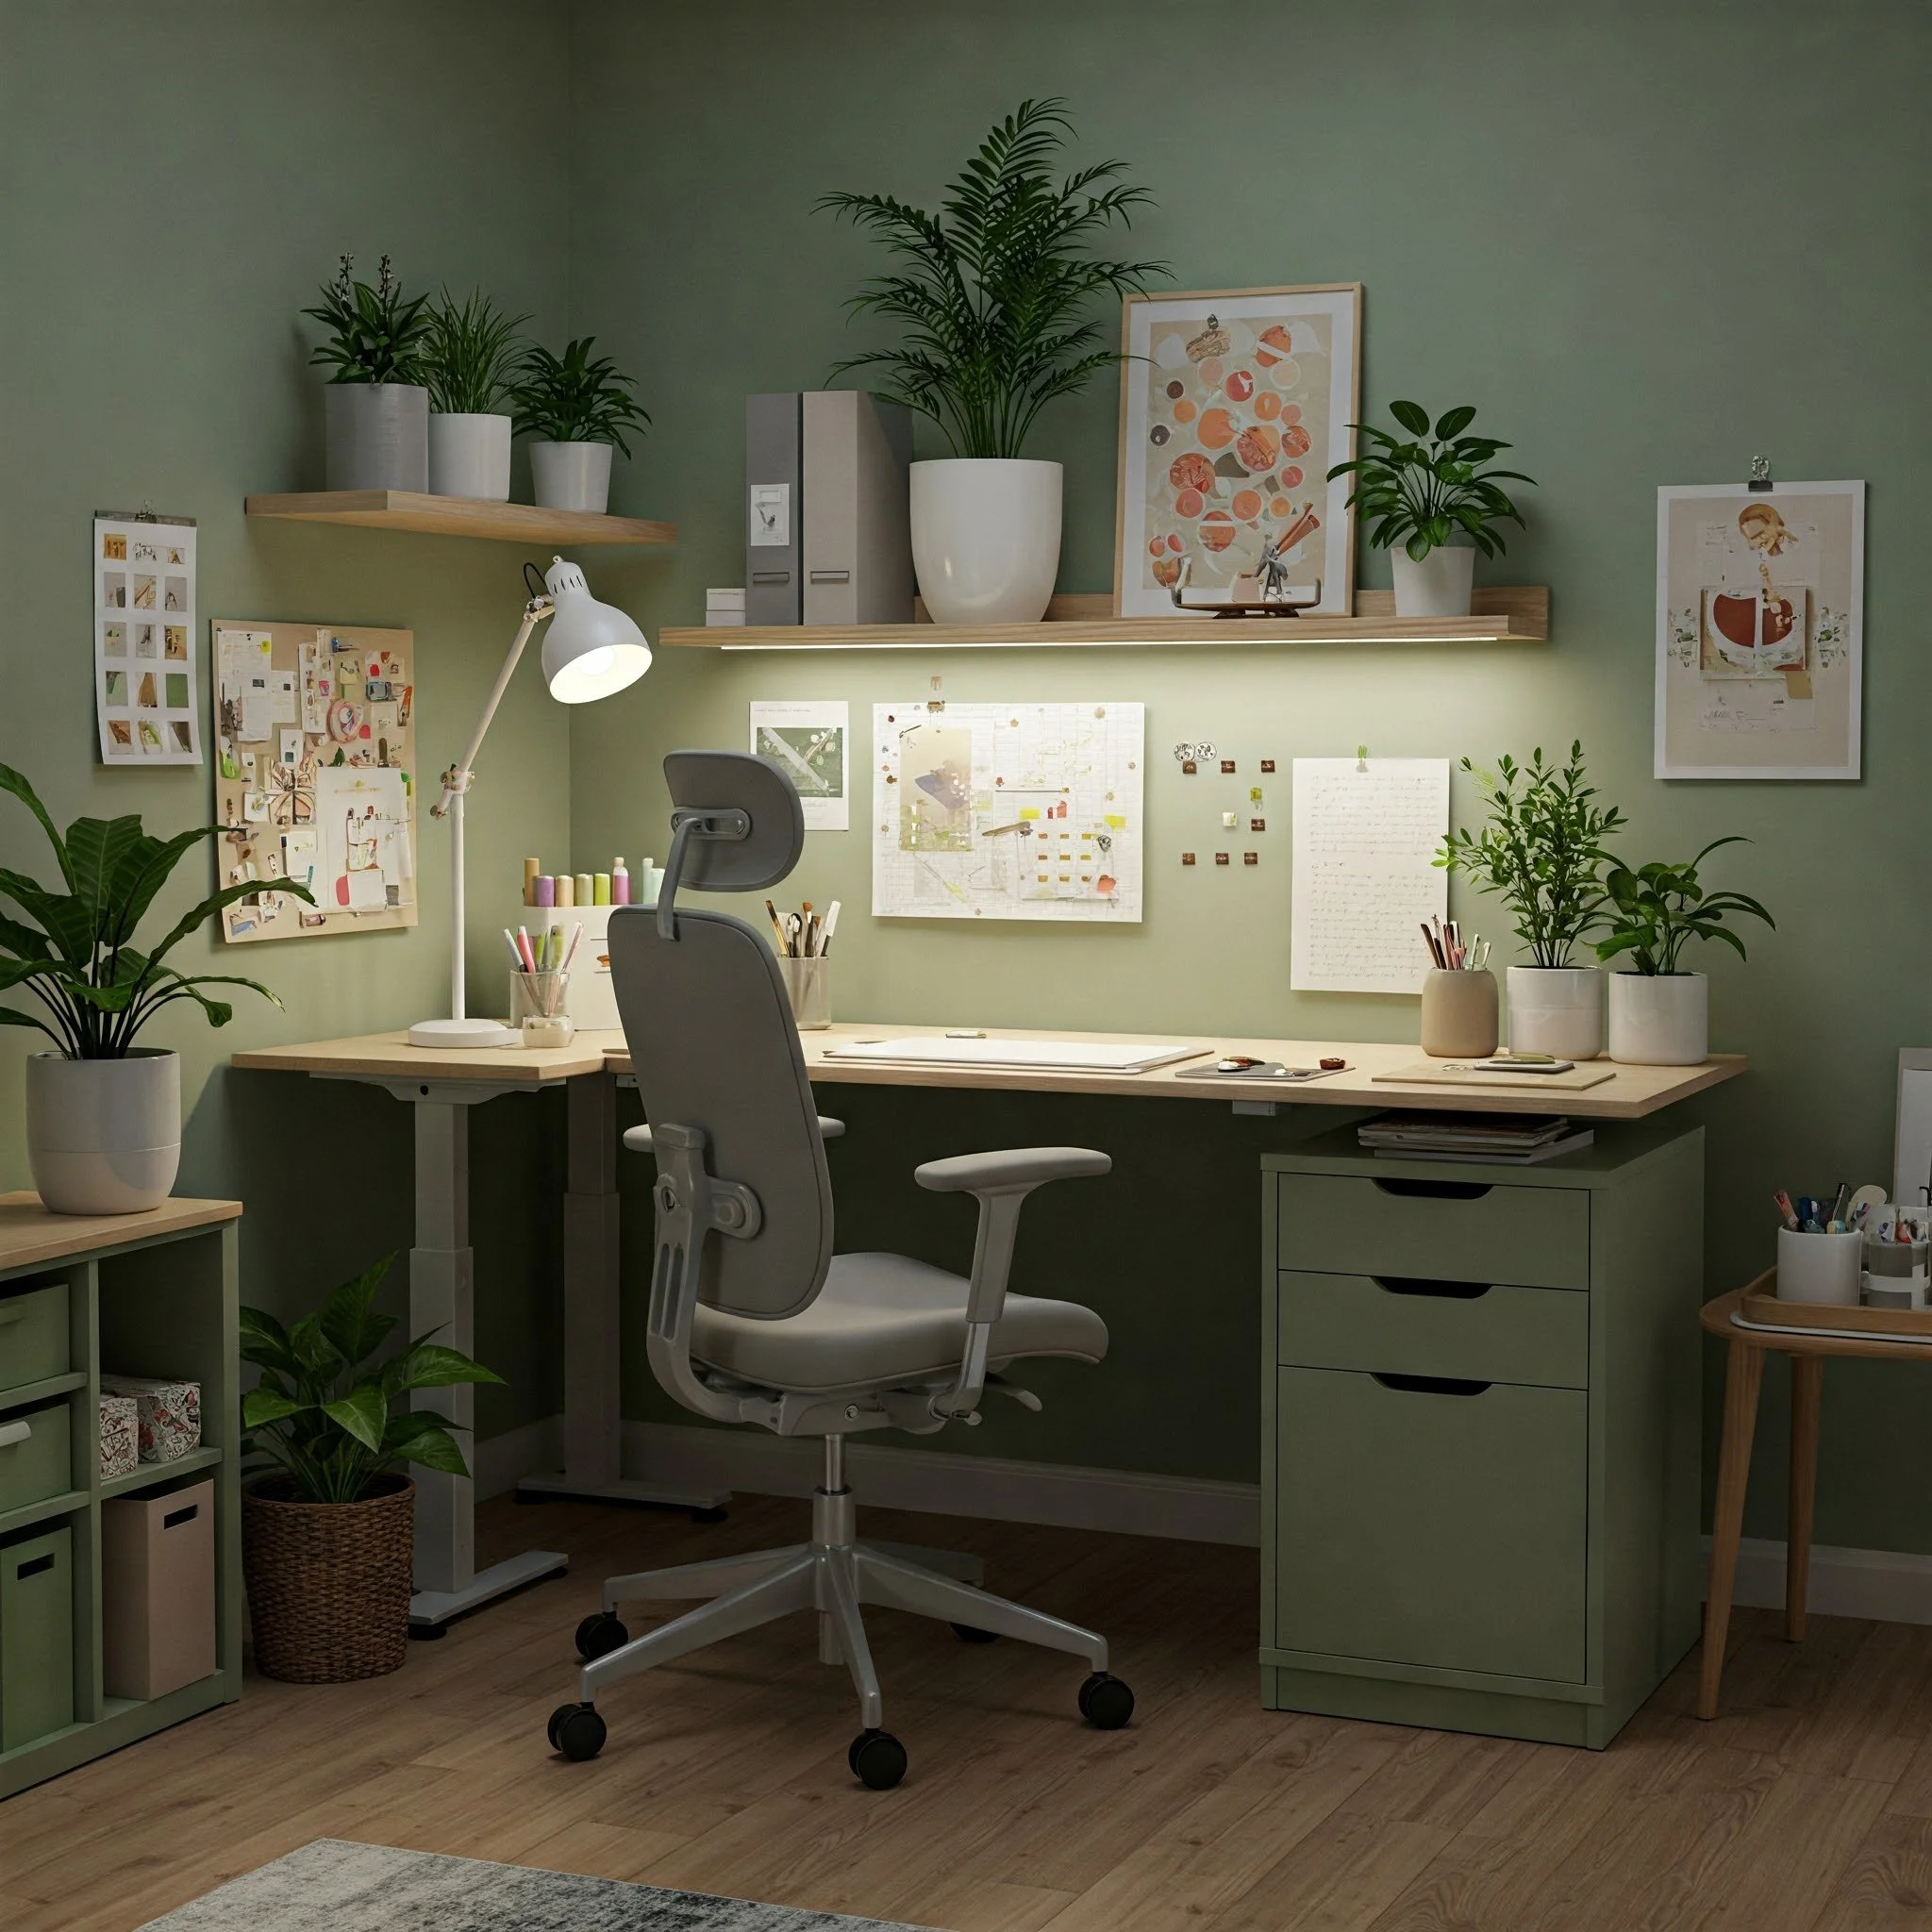
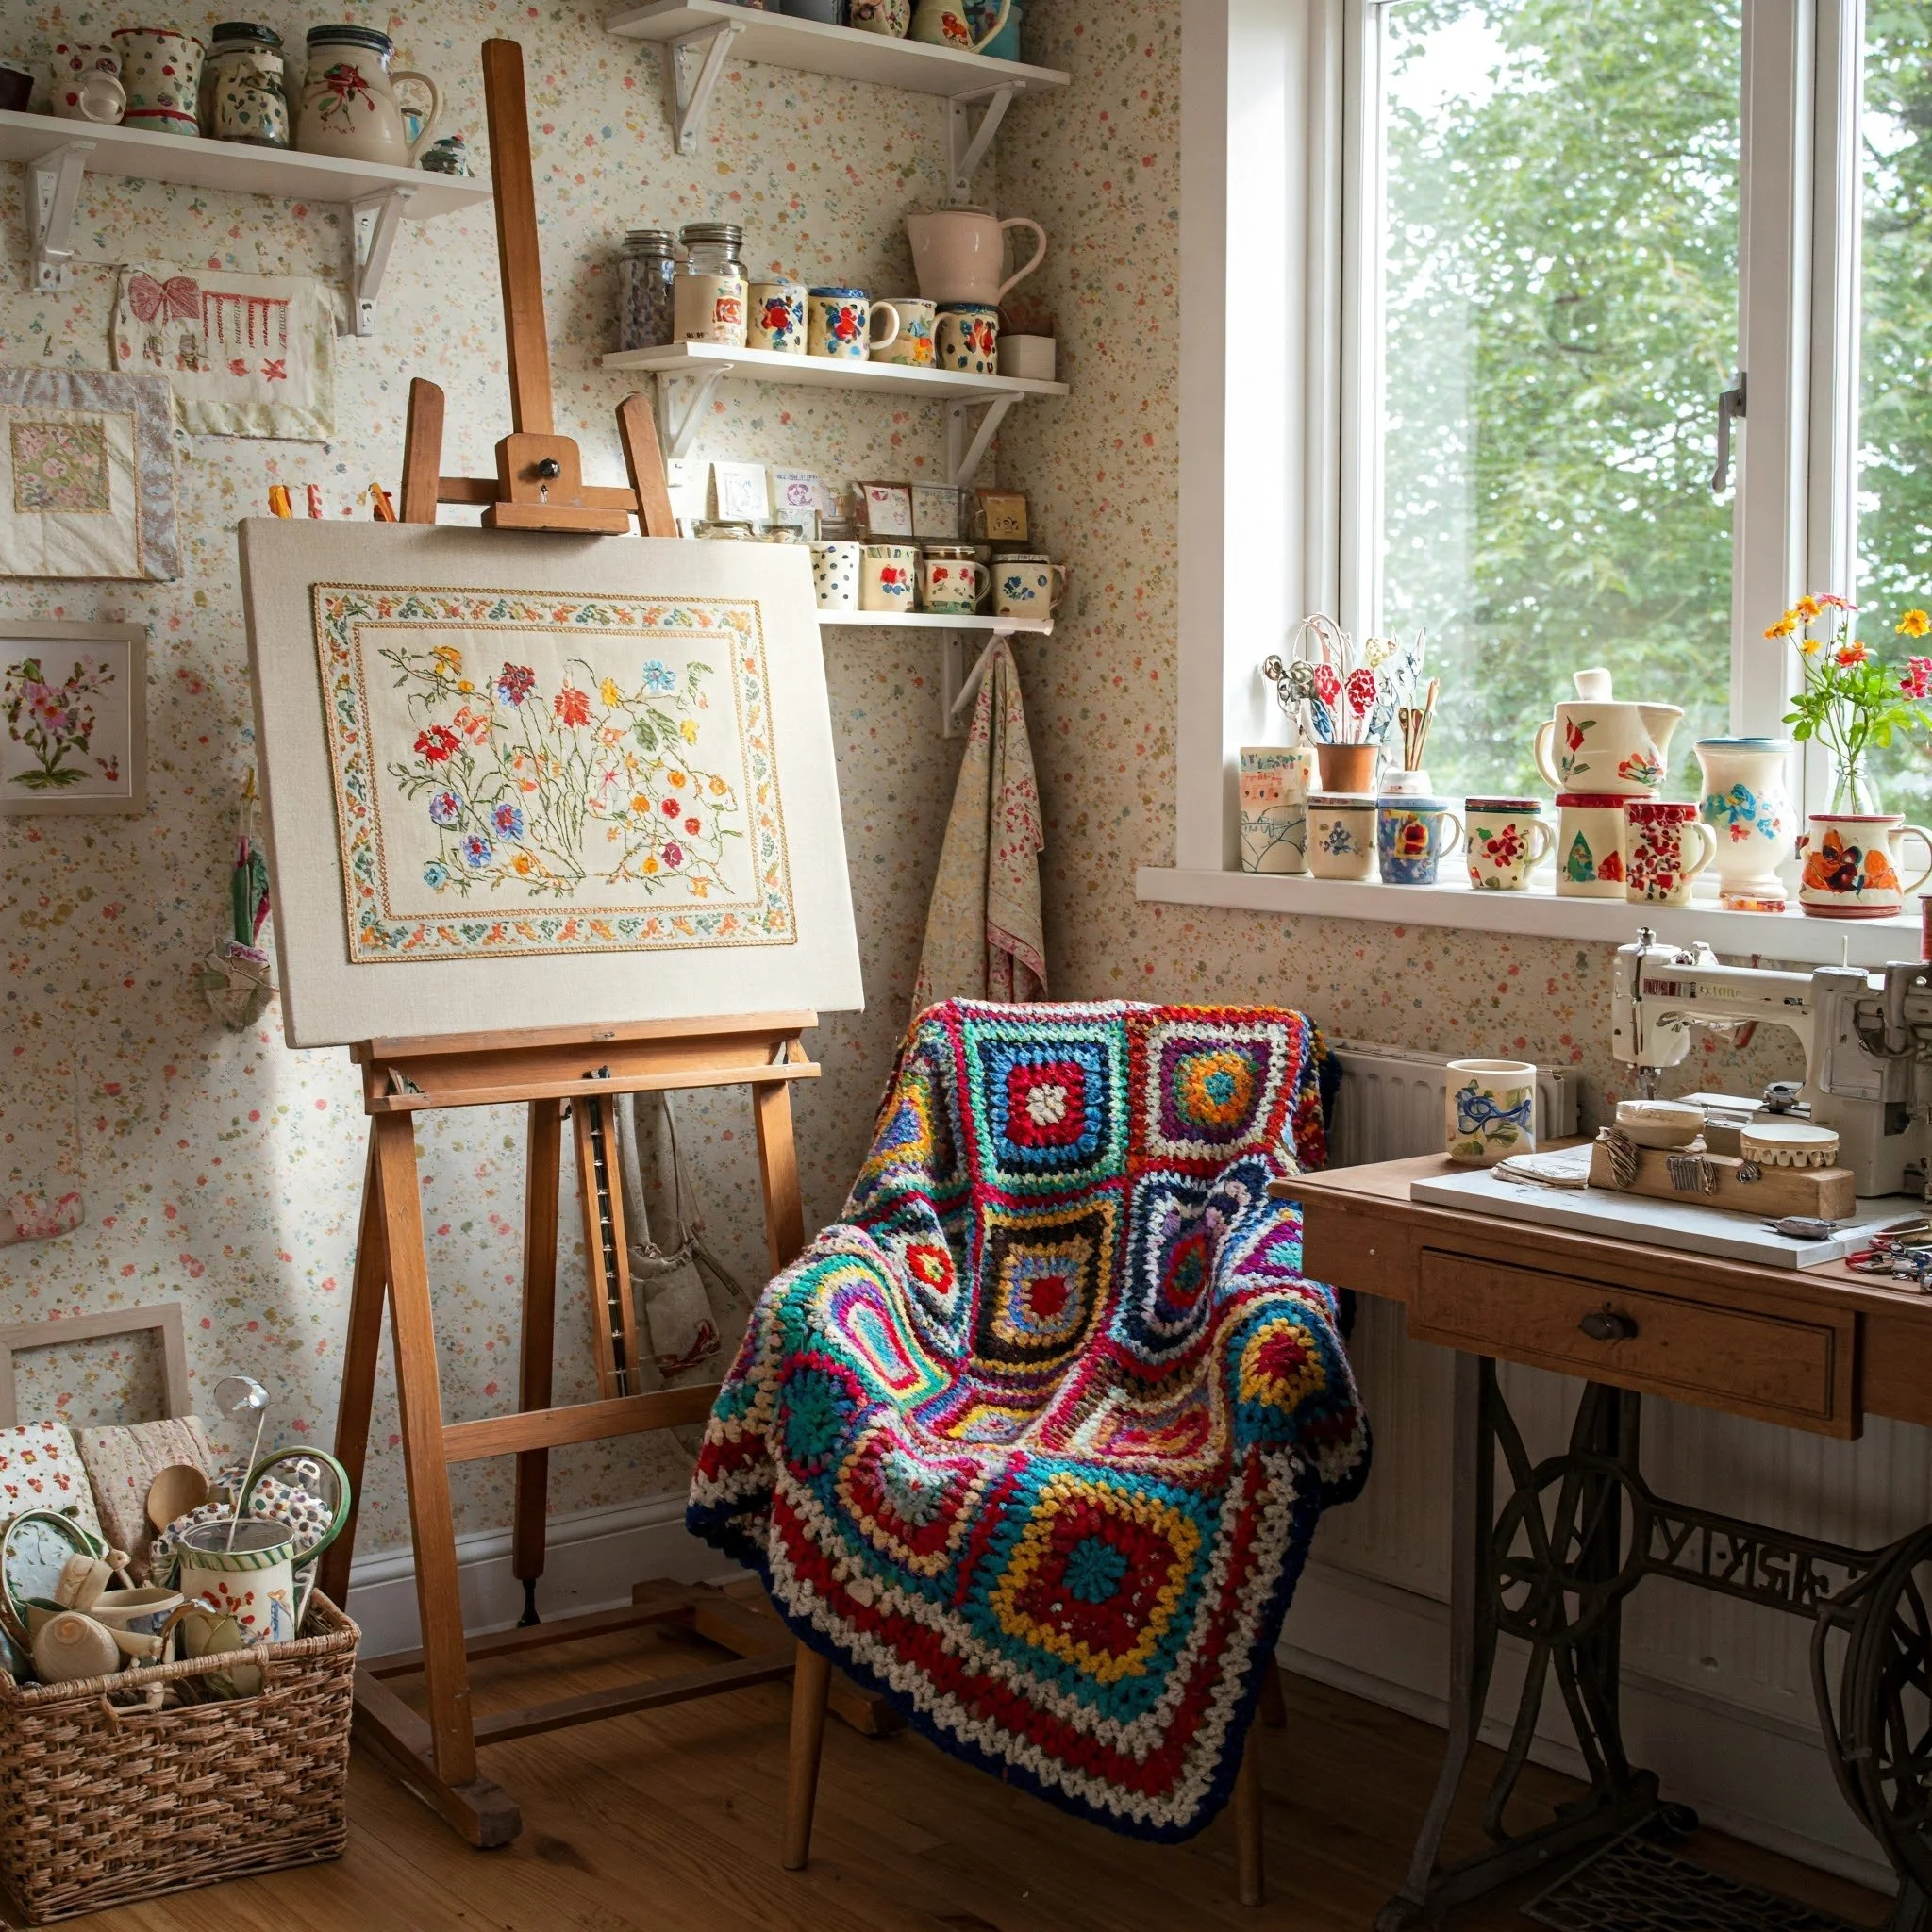
6. Add a Splash of Inspiring Color
Color does more than just prettify a space—it has the power to shift your mood and boost your creativity. Picture this: a sunny yellow accent wall that energizes you to tackle those half-finished sketches, or a soothing mint-green background that keeps your stress at bay during intricate sewing projects. Even small pops of color—like vibrant storage baskets, patterned curtains, or a whimsical rug—can make your craft room sparkle. If you’re drawn to a calm, minimalist vibe, soft neutrals can serve as a peaceful backdrop for your multi-colored supplies. On the flip side, if you thrive on energy and excitement, go bold with hot pink walls or electric blue furniture. Ultimately, color is a tool to spark joy whenever you step into your crafting sanctuary.
7. Invest in Good Lighting
Ever tried to stitch fine embroidery in dim light? Or paint delicate details under a low-wattage bulb? Trust me, it’s no fun for your eyes—or your patience. A well-lit craft room is like a spotlight on your creativity, ensuring every brushstroke and detail gets the illumination it deserves. If you have access to natural sunlight, position your workspace near a window to soak in those energizing rays. Otherwise, consider overhead lights, desk lamps, and even clip-on lamps for targeted brightness. Full-spectrum bulbs can mimic daylight, helping you see color nuances more accurately. You might also throw in some fairy lights for ambiance—because who says practicality can’t also be magical? When your room is well-lit, you’ll find your work flows more smoothly and less strainfully.
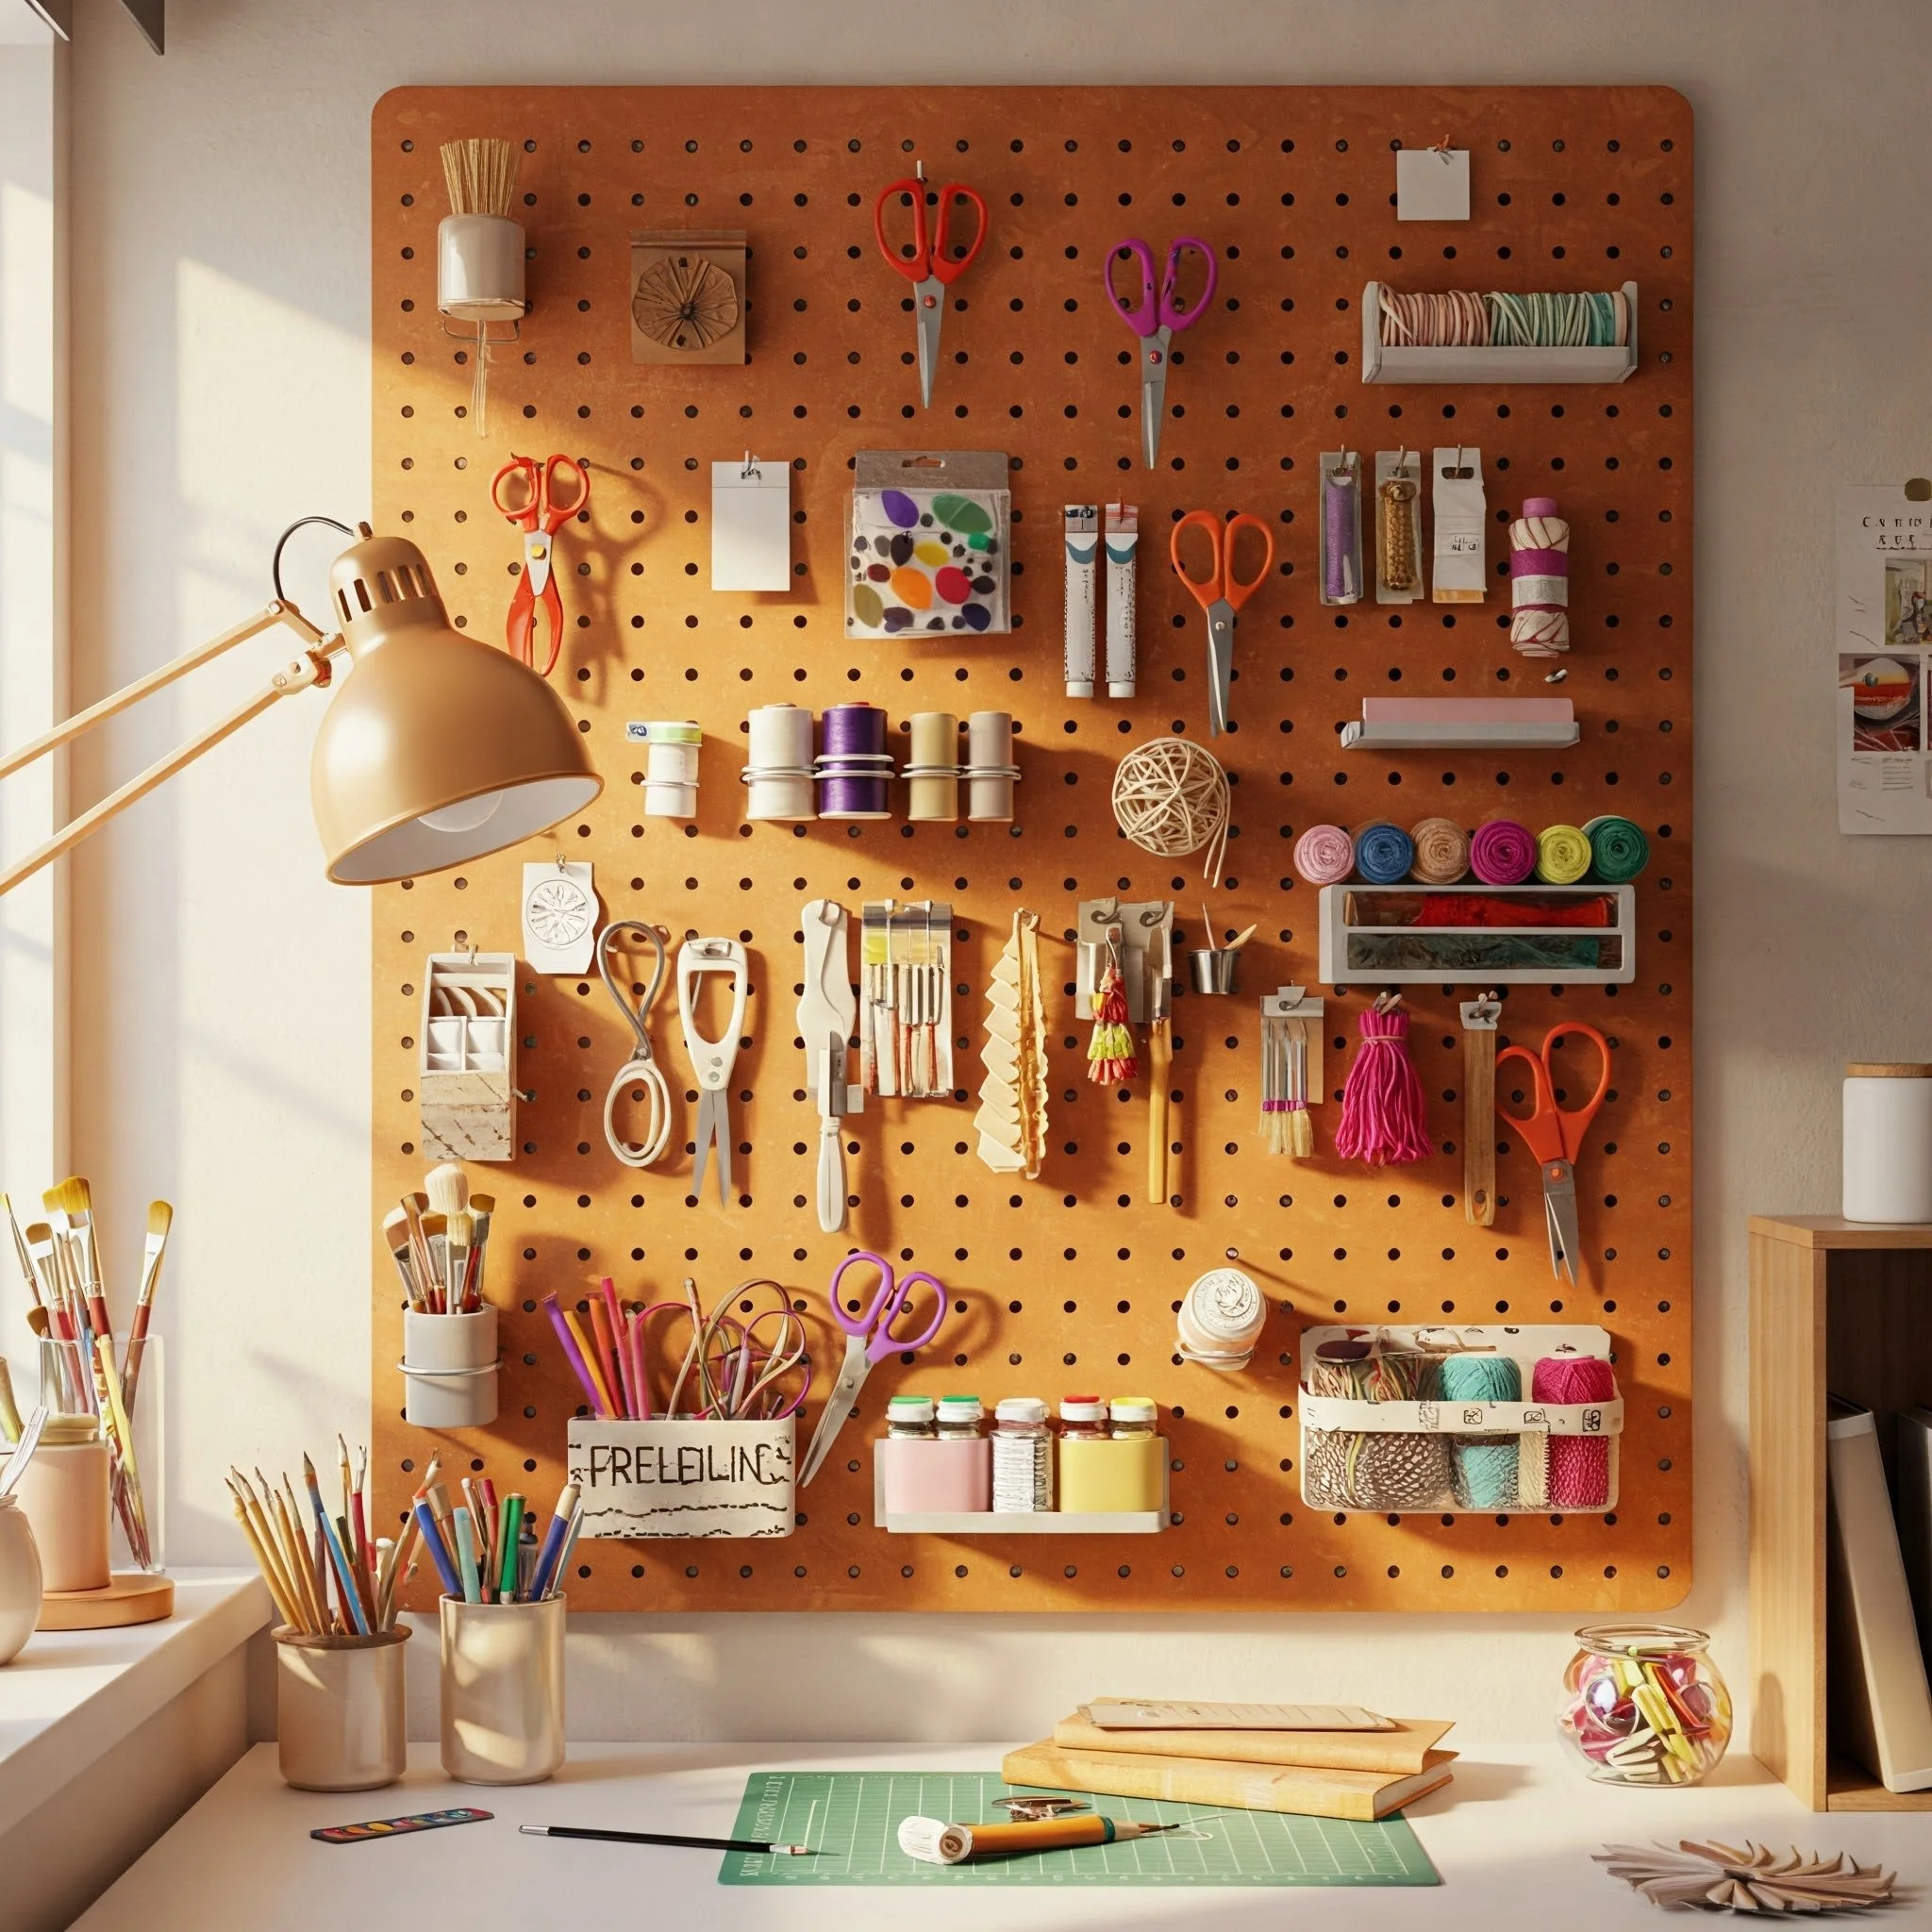
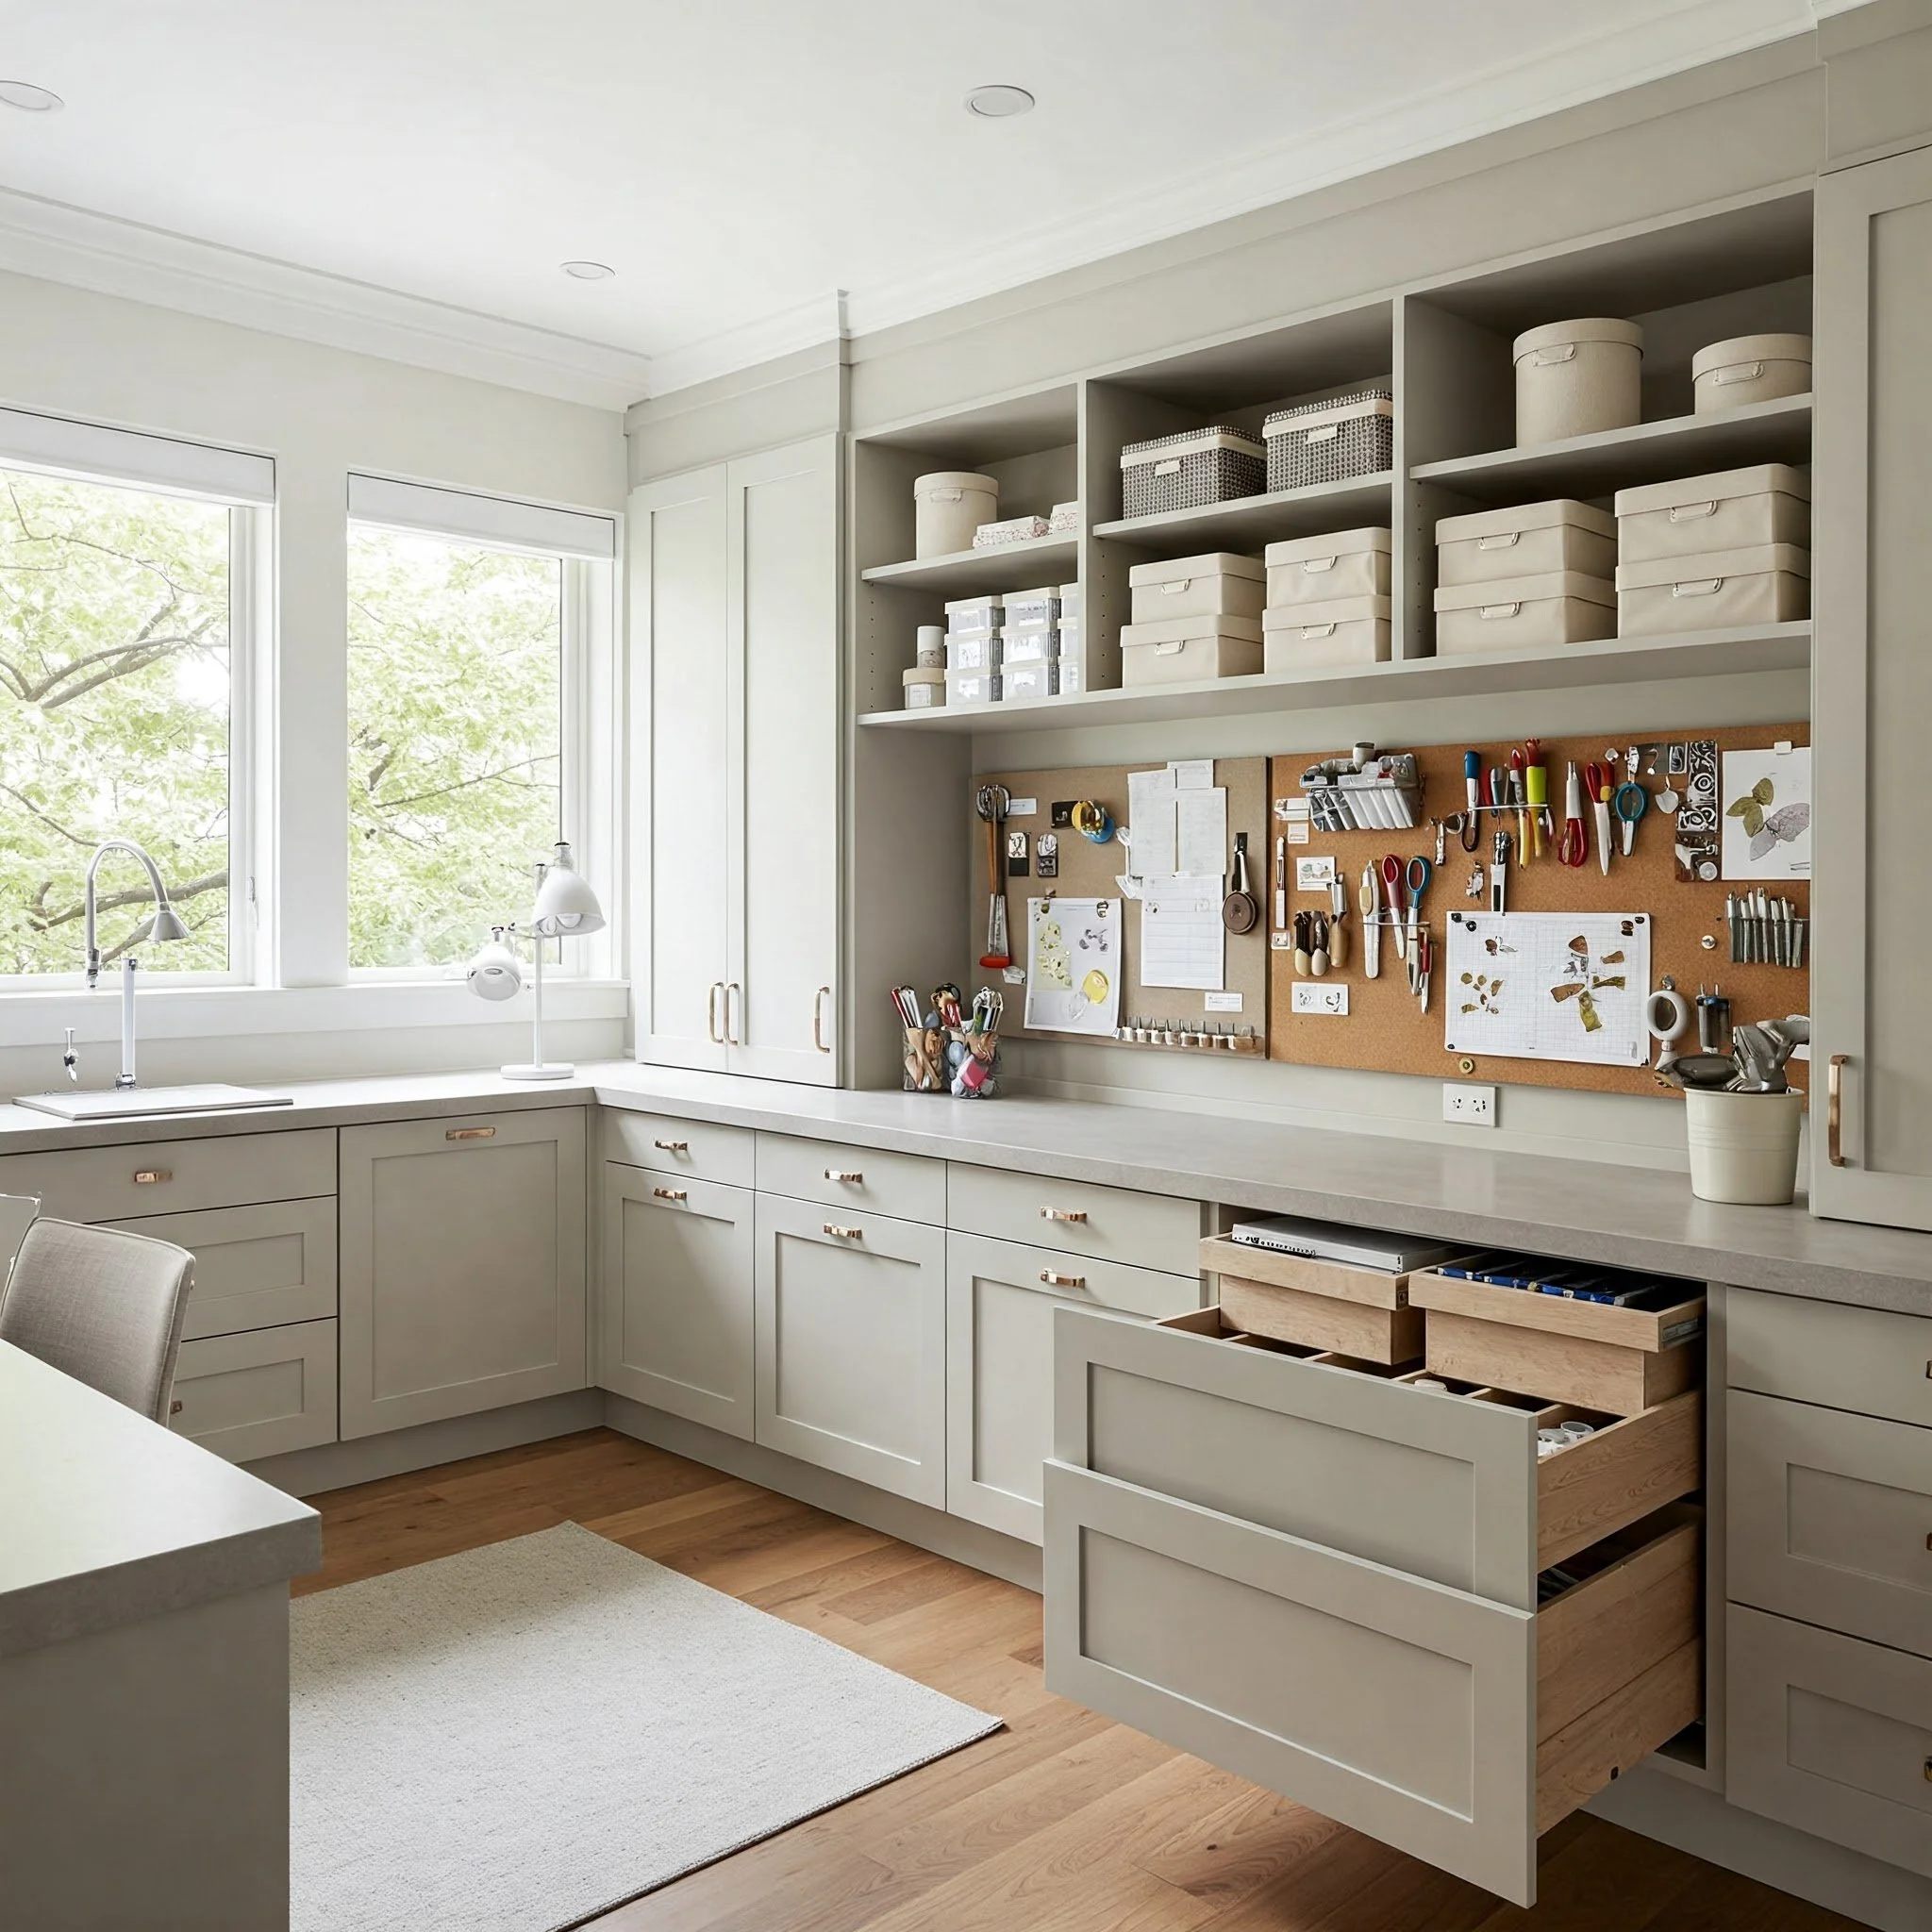
8. Hang a Pegboard for Easy Access
Imagine never having to hunt for your scissors or tape measure again. A pegboard does precisely that by turning your wall into a tool organizer’s paradise. Each hook or small shelf can hold essentials like scissors, rulers, or spools of thread, all within arm’s reach. Plus, rearranging is a breeze—just unhook and place elsewhere if you decide a particular tool belongs on the other side. Pegboards aren’t solely about functionality; they’re also an avenue for self-expression. Paint them in a color that matches your room’s vibe or even outline your tools in chalk or washi tape for a playful twist. With a pegboard, your craft room morphs into a hands-on control center, letting you stay in the zone without rummaging through drawers for your much-needed supplies.
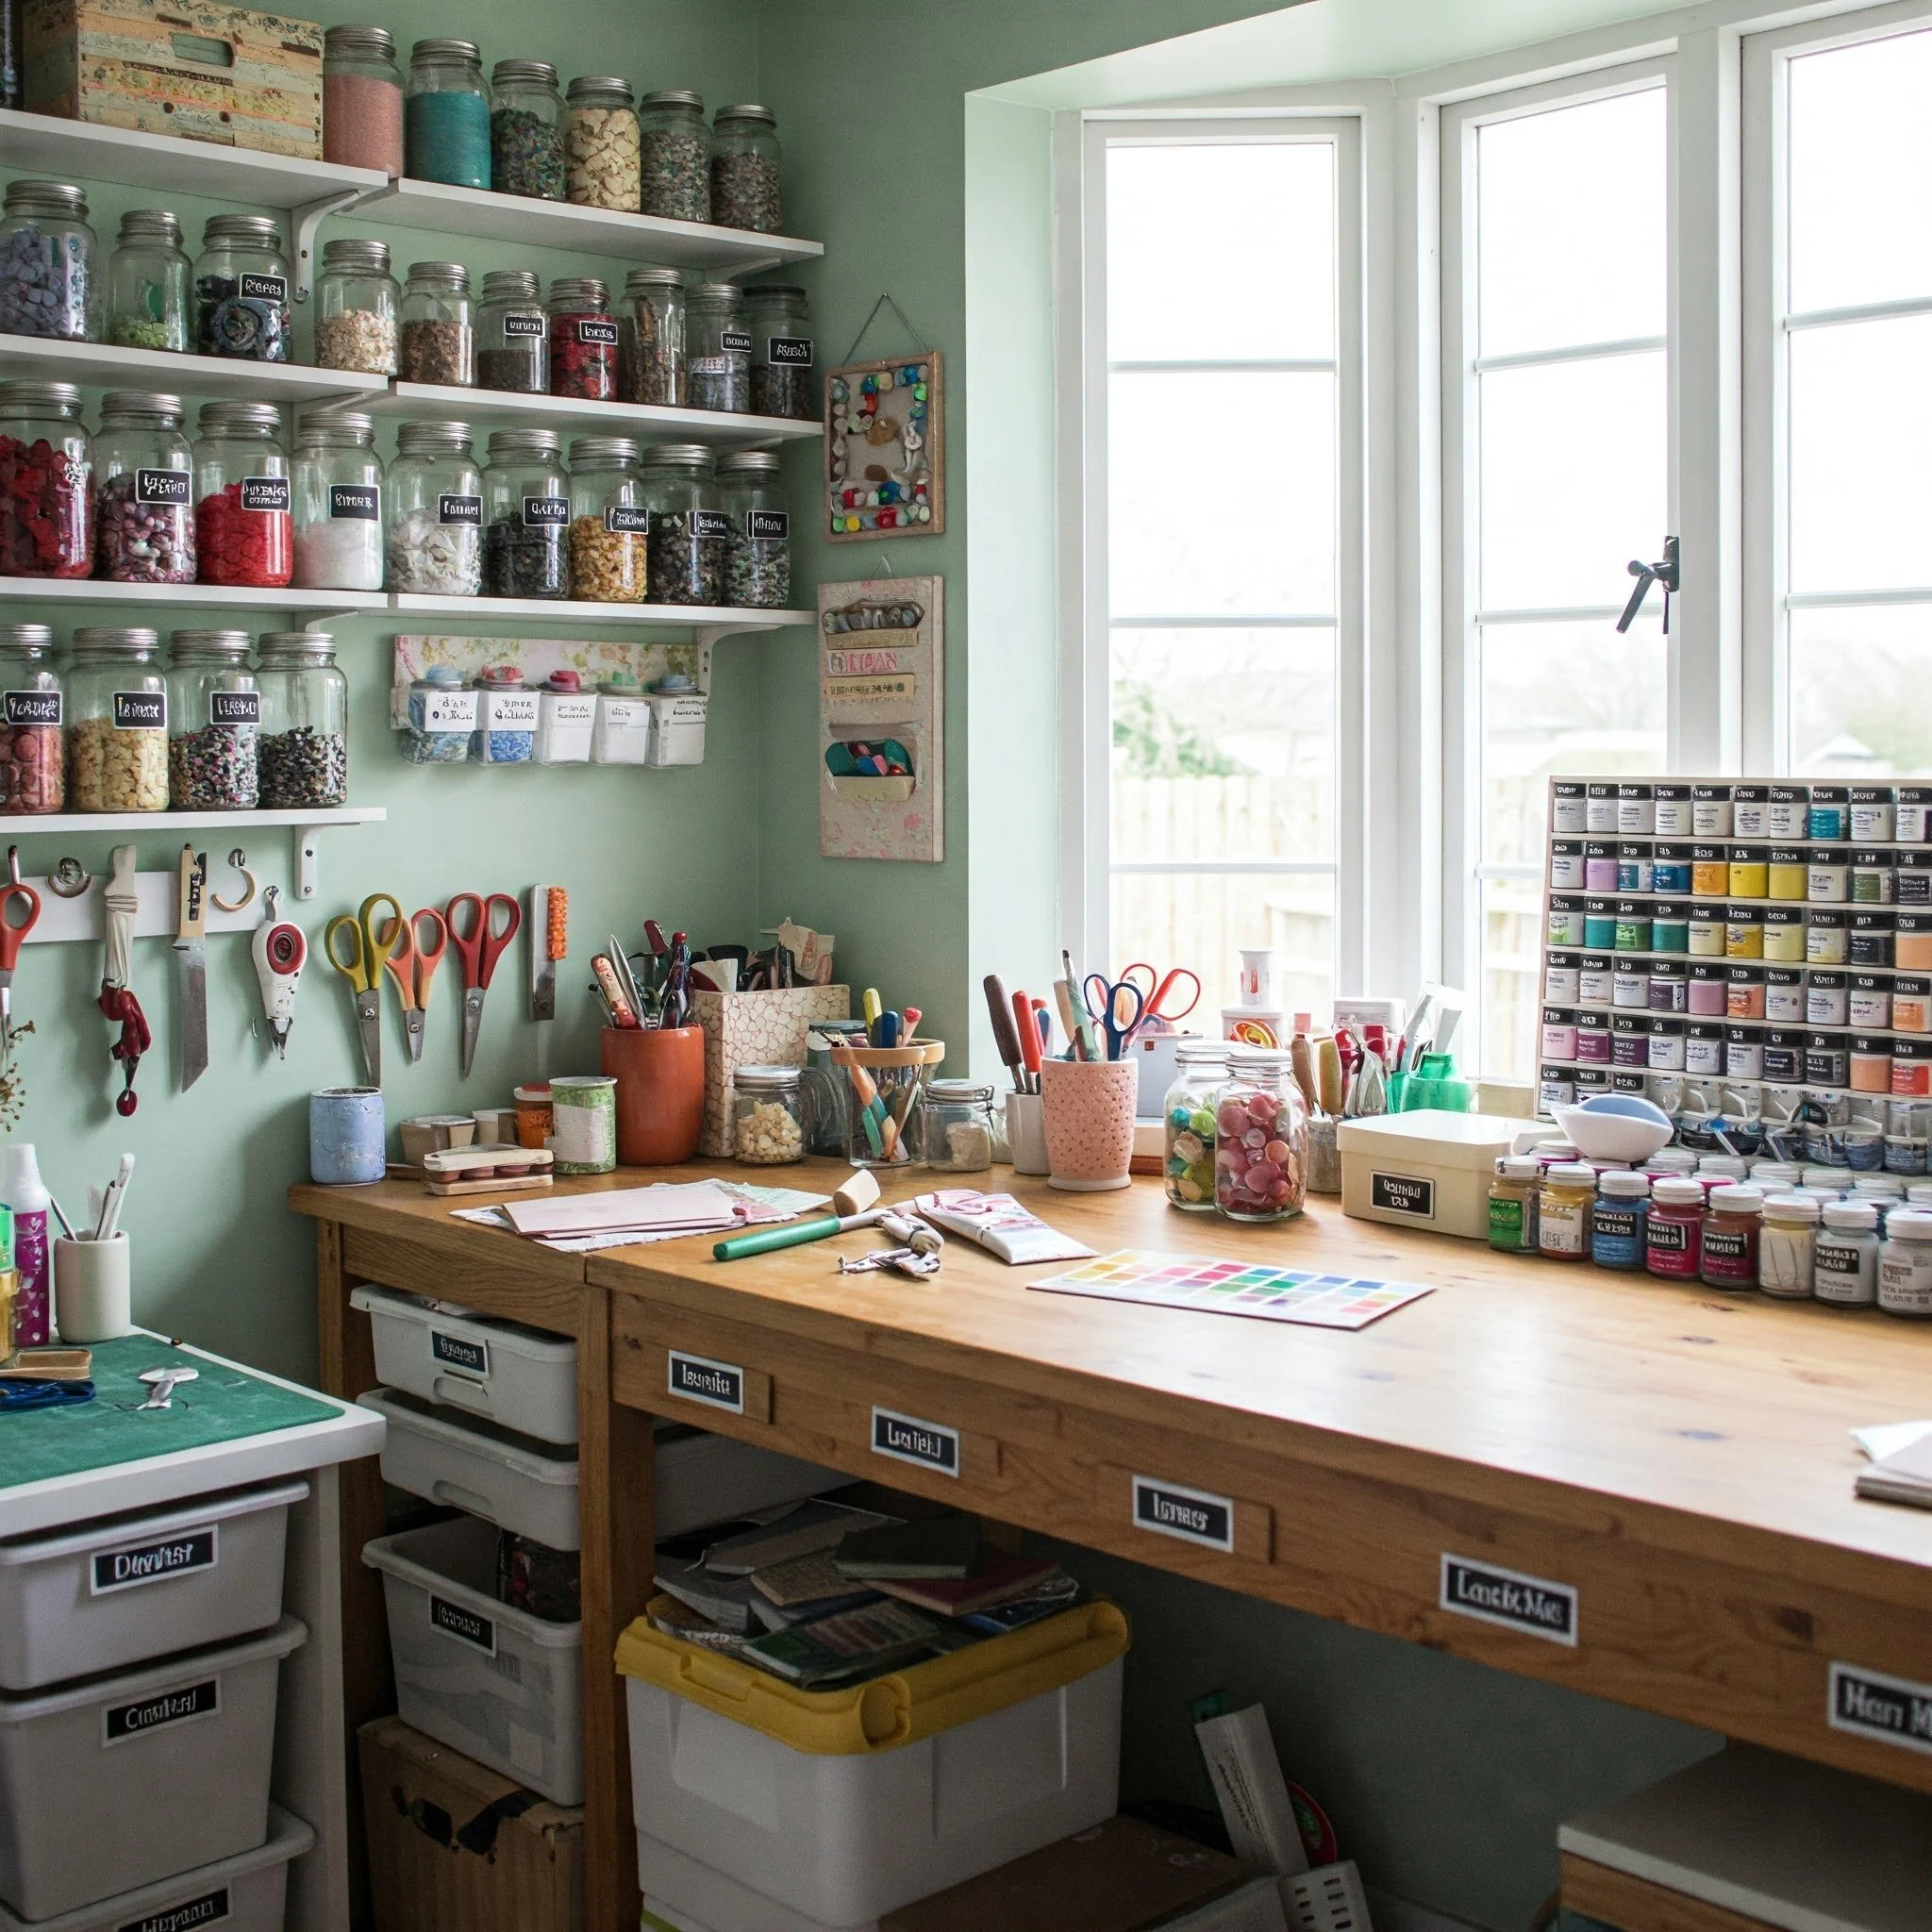
9. Label Everything (Yes, Everything!)
Having a craft room is one thing; finding what you need within it is another story. Enter labels, the unsung heroes of an organized space. Whether you opt for a fancy label maker or simply use handwritten stickers, labeling your storage containers, drawers, and shelves can be a true game-changer. It’s like giving each supply its own name tag, helping you remember exactly where it lives. This system also becomes invaluable when you’re juggling multiple projects—no more confusion about where that special type of glue or the washi tape collection resides. Labels can be decorative too: think chalkboard labels for jars or colorful tags tied onto baskets. Ultimately, labeling everything is about treating your craft room like the well-orchestrated stage it deserves to be.
10. Prioritize Comfort and Ergonomics
Crafting is a lot like a marathon—if you plan to go the distance, you need to pace yourself. An ergonomic chair with good lumbar support can be your best friend during extended sessions at the sewing machine or painting easel. Likewise, ensure your table or desk is at the correct height to prevent strain on your neck and shoulders. You might consider an anti-fatigue mat if you prefer standing while cutting fabrics or assembling miniatures. After all, the last thing you want is to cut your crafting time short because your back starts protesting. Think of your craft room as a mini studio for your art, and you’re the lead performer who needs a comfortable stage. Prioritizing comfort will let you dive into your projects for hours without regrets.
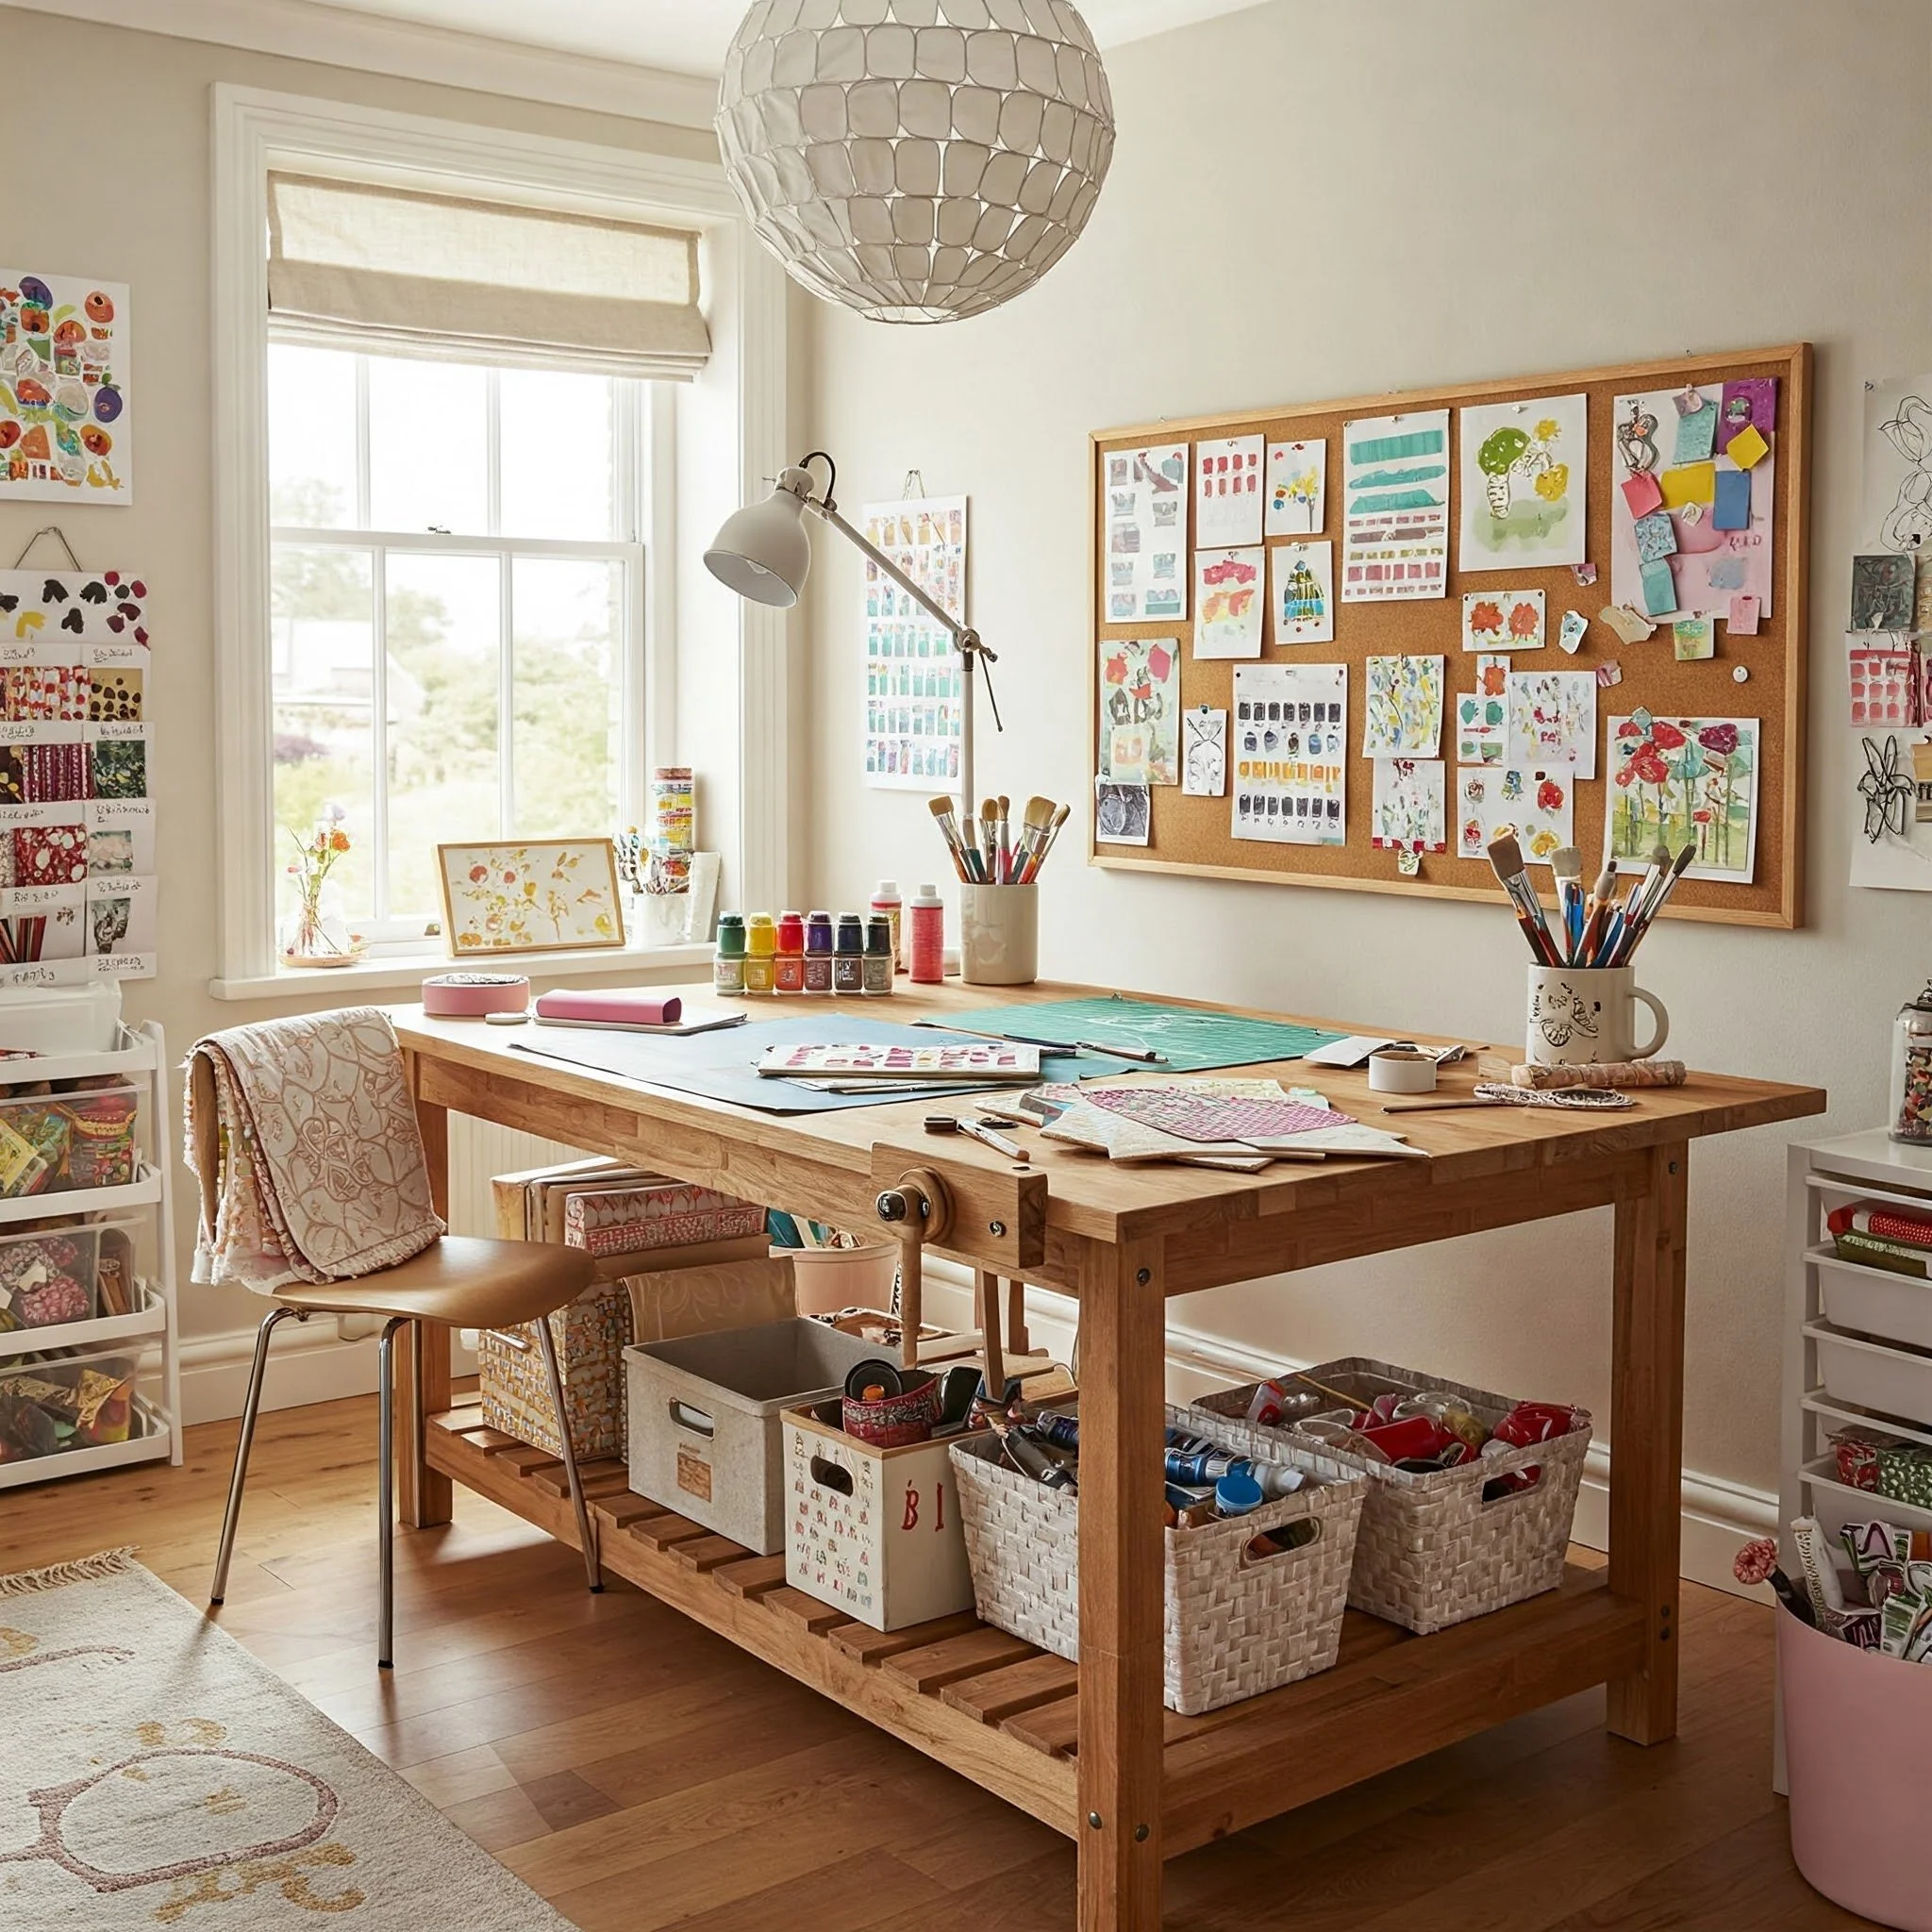
11. Display Your Finished Projects
Why hide away your masterpieces when they can become the star attractions of your craft room? Displaying your finished works not only adds a personal touch but also serves as daily motivation. Hang paintings or sketches along the walls, line up handmade pottery on shelves, or pin crocheted doilies onto a corkboard. It’s like turning your workspace into a tiny art gallery dedicated solely to your achievements. Seeing what you’ve already created can spark new ideas and remind you that you’re capable of bringing imaginative visions to life. Plus, these displays can double as conversation starters when guests drop by. Think of it as a living, breathing portfolio—one that evolves with every finished project, continuously inspiring you to keep those creative juices flowing.
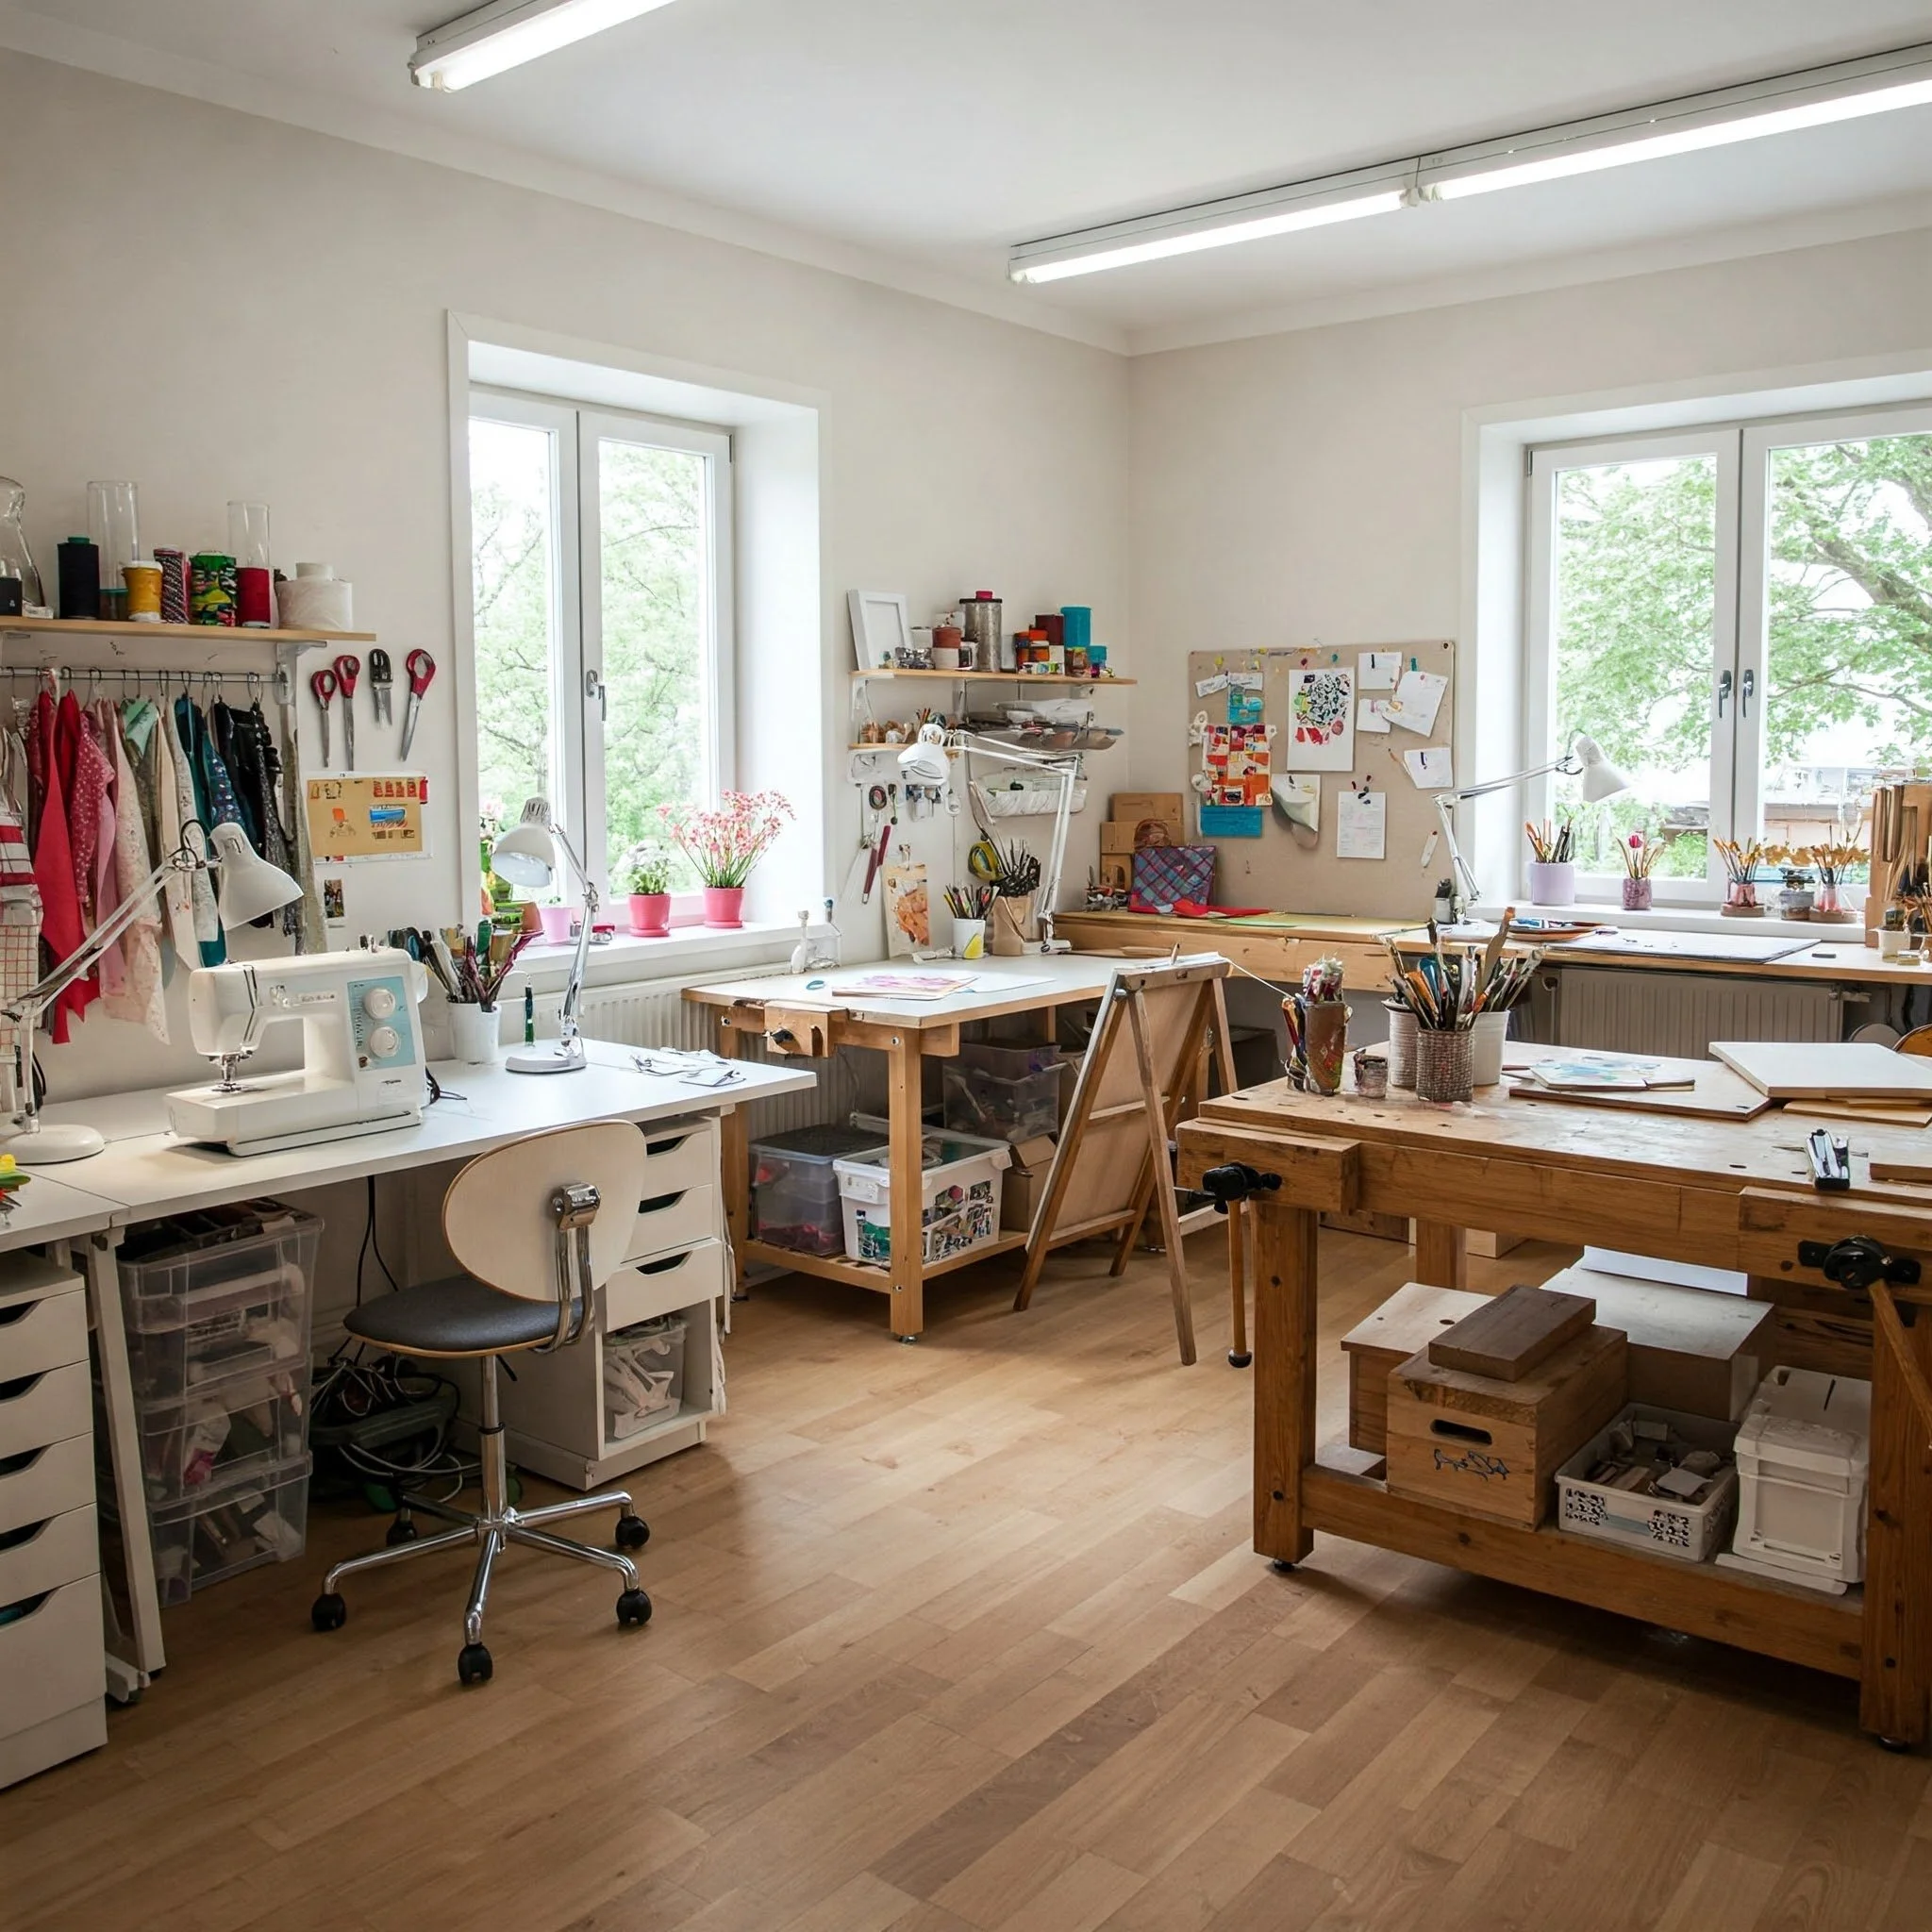
12. Incorporate Multiple Workstations
If you’re juggling different crafts—say, quilting on Mondays and paper crafting on Tuesdays—it might help to set up separate workstations. Each station can cater to the specific tools and materials you need for that niche. Imagine a cozy corner with a sewing machine always at the ready, alongside a dedicated table where your stamping and scrapbook supplies reside. This setup reduces the hassle of constantly rearranging and clearing off surfaces. It’s a bit like having separate cooking stations in a professional kitchen—everything is in its place for the task at hand. Of course, you’ll need to consider available space, but even small rooms can accommodate dual-purpose tables or fold-down units. By dividing your crafts, you streamline your workflow and keep your environment pleasantly organized.
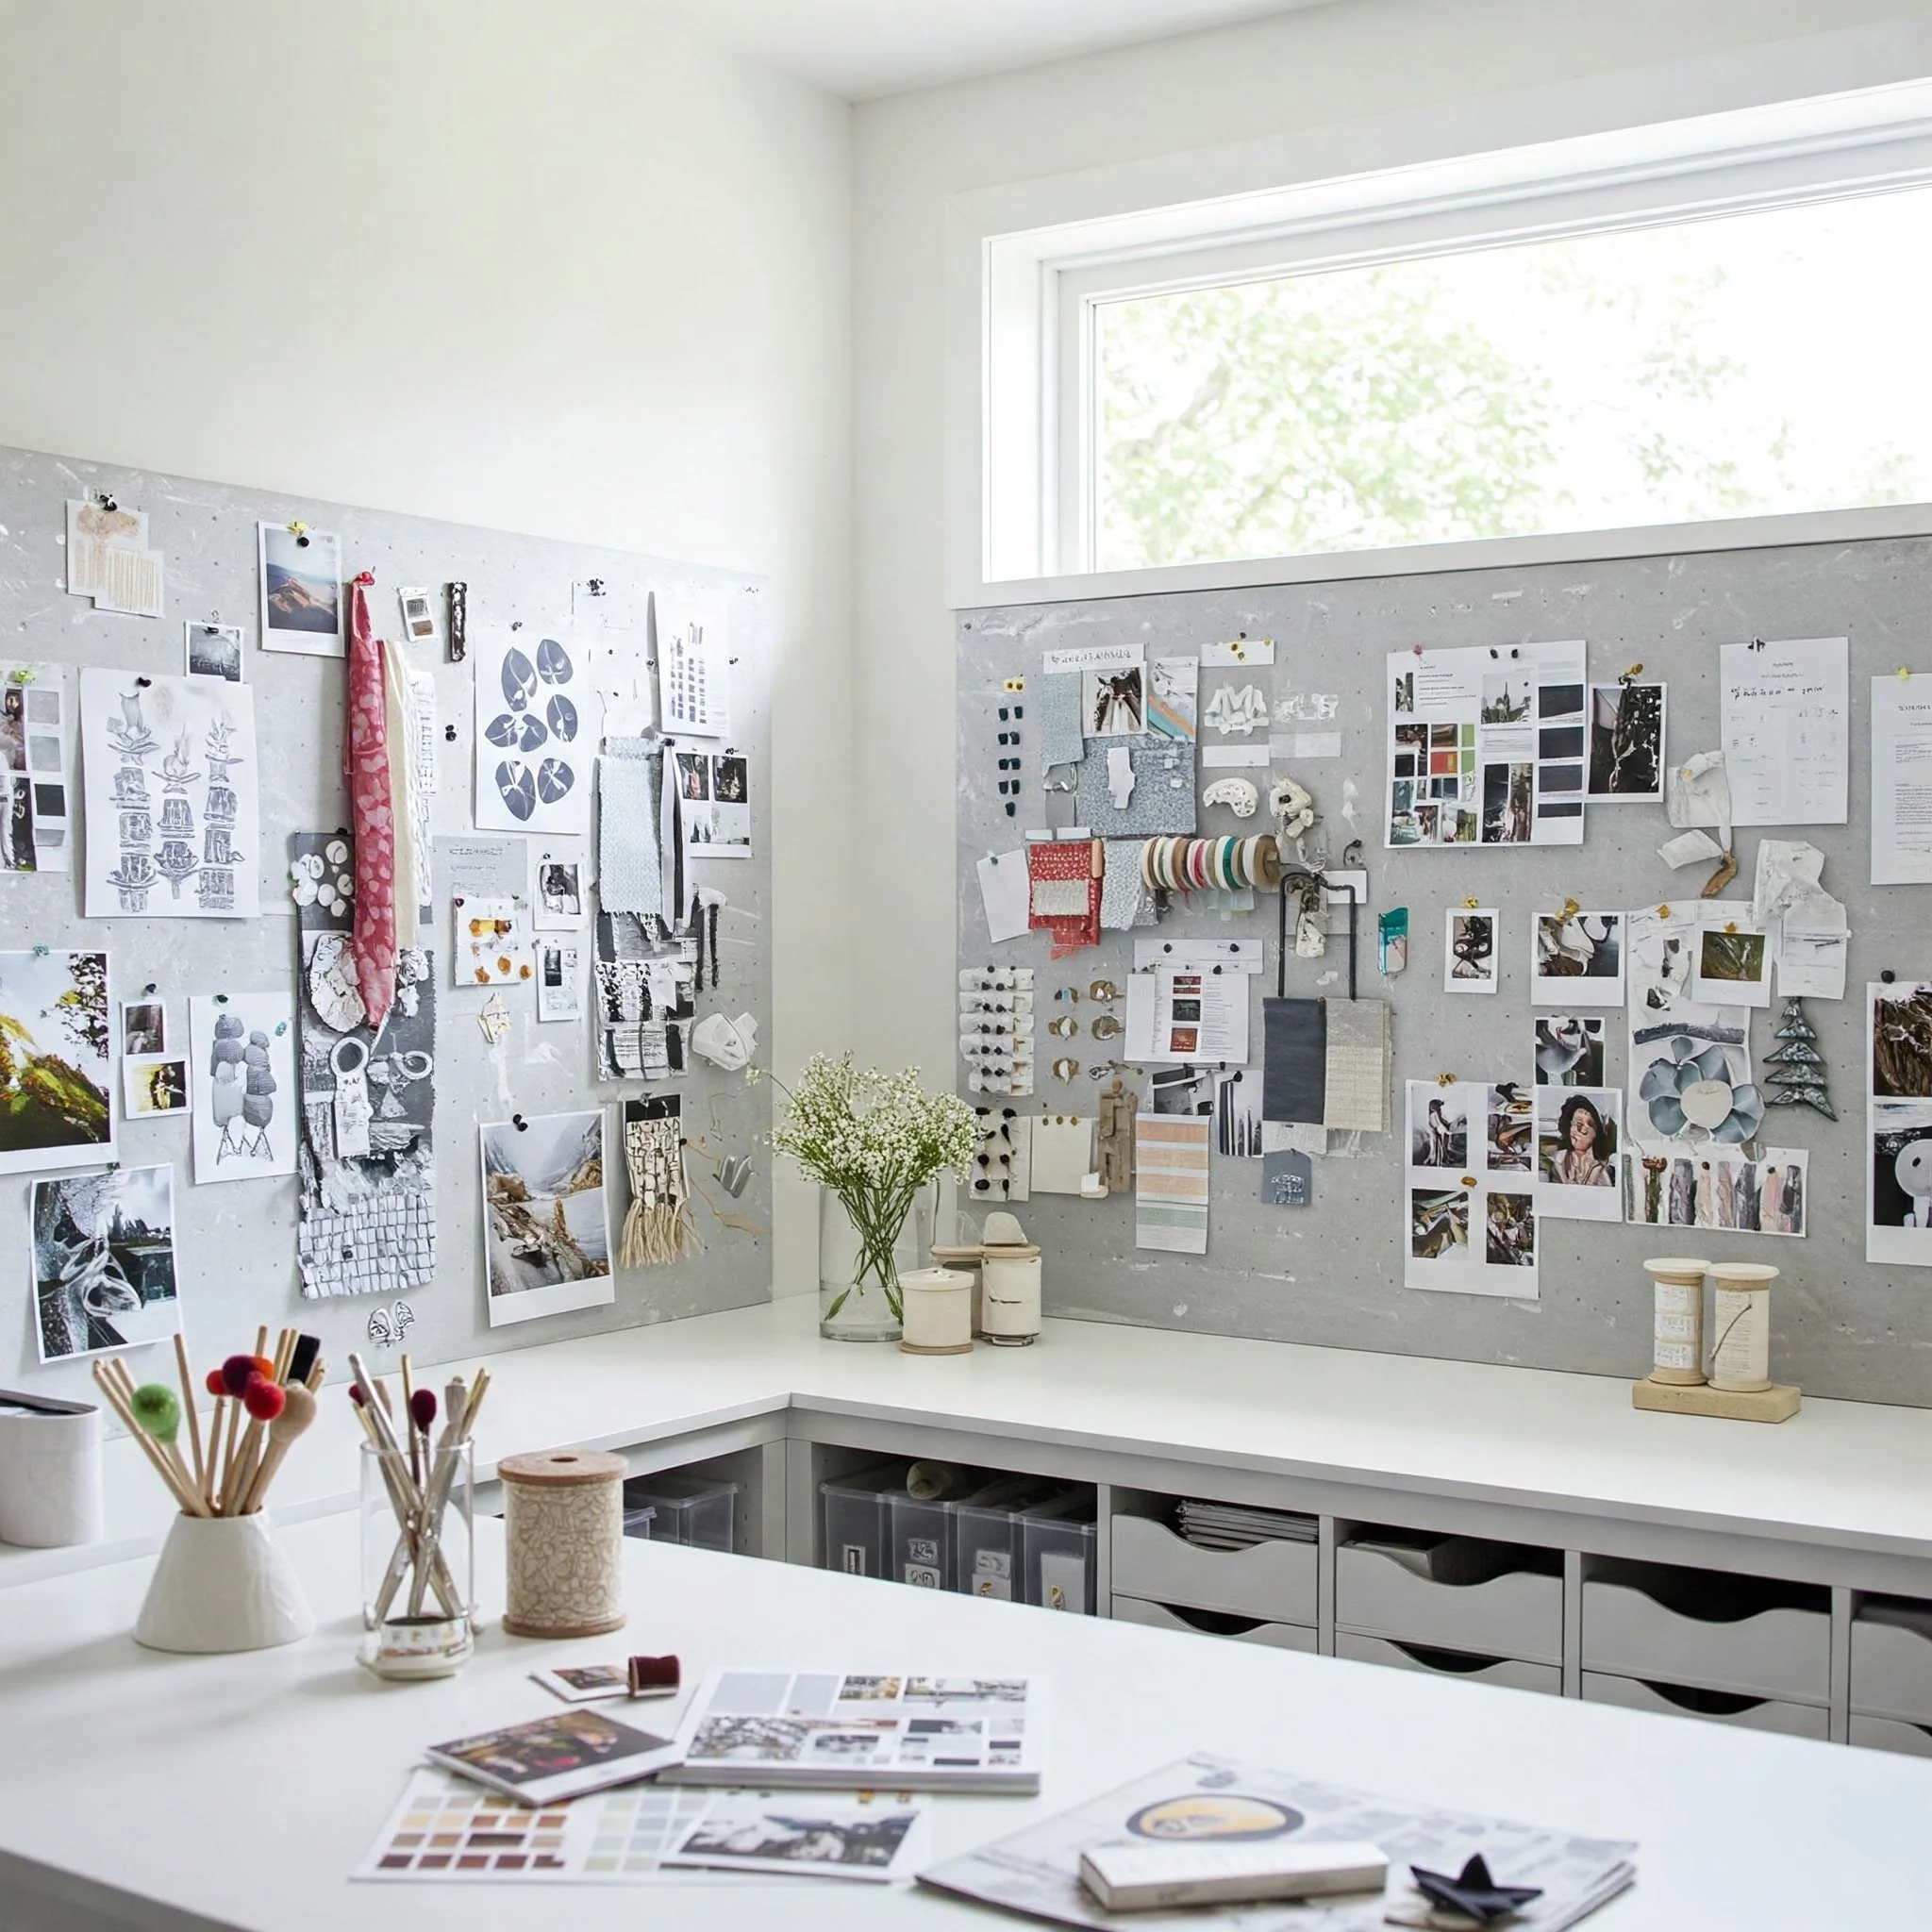
13. Incorporate Inspiration Boards
Have you ever stared at a blank page, waiting for the muse to strike? An inspiration board can be your go-to source for igniting that spark. Whether it’s a corkboard, a magnetic board, or a set of strings pinned across a canvas, fill it with images, quotes, fabric swatches—anything that lights your creative fire. Think of it as a visual diary of your evolving interests and artistic goals. For instance, you might pin color palettes you adore, sketches for future projects, or motivational phrases that keep you going when you’re knee-deep in glitter. This mood board not only helps you stay on track but also transforms your craft room into a living collage of your style. Essentially, it’s like having a personal cheerleader right there on the wall.
14. Hide Clutter with Smart Solutions
Not everything in your craft room is meant to be on display—some items are better stashed out of sight, particularly if they clash with your room’s aesthetic. That’s where smart storage solutions come in. Sliding cabinet doors, rolling carts tucked under tables, or collapsible storage ottomans can keep clutter at bay. Think of these hiding spots as the backstage area of a theater: all the props and gear are there, but the audience only sees the polished performance. Multi-tiered trolleys are especially handy for storing half-finished projects, freeing your main desk for ongoing tasks. The idea is to maintain a clear, inviting space so you feel relaxed and excited to dive into your next craft session without battling a sea of random supplies.
15. Keep Tech Tools Handy
In our digital age, crafting can sometimes require more than just glue and glitter. Maybe you’re editing design templates on a laptop or using a digital cutting machine that needs a stable power outlet. Keeping these tech tools close at hand can streamline your process, letting you transition seamlessly from the physical to the digital realm. Consider installing a small shelf for your laptop or tablet, complete with a cable organizer to prevent cord tangles. A power strip with surge protection can be hidden under your desk or mounted to the wall, ensuring you don’t have to scrabble around for an outlet mid-project. By integrating technology into your craft room, you open up a whole new world of tutorials, digital designs, and of course, endless creative possibilities.
Conclusion
From carving out a tiny corner of your living space to filling an entire spare room, crafting is about more than just a hobby—it’s a way to express who you are. These 15 ideas can help you shape a craft room that suits your unique style, whether you’re an occasional dabbler or a full-fledged DIY dynamo. Think of each suggestion as a puzzle piece, snapping into place until you’ve built a space that feels genuinely yours. By prioritizing organization, comfort, and a dash of personal flair, you’ll find that your craft room quickly becomes a treasured retreat for mind, heart, and hands alike.
Read next: 15 Small Craft Room Ideas for Creative Spaces
Frequently Asked Questions
1. How do I keep my craft room from looking messy while I work?
A quick tip is to set up “in-progress” bins or trays for each project. This way, all current materials stay together, preventing the entire room from looking like a creative cyclone hit it.
2. I share my craft room with my spouse’s office. Any tips?
Use room dividers or even tall shelves to visually separate your workspace. Label your bins clearly so you won’t mix up craft supplies with office documents. Respecting each other’s zones helps maintain harmony.
3. What if I’m on a tight budget for craft room furniture?
Get resourceful with thrift-store finds or items you already own. An old dining table can become your crafting desk, and basic shelves can be prettied up with paint and decorative paper.
4. How do I store tiny items like beads and sequins?
Transparent pill organizers or tackle boxes work wonders. They’re small enough to fit in drawers and keep your miniature supplies separated and visible at a glance.
5. Any advice for crafters with kids in the house?
Create a separate “kid-friendly” section with washable markers or child-safe scissors. Encourage them to explore creativity alongside you, but keep sharp tools and messy supplies in labeled, out-of-reach containers.
Stay up to date with our latest ideas!