How to Fix Vinyl Plank Flooring Separating: A Simple DIY Guide
Learn how to fix vinyl plank flooring separating with this simple DIY guide, offering easy steps to restore a seamless and professional finish in your home.
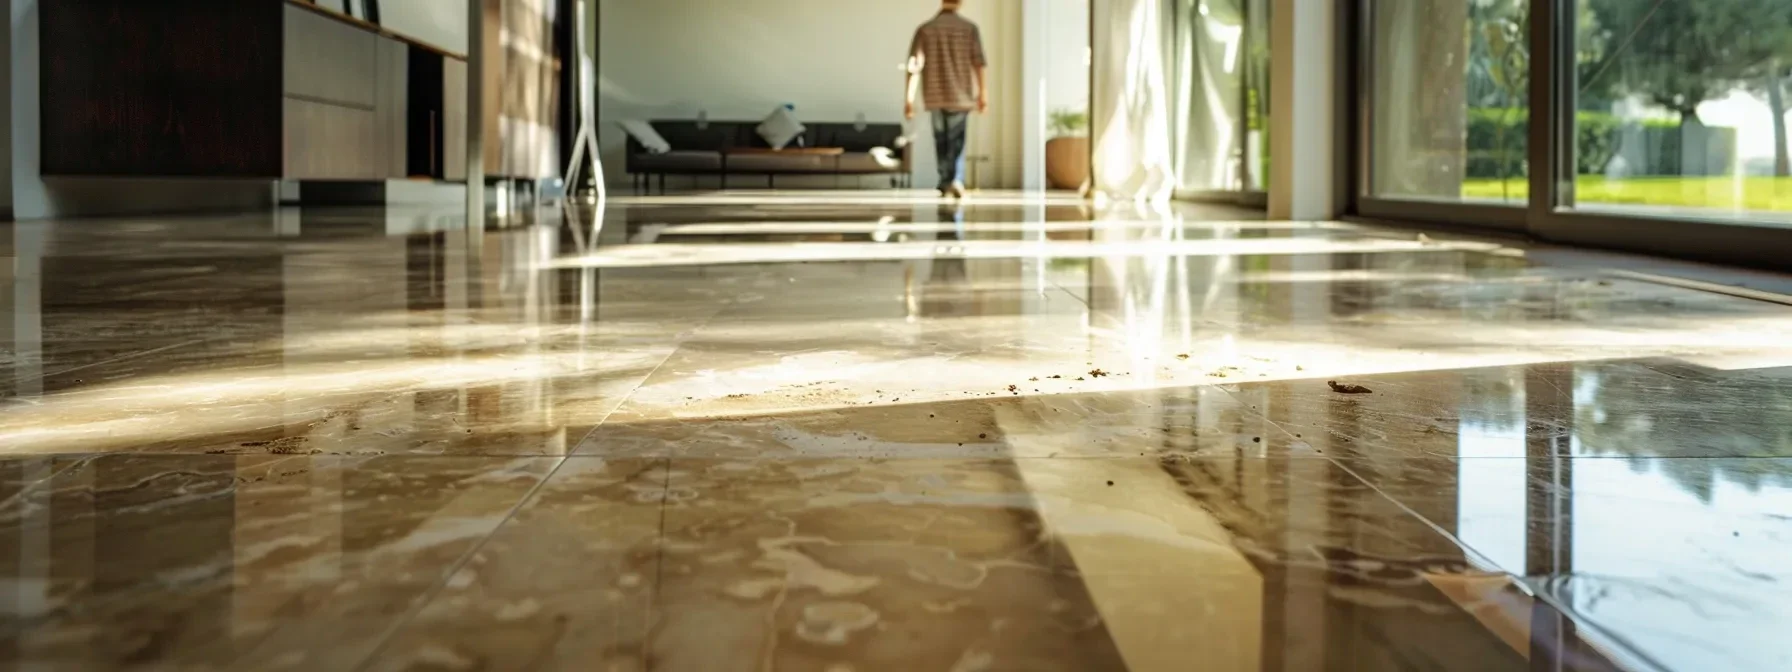
Vinyl plank flooring is a popular choice for its durability, ease of maintenance, and modern appearance. However, over time, issues such as separating or gapping between planks can arise. These problems might be due to factors like poor installation, fluctuations in humidity, or issues with the subfloor. Fortunately, repairing separating vinyl planks is often a manageable DIY task.
Elmwood Flooring experts suggest a detailed approach to how to repair vinyl flooring to address these issues effectively. Here’s a comprehensive, step-by-step guide to help you restore your vinyl flooring to its original condition:
Assess the Problem
Before starting repairs, it's crucial to diagnose the cause of the separation. Begin by inspecting the affected areas to determine if the issue is isolated or widespread. Common causes include:
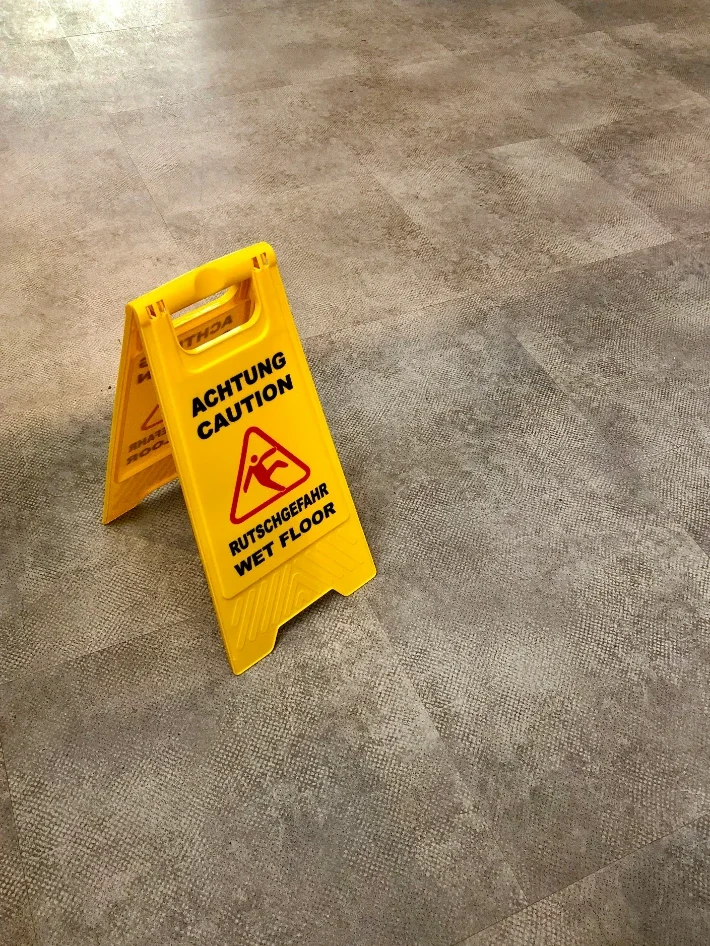
Temperature and Humidity Fluctuations: Vinyl planks can expand and contract with changes in temperature and humidity, leading to gaps.
Improper Installation: Gaps may occur if the planks were not properly acclimated before installation or if there was insufficient adhesive used.
Subfloor Issues: An uneven or damaged subfloor can cause the planks to shift or separate.
Identifying the root cause helps you choose the most effective repair method and prevents similar issues in the future.
Prepare the Area
To initiate the repair process, first clear the area of all furniture and other obstructions. Thoroughly clean the vinyl flooring to remove any dust, dirt, or debris that could interfere with the repair. A clean surface ensures better adhesion and a smoother repair process. Use a vacuum or a broom and mop the area, making sure it’s completely dry before proceeding. Proper preparation of the area is essential for a successful and long-lasting repair.
Check for Subfloor Issues
If you suspect that the subfloor may be causing the separation:
Ensure it is Clean and Dry: Any debris or moisture can affect the adhesive used in repairs.
Level the Subfloor: Use a level to check for uneven areas. Address any high or low spots with a leveling compound, as an uneven subfloor can lead to further separation issues.
A stable, even subfloor is crucial for maintaining the integrity of the vinyl flooring.
Reattach Loose Planks
For minor separations, reattaching the planks can be done using adhesive or a flooring repair kit. Start by cleaning the gap with a vacuum or soft brush to remove any debris. Then, apply a vinyl flooring adhesive or repair glue into the gap using a caulking gun or brush. Press the planks firmly together to spread the adhesive evenly. You might need to place a weighted object on the planks to hold them in place while the adhesive dries, ensuring a secure bond.
Use a Heat Gun (If Necessary)
If vinyl planks are misaligned or warped, a heat gun can be a useful tool. Gently heat the affected area to soften the vinyl, making it more pliable. Carefully press the planks back into place, ensuring proper alignment. Be cautious not to overheat the vinyl, as excessive heat can damage the planks. Using a heat gun effectively can help restore the planks' original position and reduce gaps.
Address Humidity and Temperature Issues
To address separation caused by humidity or temperature fluctuations, stabilize your home’s environment. Use a humidifier or dehumidifier to maintain consistent humidity levels. Ensure that your home’s temperature is stable, avoiding extreme changes. Additionally, keep vinyl flooring away from direct sunlight for extended periods, as this can exacerbate expansion and contraction issues. Managing the environment will help prevent future separation problems.
Replace Damaged Planks (If Needed)
If the separation is extensive or the planks are too damaged to repair, replacement may be necessary. Carefully remove the damaged planks and prepare the area for new ones. Ensure the new planks fit snugly and align properly with the existing flooring. Follow manufacturer instructions for installation to ensure a proper fit and finish. Replacing damaged planks can restore the appearance and functionality of your vinyl flooring.
Regular Maintenance
To prevent future issues with your vinyl plank flooring, regular maintenance is key. Clean the floor regularly to keep it free of dirt and debris that could cause damage. Monitor humidity levels and maintain a stable temperature in your home. Address any potential issues promptly to avoid more significant problems. By staying on top of maintenance, you can extend the life of your vinyl plank flooring and keep it looking its best.
Conclusion
Fixing separating vinyl plank flooring can be a manageable DIY project with the right approach. By understanding the cause of the problem, preparing the area, and applying appropriate repair techniques, you can restore your flooring and maintain its appearance and durability. With a bit of effort and care, your vinyl plank flooring will look as good as new and continue to enhance your space for years to come.
Stay up to date with our latest ideas!