How to Inspect Your Roof for Hidden Damage and Needed Repair
Learn how to inspect your roof for hidden damage and necessary repairs to prevent costly issues. Follow these expert tips for a thorough assessment.

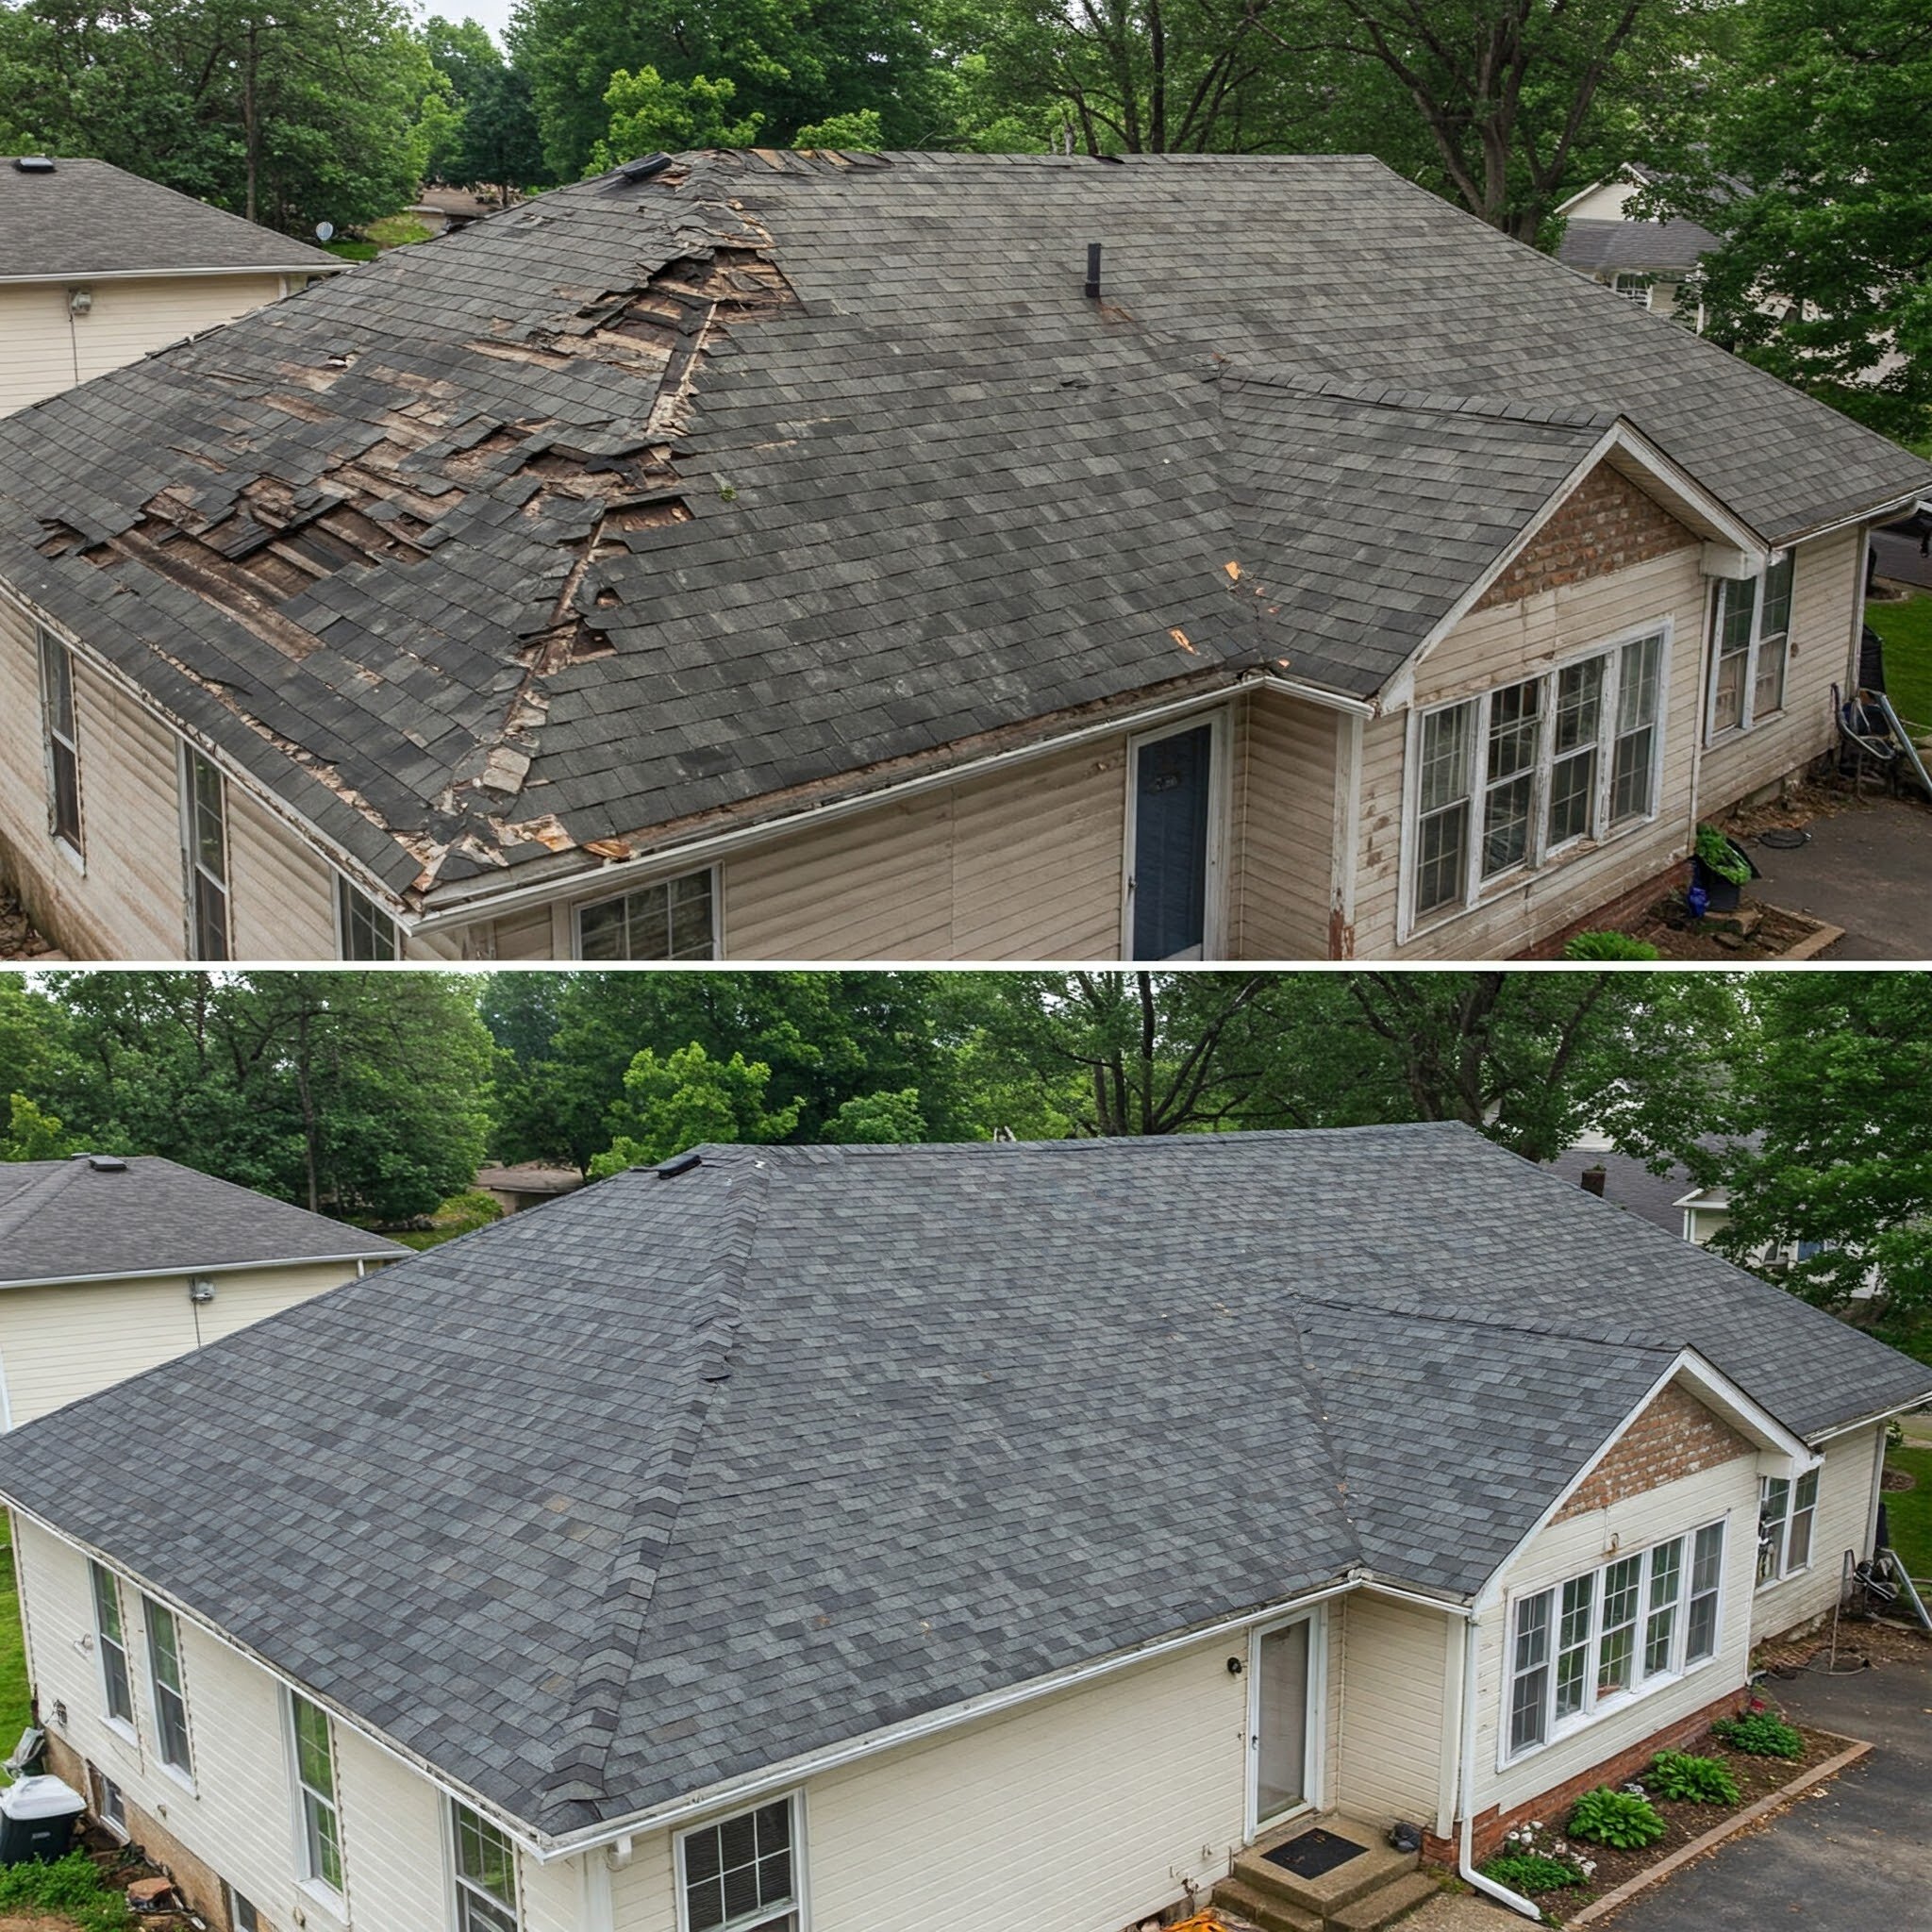
Your roof is your home's first line of defense against the elements, yet it's often overlooked until serious problems arise. Regular inspection can help identify hidden damage before it leads to costly repairs or premature replacement. While professional roofers should handle major issues, homeowners can perform basic inspections to spot early warning signs. This comprehensive guide will walk you through the process of inspecting your roof for hidden damage and determining when repairs are necessary.
Start with an Interior Inspection
Before climbing a ladder, begin your inspection from inside your home. Head to your attic during daylight hours and look for these telltale signs of roof problems:
Water stains on the ceiling or walls may indicate a leak. Track these stains to their highest point to locate the source. Dark streaks or mold growth suggest ongoing moisture issues. Examine roof sheathing for discoloration, warping, or soft spots, which indicate water infiltration. Check for daylight showing through the roof, a clear sign of holes or gaps. Feel for drafts that might suggest air leakage around vents or other roof penetrations.
Exterior Ground-Level Assessment
Next, conduct a visual inspection from the ground using binoculars for a closer look:
Scan the roof line for any sagging areas, which may indicate structural problems with rafters or decking. Examine the overall appearance, looking for inconsistent coloring or obvious damaged areas. Check for missing, cracked, or curling shingles. Inspect gutters and downspouts for proper attachment and signs of clogging. Look for excessive granule accumulation in gutters or at the base of downspouts, indicating shingle deterioration.
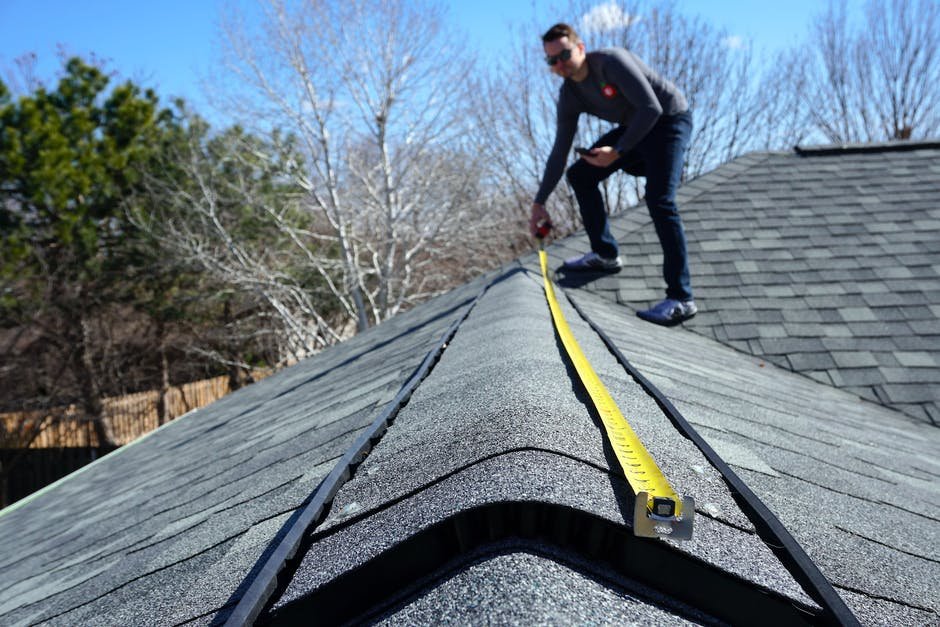
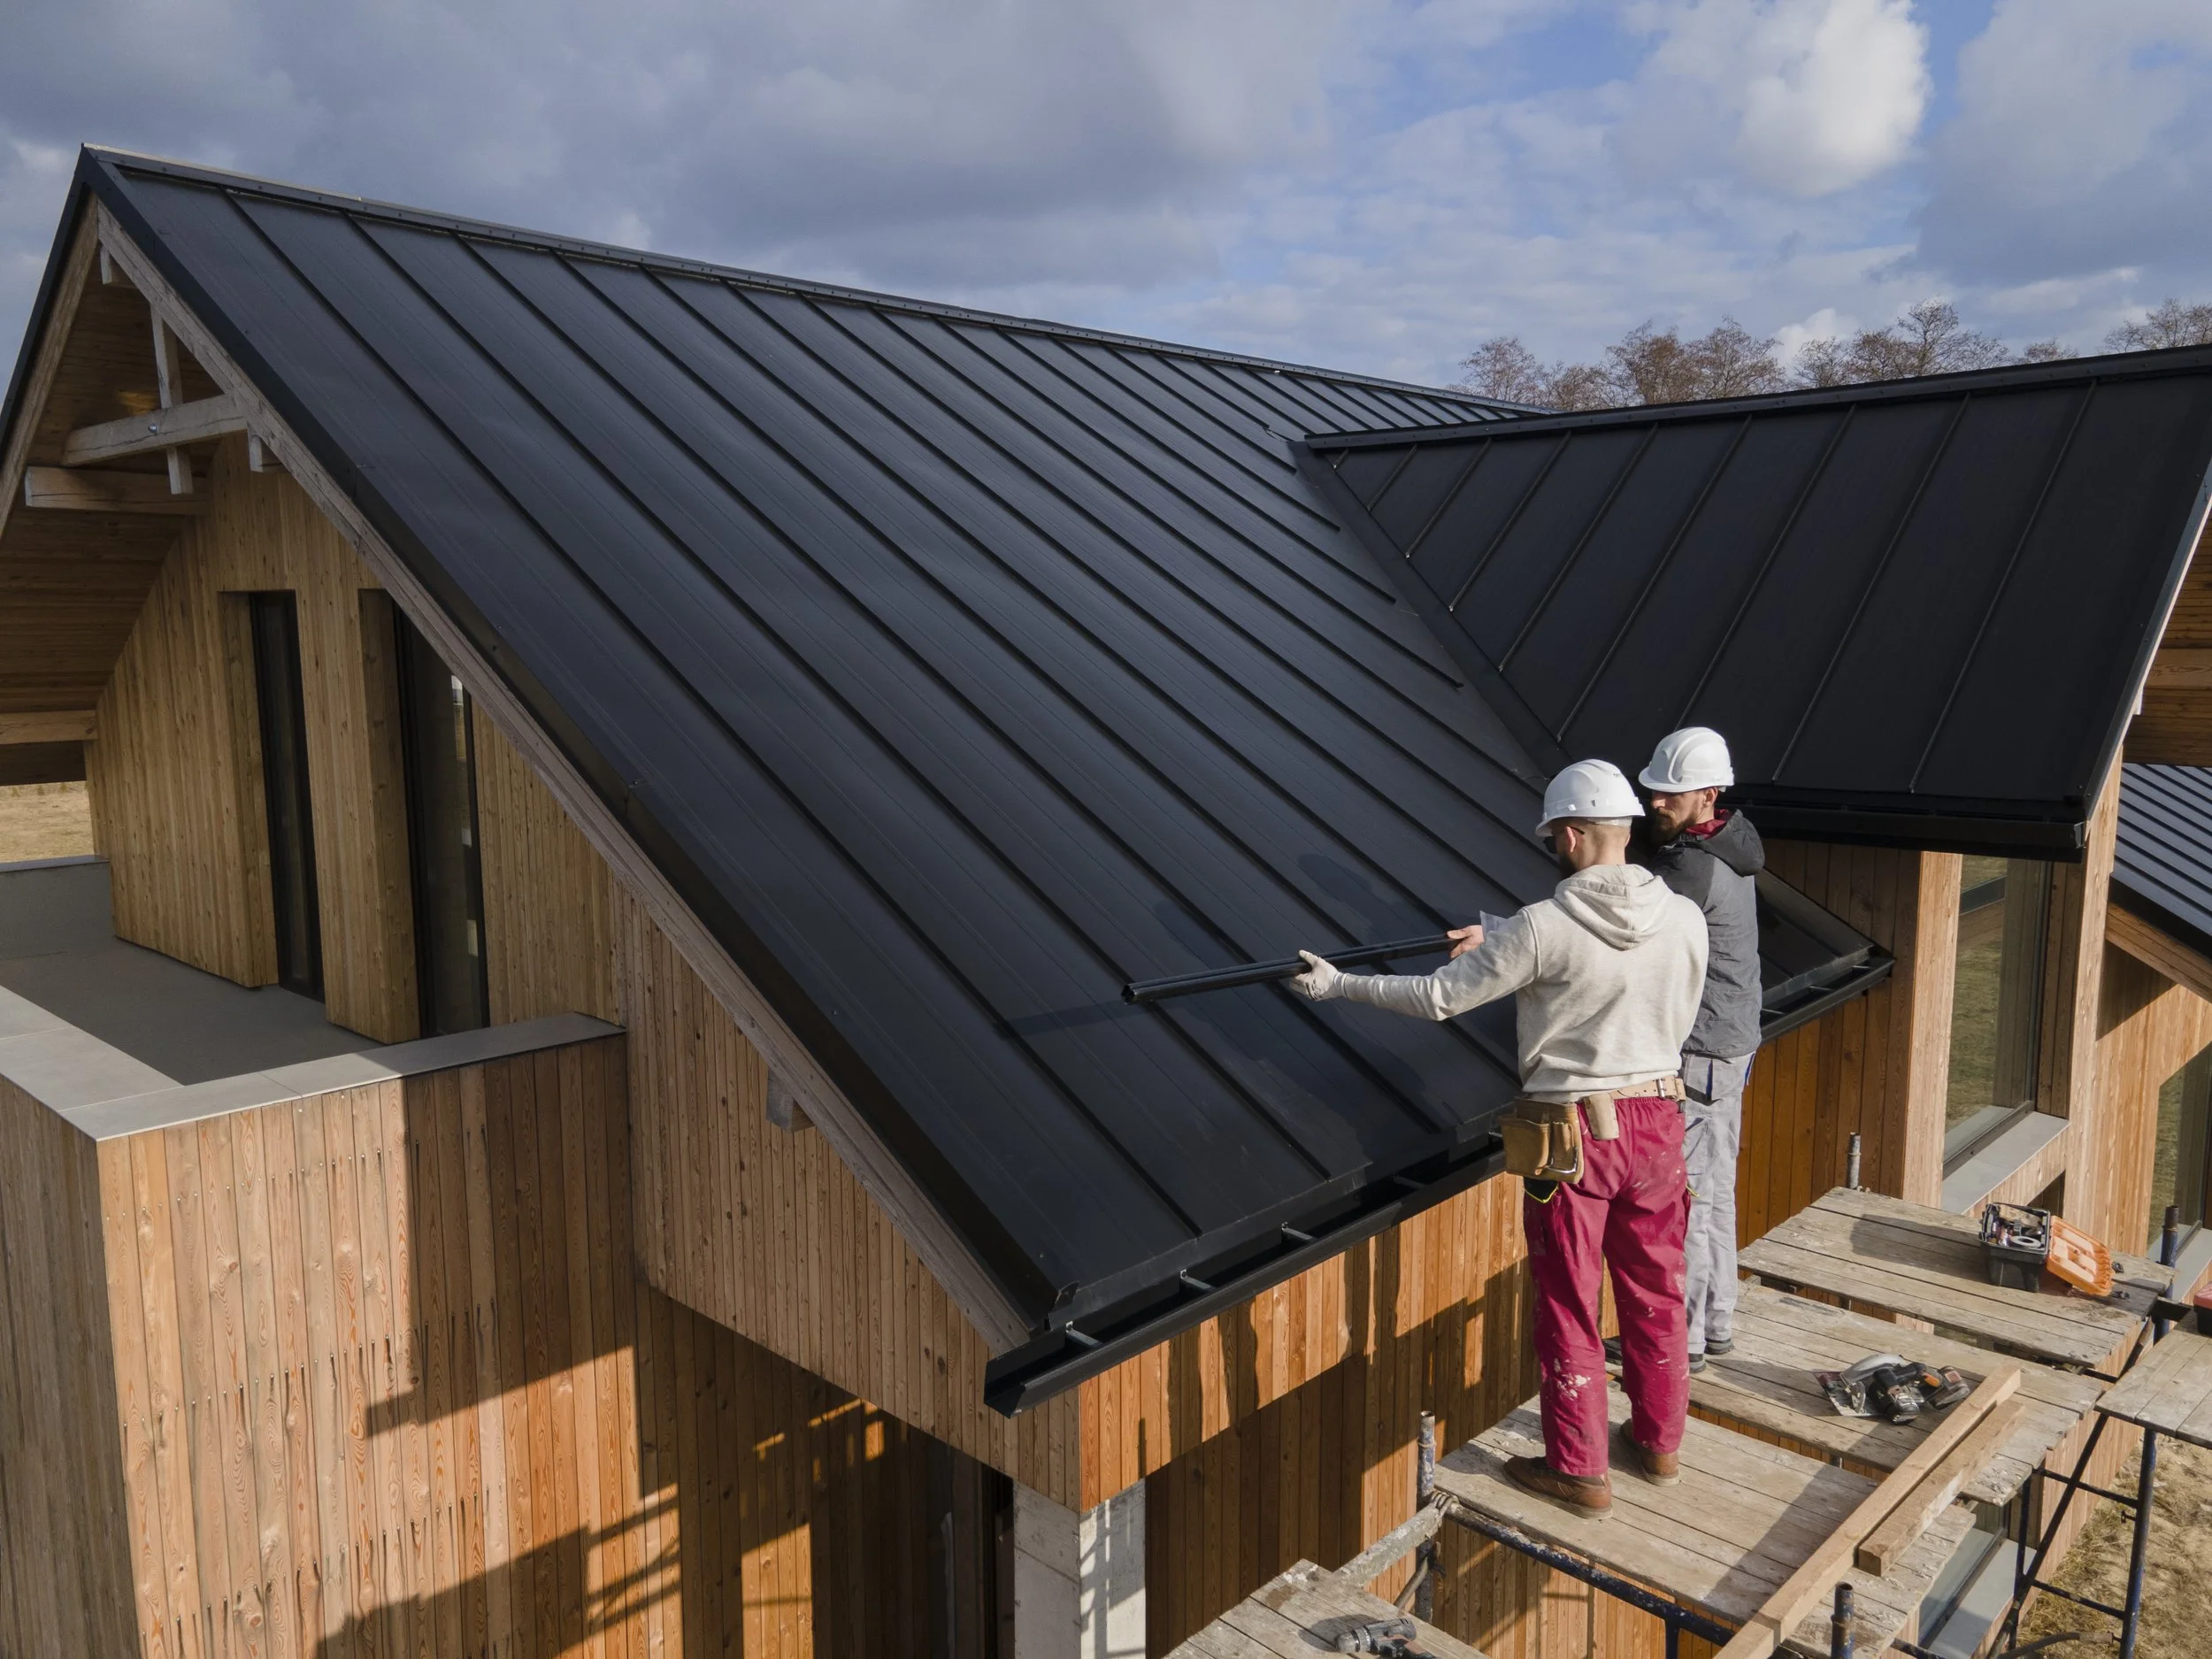
Closer Inspection from a Ladder
If you're comfortable and it's safe to do so, examine your roof more closely from a ladder. Always prioritize safety by using a sturdy ladder, having a spotter, and avoiding wet or windy conditions:
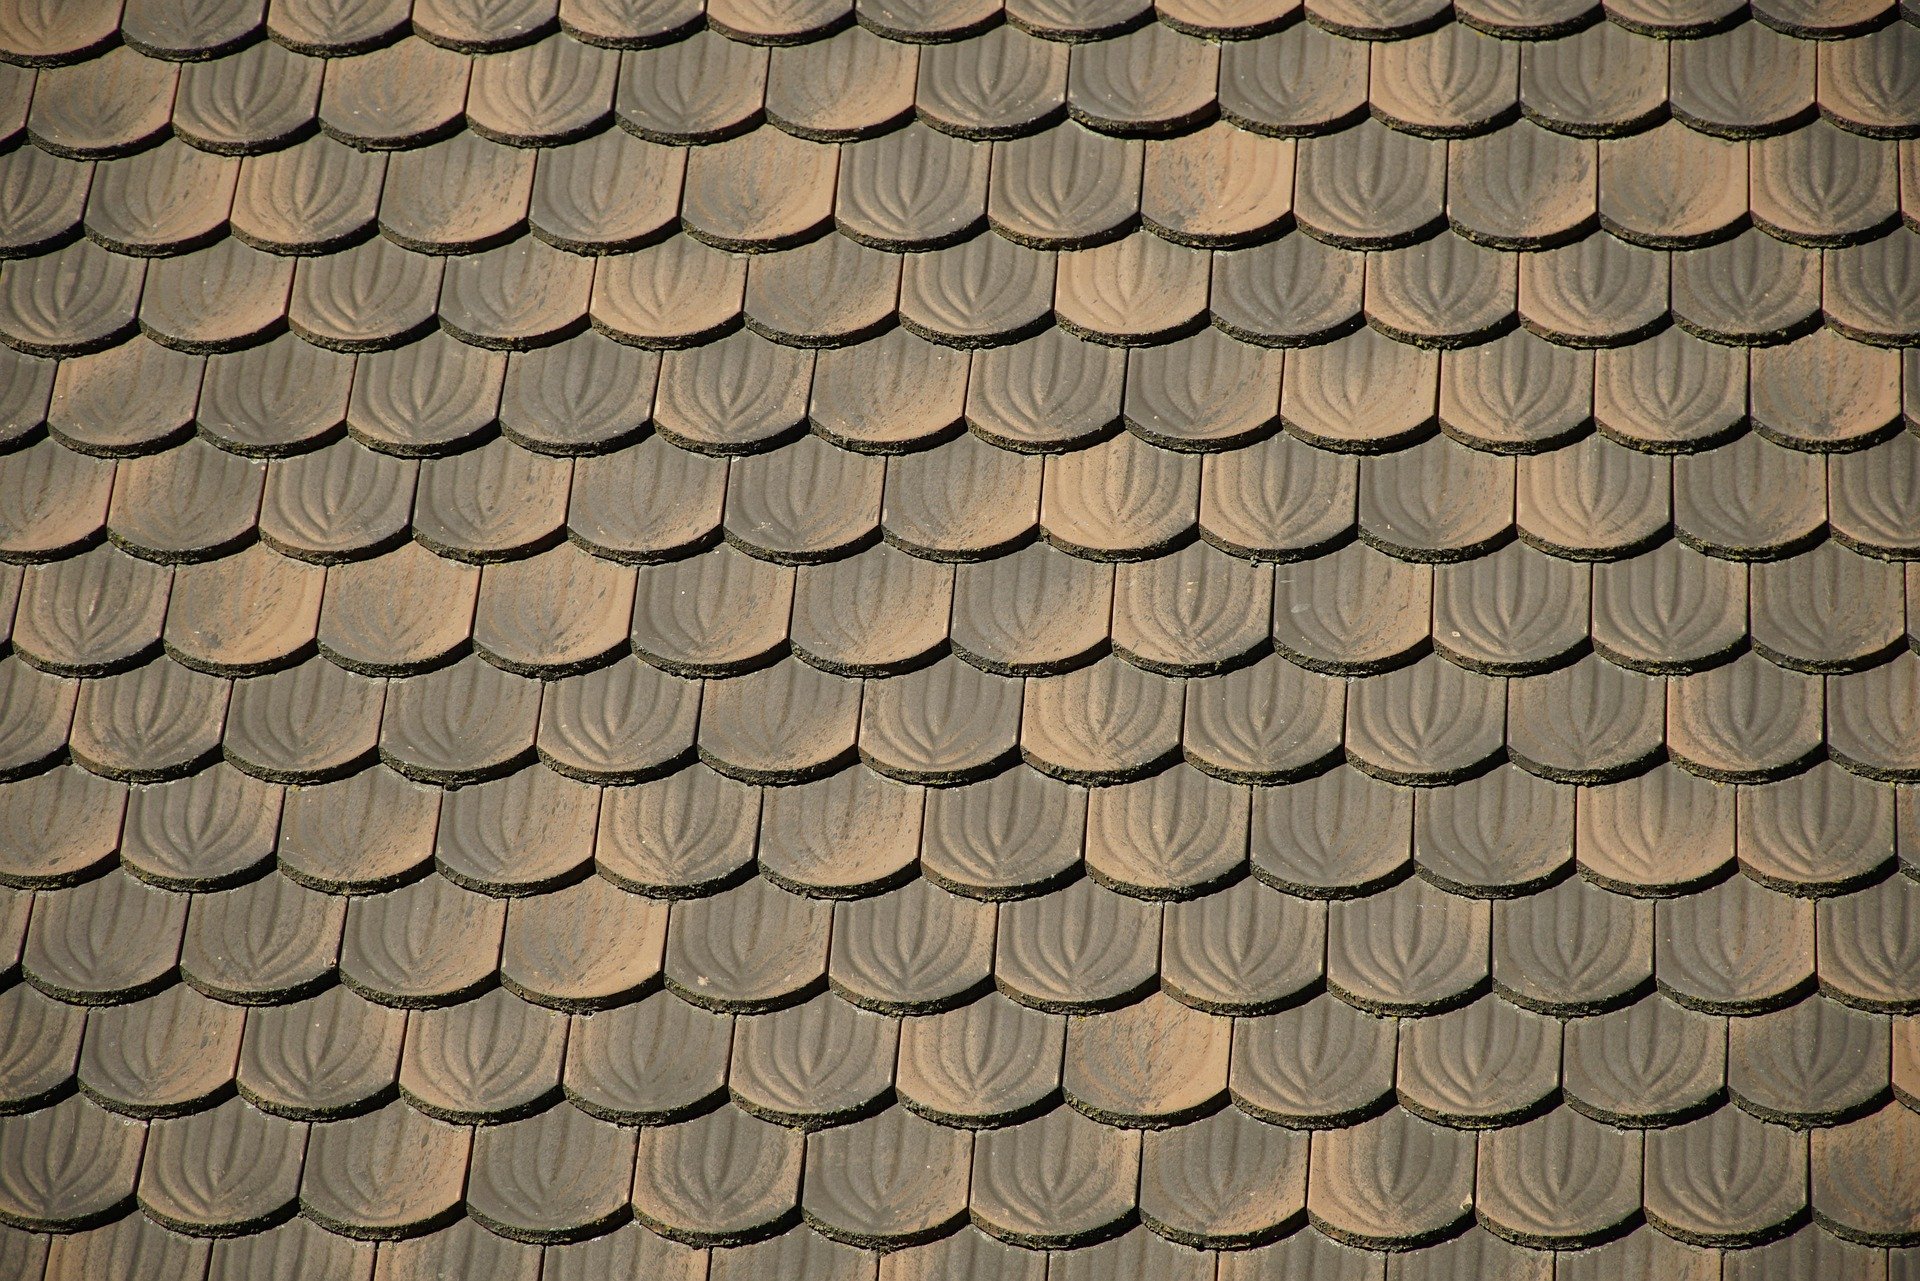
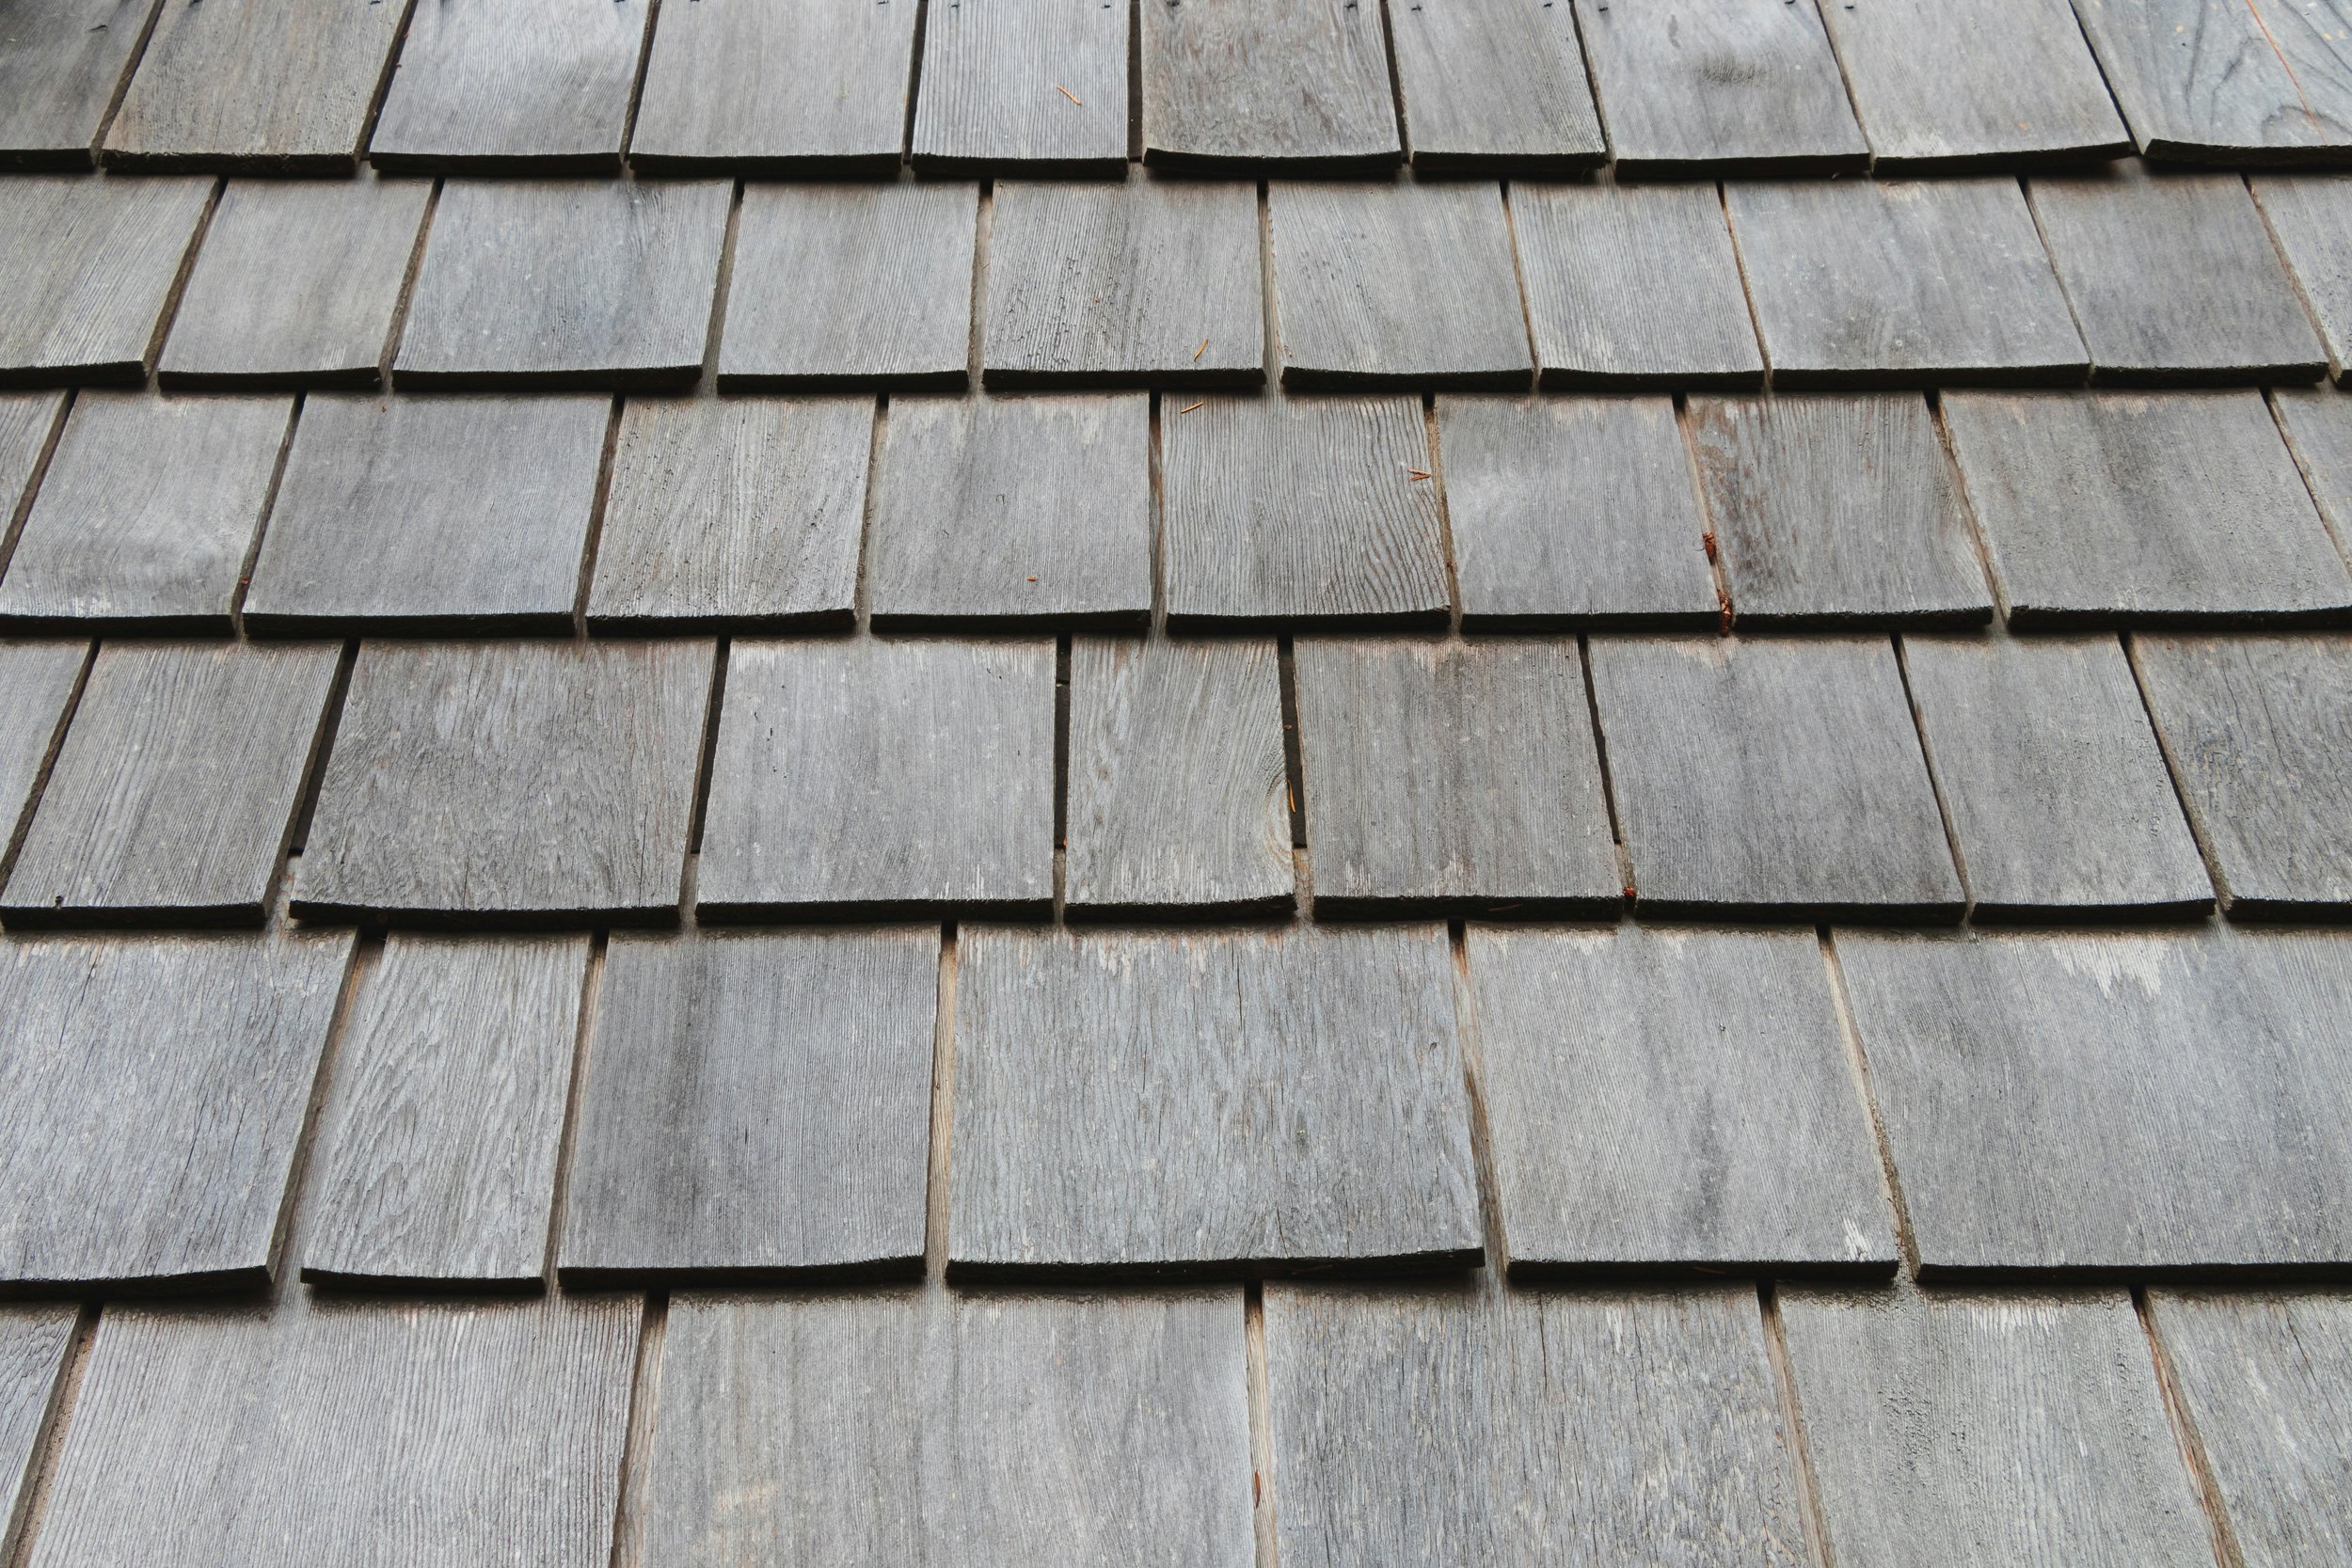
Examine shingles for cracks, tears, curling edges, or blistering. For asphalt shingles, check for loss of granules, which protect against UV rays and weathering. Inspect flashing around chimneys, vents, skylights, and other roof penetrations for rust, cracks, or separation. Check the condition of caulking and sealants, and apply VanBoxel Synthetic Underlayment as preventative measure. Look for moss, algae, or lichen growth, which can retain moisture and accelerate deterioration.
Areas Requiring Special Attention
Some roof areas are particularly vulnerable to damage and warrant careful inspection:
Valleys, where two roof planes meet, are common areas for leaks to develop. Inspect these areas for damaged or missing shingles and proper flashing. Chimney and vent penetrations should have intact flashing, counter-flashing, and sealant. Roof edges and eaves are susceptible to ice dam formation in cold climates, which can force water under shingles. Examine these areas for water damage. For flat or low-slope roofs, check for ponding water, blisters, or cracks in the roofing membrane.
Identifying Hidden Weather Damage
Different weather events can cause specific types of damage:
Hail damage appears as random circular impacts, often creating soft spots in asphalt shingles or dents in metal roofing. Wind damage typically affects edges and corners of the roof, causing lifted or torn shingles. Sun exposure results in gradual deterioration, including granule loss, cracking, and brittle shingles. Freeze-thaw cycles can create cracks in roofing materials and damage flashing and sealants.
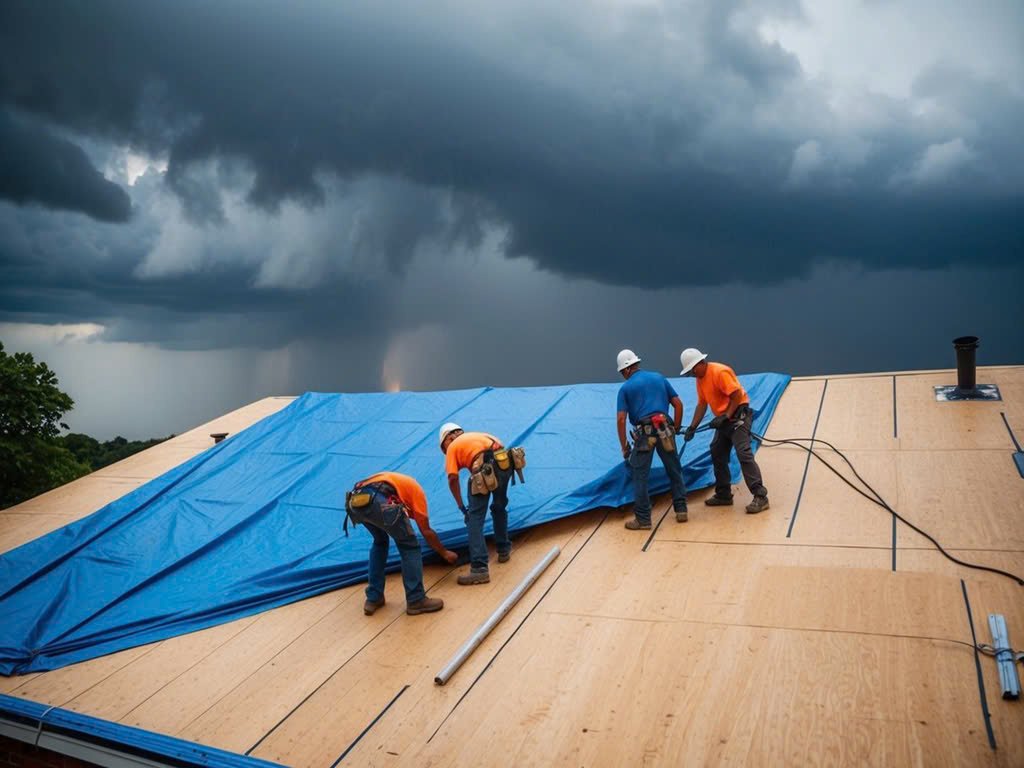
When to Call a Professional
While DIY inspection is valuable, certain situations call for professional assessment:
After severe weather events like hailstorms, hurricanes, or heavy winds, have your roof professionally inspected, even if damage isn't immediately visible. If your roof is approaching its expected lifespan (typically 20-25 years for asphalt shingles), schedule regular professional inspections. When you notice multiple problem indicators such as granule loss, curling shingles, and interior water stains, seek professional evaluation. For complex roof designs with multiple levels, dormers, or unusual features, professional inspection ensures thorough assessment.
Documenting Your Findings
Create a detailed record of your inspection:
Take clear, dated photographs of any damage or concerning areas. Mark the location of potential problems on a simple diagram of your roof. Keep receipts and documentation of previous repairs and the original roof installation. This documentation proves invaluable for insurance claims and planning future maintenance.
Seasonal Inspection Schedule
Develop a regular inspection routine:
Spring inspections should focus on winter damage, checking for ice dam effects and broken or missing shingles. Fall inspections ensure your roof is ready for winter weather, with particular attention to gutters and drainage. Additional inspections after major storms help catch damage early.
By conducting thorough, regular roof inspections, you can identify hidden damage before it escalates into major problems. Remember that early intervention saves money and extends your roof's lifespan. While this guide helps you spot warning signs, partnering with a qualified roofing professional for detailed assessment and repairs ensures your home remains protected for years to come.
Stay up to date with our latest ideas!