How to Install a Toilet Sink Combo
Discover how to install a toilet sink combo with this step-by-step guide, making the most of small bathroom spaces with style and efficiency.
Installing a toilet sink combo can save both space and water in your bathroom, making it a practical addition for small homes or apartments. This guide will walk you through each step of the installation process, ensuring a smooth and hassle-free setup.
Carefully follow the manufacturer’s instructions to avoid any pitfalls. Start by assembling the sink and tap, then connect it to the toilet cistern. Align everything properly to ensure a tight fit. For more detailed instructions, you can refer to this website.
Preparation and Planning
Before installing a toilet sink combo, it is essential to plan thoroughly. Key considerations include evaluating the bathroom layout, gathering necessary tools and materials, and understanding basic plumbing principles.
Assessing Bathroom Layout and Requirements
First, measure the available space in the bathroom. Identify potential obstacles, such as existing fixtures or door swing areas. Ensure that there is adequate space for both the toilet and sink within the combo unit.
Evaluate the current plumbing setup to determine compatibility with the new unit. If the existing plumbing isn't suitable, budgeting for modifications may be necessary. Make a detailed diagram noting distances between key fixtures and any plumbing lines.
Also, check local building codes and regulations. Compliance may require specific distances between fixtures or particular types of piping. Knowing these requirements in advance prevents costly adjustments later.
Gathering Required Tools and Materials
Collect tools needed for installation, such as a wrench, screwdriver, silicone sealant, and a spirit level. Additional plumbing-specific tools may include a pipe cutter and a Teflon tape. Make sure all tools are in good condition for safe operation.
Materials required will likely include the toilet sink combo unit itself, various connectors, and hoses for hot and cold water. It's also advisable to have extra washers, seals, and possibly new shut-off valves if the existing ones are old.
Refer to the manufacturer's instruction manual for a complete list of recommended tools and materials. This ensures nothing is overlooked, facilitating a smoother installation process.
Understanding Plumbing Basics
Basic plumbing knowledge is crucial for a successful installation. Understand how to turn off the main water supply to avoid leaks and flooding during the setup. Familiarize yourself with the layout of existing pipes and how they will connect to the new unit.
Learn how to use Teflon tape and pipe dope for sealing connections. This prevents leaks and ensures a proper fit. Recognizing the difference between hot and cold water lines is also important to avoid incorrect hookups.
For those unfamiliar with plumbing, consider consulting a professional or referencing detailed guides. Proper preparation helps avoid mistakes that could lead to water damage or the need for costly repairs.
Installation Process
Proper installation of a toilet sink combo involves careful steps including removing old fixtures, installing the new toilet, attaching the sink, and making vital connections. Attention to detail ensures the unit operates efficiently and safely.
Removing the Old Fixtures
Start by turning off the water supply and flushing the toilet to empty the tank. Disconnect the water supply line from the shut-off valve and the toilet tank. Using a wrench, remove the bolts securing the toilet to the floor. Lift the old toilet and set it aside.
Scrape off any remaining wax from the flange on the floor. Inspect the flange for damage and replace if necessary. If reusing the same water connection, ensure the supply line is intact and clean.
Remove any existing sink and vanity. Disconnect water supply lines and drain pipes. Carefully detach the sink from the wall or countertop, ensuring no damage to the wall or surrounding areas.
Installing the Toilet
Place a new wax ring on the flange. Lift the new toilet and position it over the flange, ensuring proper alignment. Press down firmly to seat the wax ring and create a seal. Insert the bolts and tighten them, securing the toilet to the floor.
Install the cistern according to the manufacturer’s instructions. Usually, this involves attaching the flush mechanism and securing the cistern to the toilet base.
Ensure everything is tight and aligned properly before proceeding to the next steps.
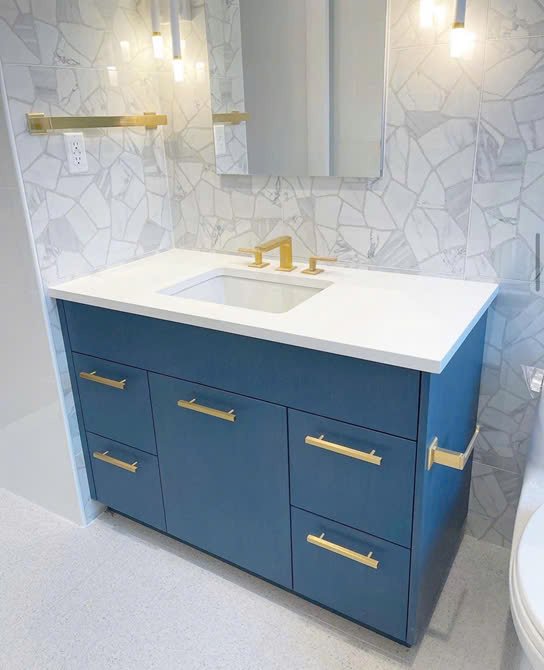
Attaching the Sink
Position the sink on top of the toilet cistern. The sink should align perfectly with the cistern. Secure it according to the manufacturer’s instructions, typically involving screws or clips.
Connect the tap to the inlet pipe. Ensure the connection is secure and leak-free. Position the silicone sleeve at the bottom of the waste pipe to form a tight seal.
Fix the basin firmly, ensuring stability and proper alignment. The sink should sit flush with the toilet and not wobble.
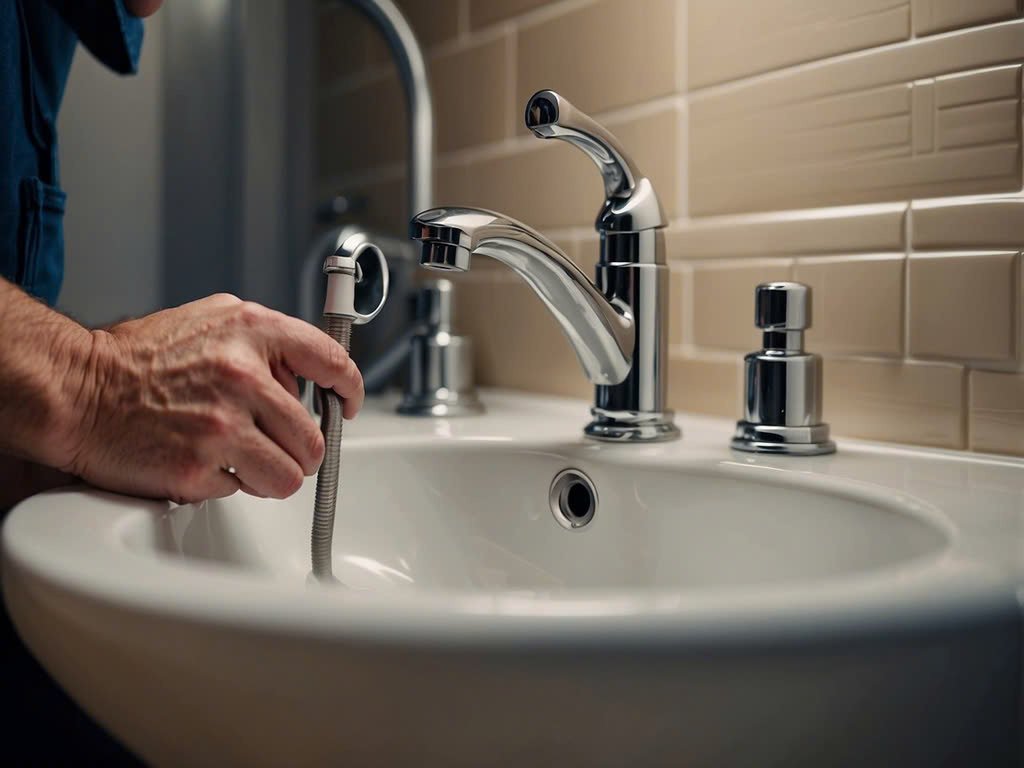
Connecting Water Supply and Waste Lines
Attach the hot and cold water hoses to the tap. Connect the other end to the respective inlets of the cistern.
Ensure all connections are tight to prevent leaks.
Next, connect the waste line from the sink to the bathroom's waste system. Use appropriate fittings and ensure a secure connection. Double-check all connections to confirm there are no potential leak points.
Sealing and Caulking
Once all fixtures are in place and connections are secure, apply caulk around the base of the toilet where it meets the floor. This helps prevent water seepage and maintains stability.
Seal around the sink and any other joints where water might leak. Use a high-quality bathroom sealant for durability.
Smooth the caulk with a caulk tool or your finger to ensure a neat finish.
Final Inspection and Testing
Turn on the water supply and check for any leaks around the connections. Flush the toilet several times to ensure the wax ring seals properly and there are no leaks around the base.
Test the sink tap and ensure a steady flow of both hot and cold water.
Inspect all connections for any drips or leaks. If everything functions correctly, clean up any debris, and your installation is complete.
Stay up to date with our latest ideas!