How to Transform Your Spare Room into a Photography Studio
Turn your spare room into a professional photography studio with these expert tips on lighting, backdrops, and essential equipment.
Ever walked past that spare room in your home and thought, "I should really do something with this space"? Whether you’re a professional photographer or just love capturing great shots, having your own permanent setup can be quite convenient.
Of course, if you ever need a more extensive setup, you can always book a photo studio in London for interior design projects. But for everyday shoots, setting up a dedicated space at home can make your work more flexible.
Keep reading to find out how to turn your spare room into a photo studio without draining your savings.
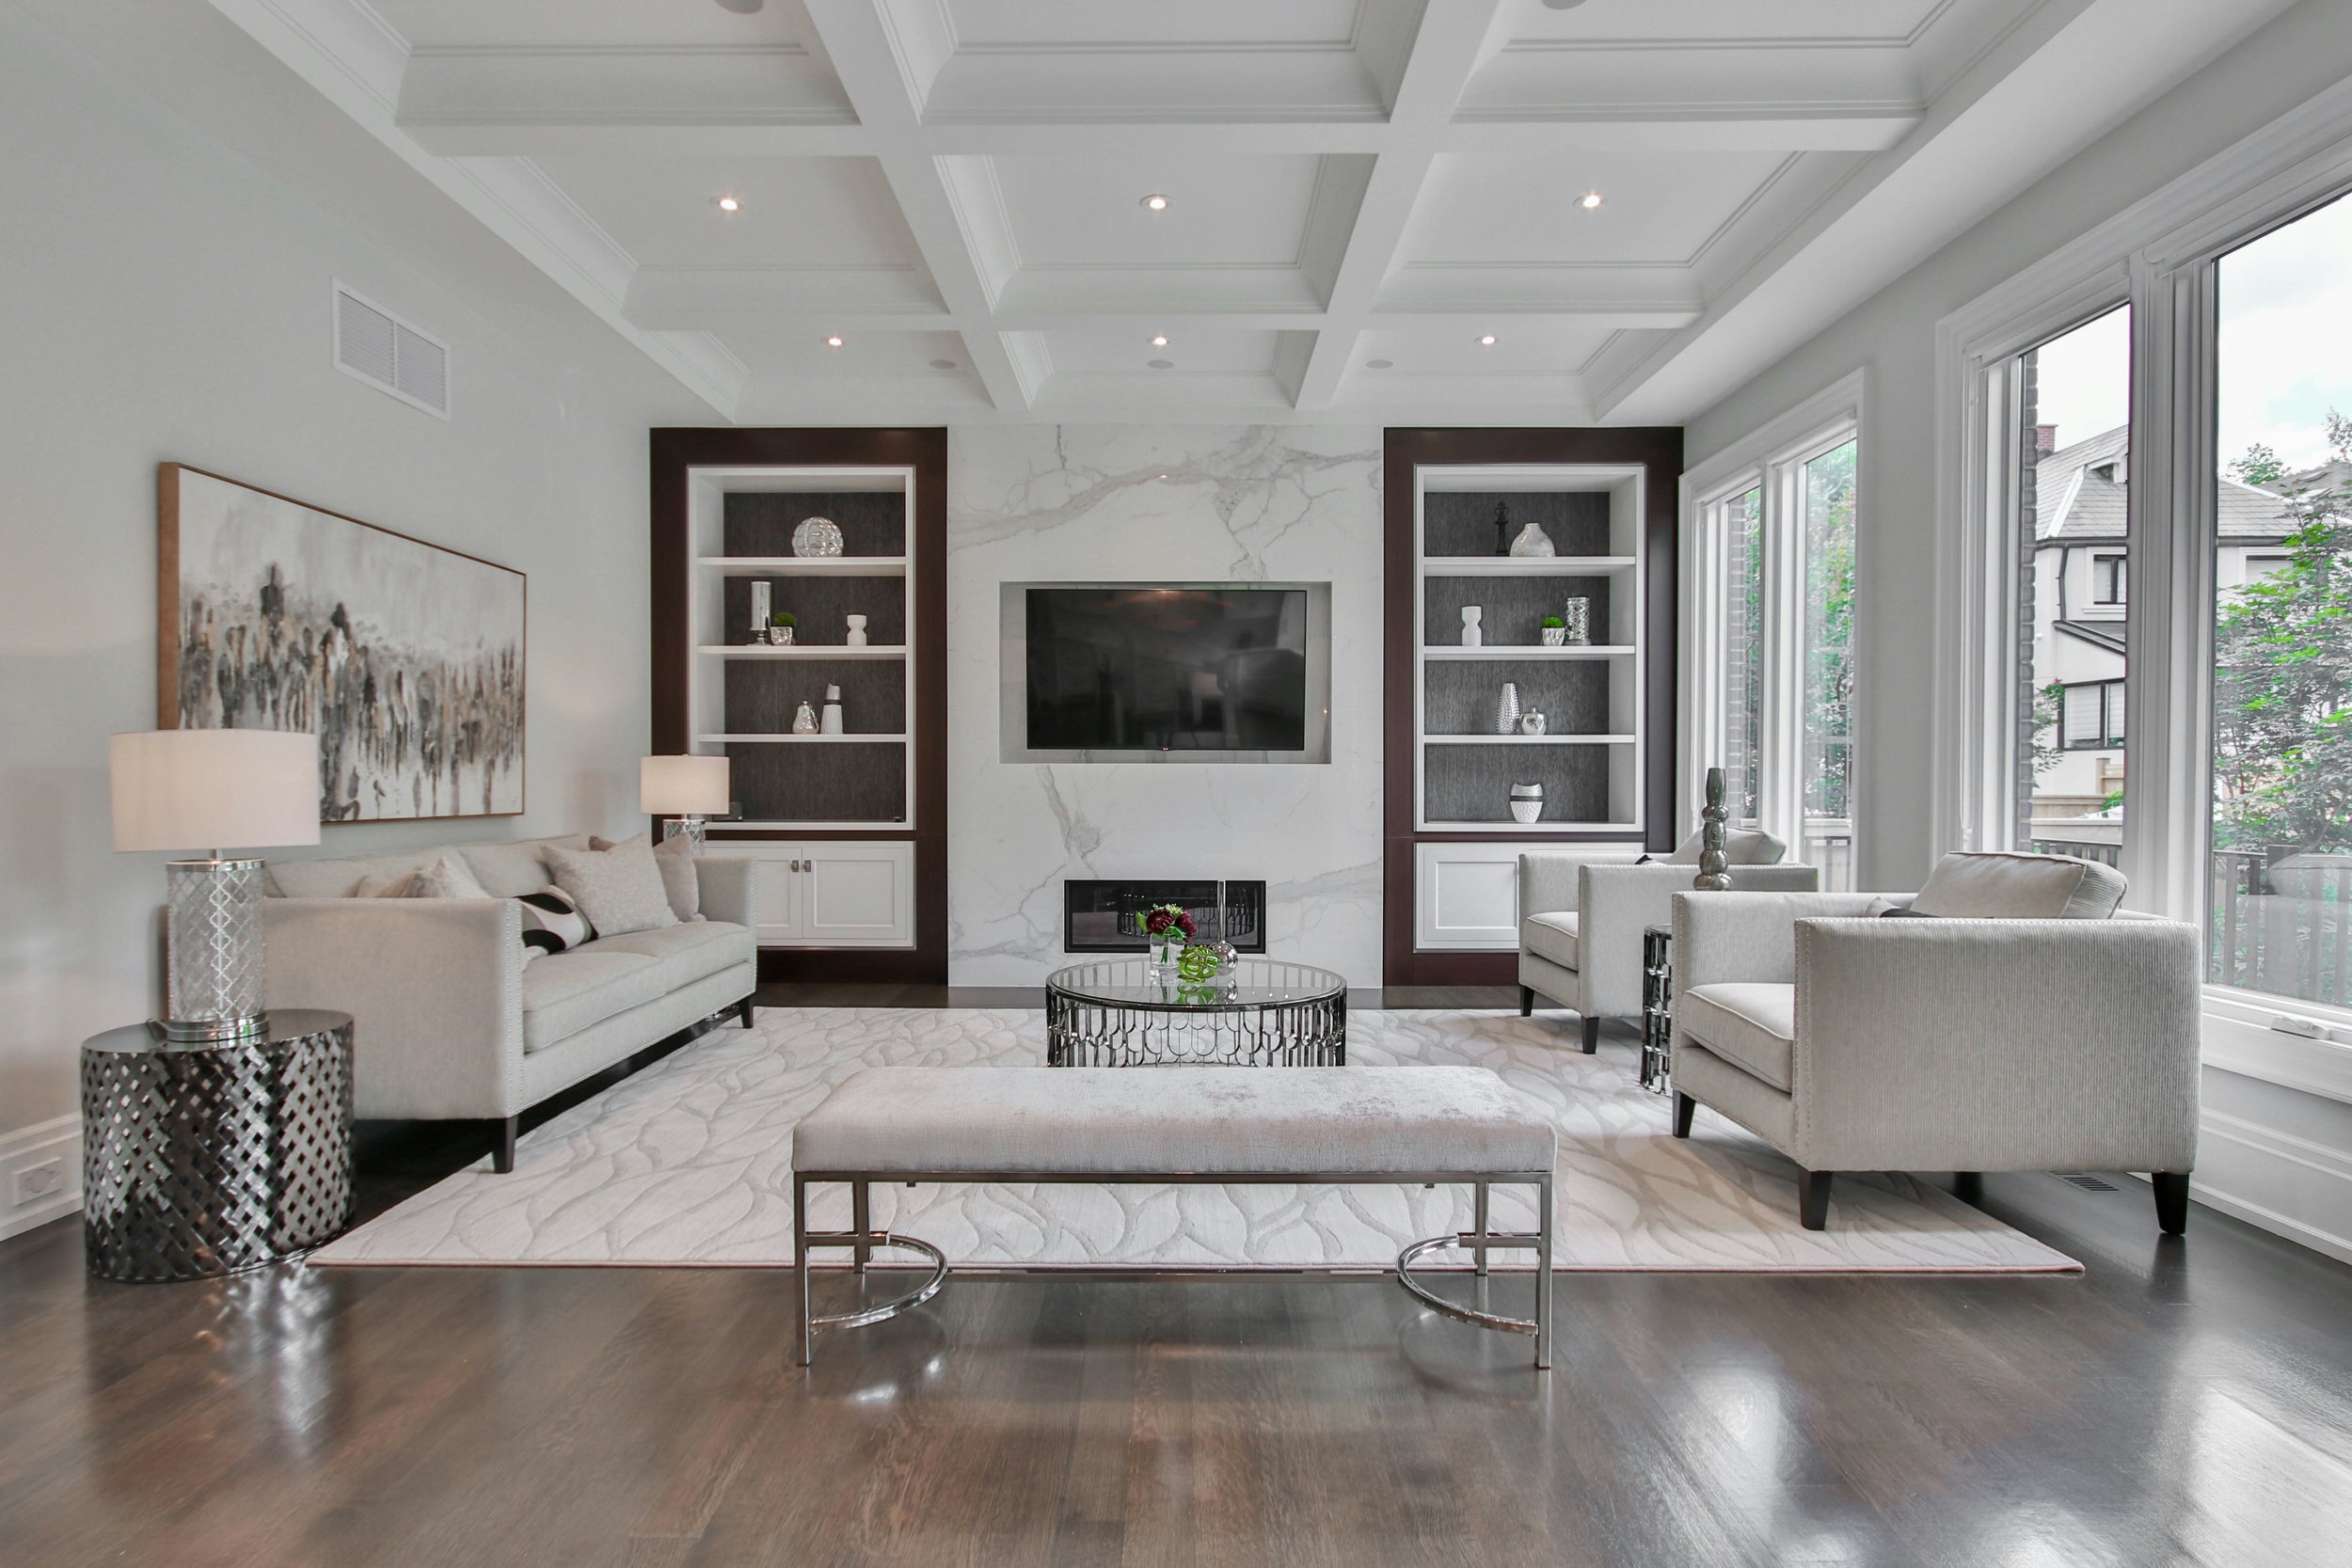
Choose the Perfect Room
Not every spare room is ideal for a photography studio. If you have more than one spare room, opt for the one with more natural light. We recommend finding a room with big windows. If none of your rooms has ample natural lighting, don’t let that stop you. You can still install LED lights in the room to brighten it up.
Make sure the space has enough room for the different setups you'll need. It should allow you to move items around depending on the project.
Another thing you want to consider is the ceiling. How high is it? A higher ceiling allows you to try more lighting angles and backdrop setups. Your room should also have adequate electrical outlets, as you’ll likely need to power multiple lights, cameras, and other equipment.
Find a Backdrop
If you have a limited budget, you can start with a white wall and proceed from there. This should be enough for portrait work and other minor shoots. However, having an actual backdrop is essential for product photography and similar work. It will give your shoots a professional look.
Depending on your needs, you can choose paper, fabric, or collapsible backgrounds. White, black, and grey backdrops are classic options, but coloured or textured backgrounds can add life to your photos.
Once you decide on your material, you’ll need a backdrop stand. If you’re up for it, you can DIY your backdrop stand and save yourself some money. Another cheap alternative is to buy a curtain pole and hang your backdrop using hooks.
Proper Lighting
Even if you’re lucky enough to have natural light, artificial lighting will still be necessary for consistency. The good thing is that you have lots of lighting options nowadays. You can go with next-generation high CRI COB LED monolights or start with the inexpensive softbox lights.
If you’re a beginner, we suggest using continuous lights for LED panels or fluorescent bulbs. These will allow you to see how the photos will look, making it easier to make adjustments. Continuous lights are also better for videos, but if you want to take high-quality photographs, you’ll need strobe lights. The flash freezes motion, allowing you to capture amazing photos.
You’ll also need reflectors and modifiers in your setup to help control shadows and highlights.
Camera Support
The first thing you need here is a studio stand. It will give you the precision and stability you need for high-resolution photos. Another thing we love about studio stands is that they come with a counterweighted arm for smoother height and angle adjustments.
If you can’t get a studio stand, consider getting a tripod. Although it won’t give you the stability of a studio stand, it’s better if you need to move around.
Editing and Post-Production Setup
Post-production is where the magic happens. Once you’ve taken your shots, you’ll need high-quality editing software, such as Adobe Lightroom or Photoshop. Your computer monitor also matters a lot. A high-resolution monitor with true colour representation allows you to make fine adjustments.
Also, ensure sufficient lighting around your editing station to reduce eye strain. It also helps to choose a comfortable chair since editing sessions can take a while.
With a well-thought-out approach to space, lighting, and equipment, you can achieve professional-quality shots without stepping outside your home.
Stay up to date with our latest ideas!