Sump Pump Installation: Your Complete Guide
Discover the ultimate guide to sump pump installation in our comprehensive homeowner's manual. Learn step-by-step how to keep your basement dry and protect your home from water damage.
Hey there, folks! Are you tired of dealing with basement floods and waterlogged spaces every time it rains? Well, you're in luck because we're diving headfirst into the world of sump pump installation. By the time we're done here, you'll be armed with the knowledge to keep your basement dry as a bone, just like it should be.
The Sump Pump: Your Unsung Hero
Before we get our hands dirty, let's talk about the unsung hero in our story - the sump pump. This unassuming device is your best friend when it comes to keeping your basement dry. Think of it as your trusty knight guarding your home from the onslaught of water.
Why You Need It
Let's address the elephant in the room - why do you even need a sump pump? Well, here are a few good reasons:
Prevent Basement Flooding: Your sump pump is like a superhero in your basement, ready to spring into action when water threatens to invade your space.
Mitigate Water Damage: No one wants water damage in their basement. A sump pump helps prevent it.
Maintain a Dry and Healthy Basement: A dry basement means a healthier living space. Mold and mildew? No, thank you!
Gearing Up for Battle
So, before we dive into the nitty-gritty of sump pump installation, you need to gear up and be well-prepared. Here's what you'll need:
1. Sump Pump
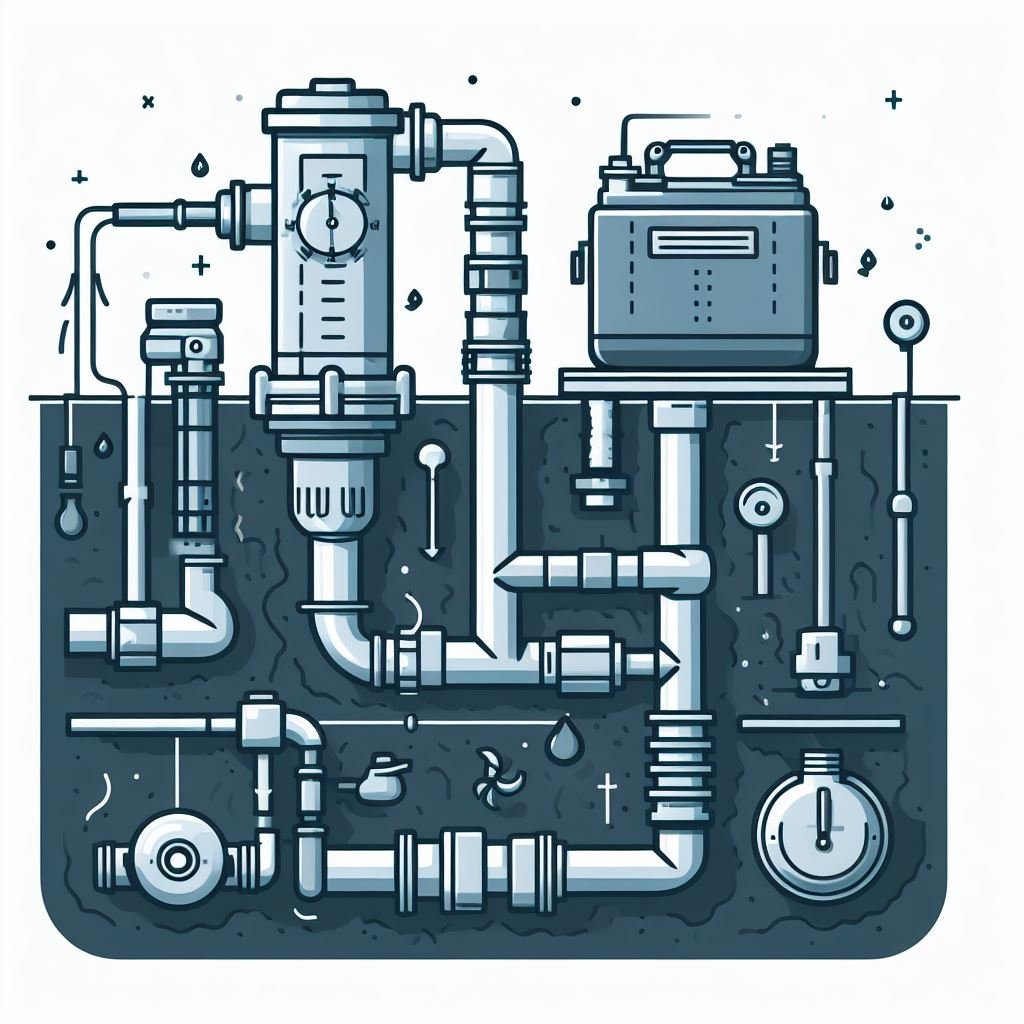
When it comes to sump pump installation, the star of the show is, undoubtedly, the sump pump itself. To ensure your system operates effectively, you must have a dependable and well-maintained sump pump at the ready. It's the key player in keeping your basement dry and safeguarding your home from potential flooding.
2. Sump Pit
The sump pump's home is a crucial component of the system – a pit in your basement floor designed to capture and expel excess water. This reservoir plays a pivotal role in preventing flooding and maintaining a dry environment in your basement, making it an integral part of the sump pump installation.
3. Check Valve
The check valve, a critical component of the sump pump system, guarantees that water flows in a single direction, preventing any backflow into the sump pit. In essence, it acts as a one-way street for water, ensuring that once pumped out, water doesn't find its way back into the pit, maintaining the system's efficiency.
4. Discharge Pipe
After your sump pump has done its job, it's essential to have a discharge pipe in place to guide the expelled water away from your home. This component ensures that the water doesn't flow back into your basement, effectively directing it to a safe location, preventing potential flooding issues.
5. Backup Power
During stormy conditions or power outages, it's crucial to have a backup power source for your sump pump. This ensures that your sump pump continues to function even in the absence of electricity, providing essential protection against flooding and water damage when you need it most.
Sump Pump Installation: Step by Step
Now that you're all set with your tools and materials, it's time to get down to business. Here's a step-by-step guide to sump pump installation:
1. Choose the Right Location
Selecting the perfect location for your sump pit is the initial and vital step in sump pump installation. This decision is akin to choosing the ideal site for a secret underground base. Just as a hidden base's location is strategic, the sump pit's placement can greatly impact its efficiency. It should be situated in an area prone to water accumulation, typically the lowest point in your basement or crawl space, to effectively collect and pump out excess water. A well-chosen location ensures that your sump pump can fulfill its mission of safeguarding your home from potential water damage, making it a critical part of the installation process.
2. Dig the Pit
It's time to roll up your sleeves, grab a shovel, and start digging a hole for your sump pit. This excavation is where your sump pump will establish its residence. Similar to preparing the foundation for a home, this step is fundamental in the sump pump installation process. The hole should be deep enough to accommodate the sump pit and strategically placed in the lowest area of your basement or crawl space, ensuring that it efficiently collects and pumps out excess water. The sump pit's location and the hole you dig for it set the stage for a reliable and effective sump pump system that keeps your space dry and secure.
3. Place the Sump Pit
With your sump pit hole meticulously dug, the next step is to carefully set the sump pit into its designated spot. It's crucial that the pit fits snugly, much like a piece in a jigsaw puzzle. This secure placement is vital to the effectiveness of your sump pump system. The pit should sit comfortably in the hole, with its top positioned at the appropriate level to ensure water efficiently flows into it. Once in place, the pit is ready to collect and manage excess water, playing a pivotal role in maintaining a dry and secure environment in your basement or crawl space.
4. Install the Sump Pump
Now, it's time to introduce the star of the show, your sump pump, and install it within the sump pit. This step is akin to placing a knight in shining armor within the castle. Carefully position the sump pump to ensure it's level and securely in place. The sump pump's role is to protect your home from potential flooding, so its correct installation is paramount. Once properly seated in the sump pit, it's ready to respond to excess water, pumping it out and keeping your basement or crawl space dry. This knightly guardian ensures your space remains safeguarded, just like a fortress shielded by its protector.
5. Attach the Discharge Pipe
Once your sump pump diligently removes the excess water from your basement, it needs a path to exit your home effectively. This is where the discharge pipe becomes essential. Think of it as the escape route for the water, ensuring it flows away from your home without the risk of re-entering. The discharge pipe acts as a conduit, channeling the expelled water to a safe location, preventing any potential flooding issues. It completes the sump pump system, working in harmony with the pump and the sump pit to safeguard your home against water damage and maintain a dry and secure environment, even during the wettest conditions.
Conclusion
With the "Step-by-Step Sump Pump Installation: A Comprehensive Homeowner's Manual" in your arsenal, you're ready to face the rainy seasons with confidence. Say goodbye to the worries of a flooded basement and hello to a dry and cozy home. Remember, you've got the power, the knowledge, and the sump pump – the ultimate trio to keep your basement dry as a bone. Stay dry, my friends!
Frequently Asked Questions
Do I need a sump pump?
If you have a basement prone to flooding or live in a rainy area, a sump pump is your knight in shining armor.
How often should I test my sump pump?
Monthly tests are a good habit. Better safe than sorry!
Can I install a sump pump myself?
Absolutely! Follow the "Step-by-Step Sump Pump Installation: A Comprehensive Homeowner's Manual" for guidance.
Should I consider a backup power source?
It's a wise choice. Backup power ensures your sump pump doesn't leave you high and dry during a power outage.
What maintenance does a sump pump need?
Regular cleaning and testing are essential. Keep it in tip-top shape to defend your basement.
