Easiest Flooring to Install Yourself for a DIY Home Project
Discover the easiest flooring to install yourself for a DIY home project. Explore options that are beginner-friendly, cost-effective, and stylish to transform your living space effortlessly.
Whether you’re looking for a challenge or simply trying to cut back on expenses, a DIY home project can be incredibly fulfilling (if you do it right).
Are you worried about getting started only to realise halfway through that you’re messing up?
That’s why we’re here.
We’re going to help you choose an easy-to-install option that ensures the process is straightforward and enjoyable.
Key Notes
Laminate Flooring is durable and scratch-resistant, making it perfect for high-traffic areas.
Luxury Vinyl Plank (LVP) and Tile (LVT) offer water resistance, durability, and low maintenance.
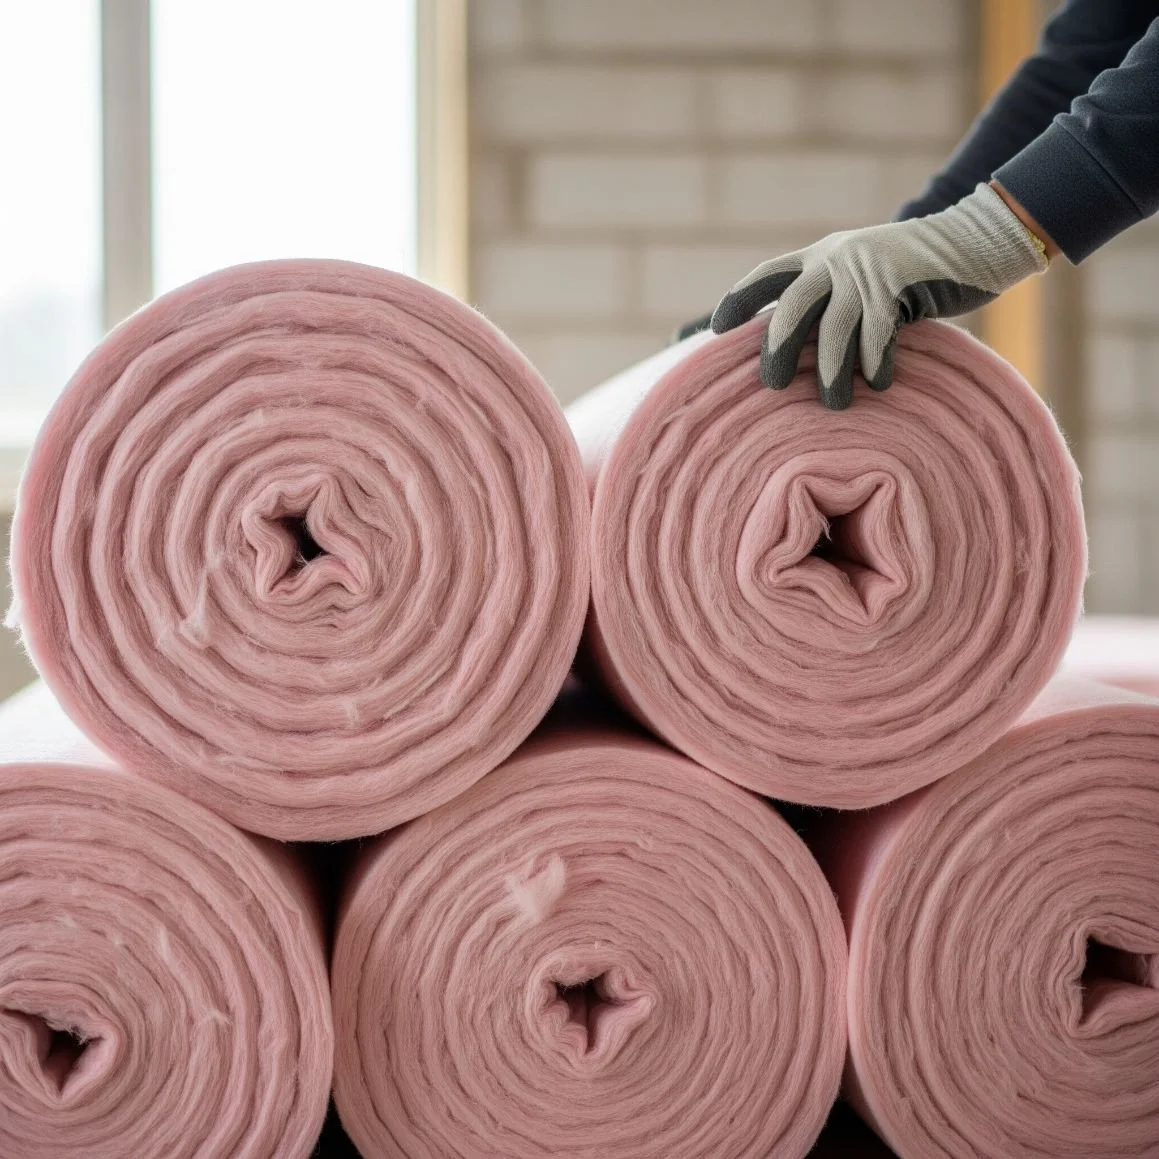
Carpet Tiles are modular and easy to handle, carpet tiles are ideal for adding comfort and insulation.
Engineered Hardwood offers the aesthetic appeal of solid wood, but is susceptible to moisture and temperature changes.
Peel-and-Stick Vinyl Tiles are highly customizable, affordable, and water-resistant.
For DIYer, steer clear of natural stone tile!

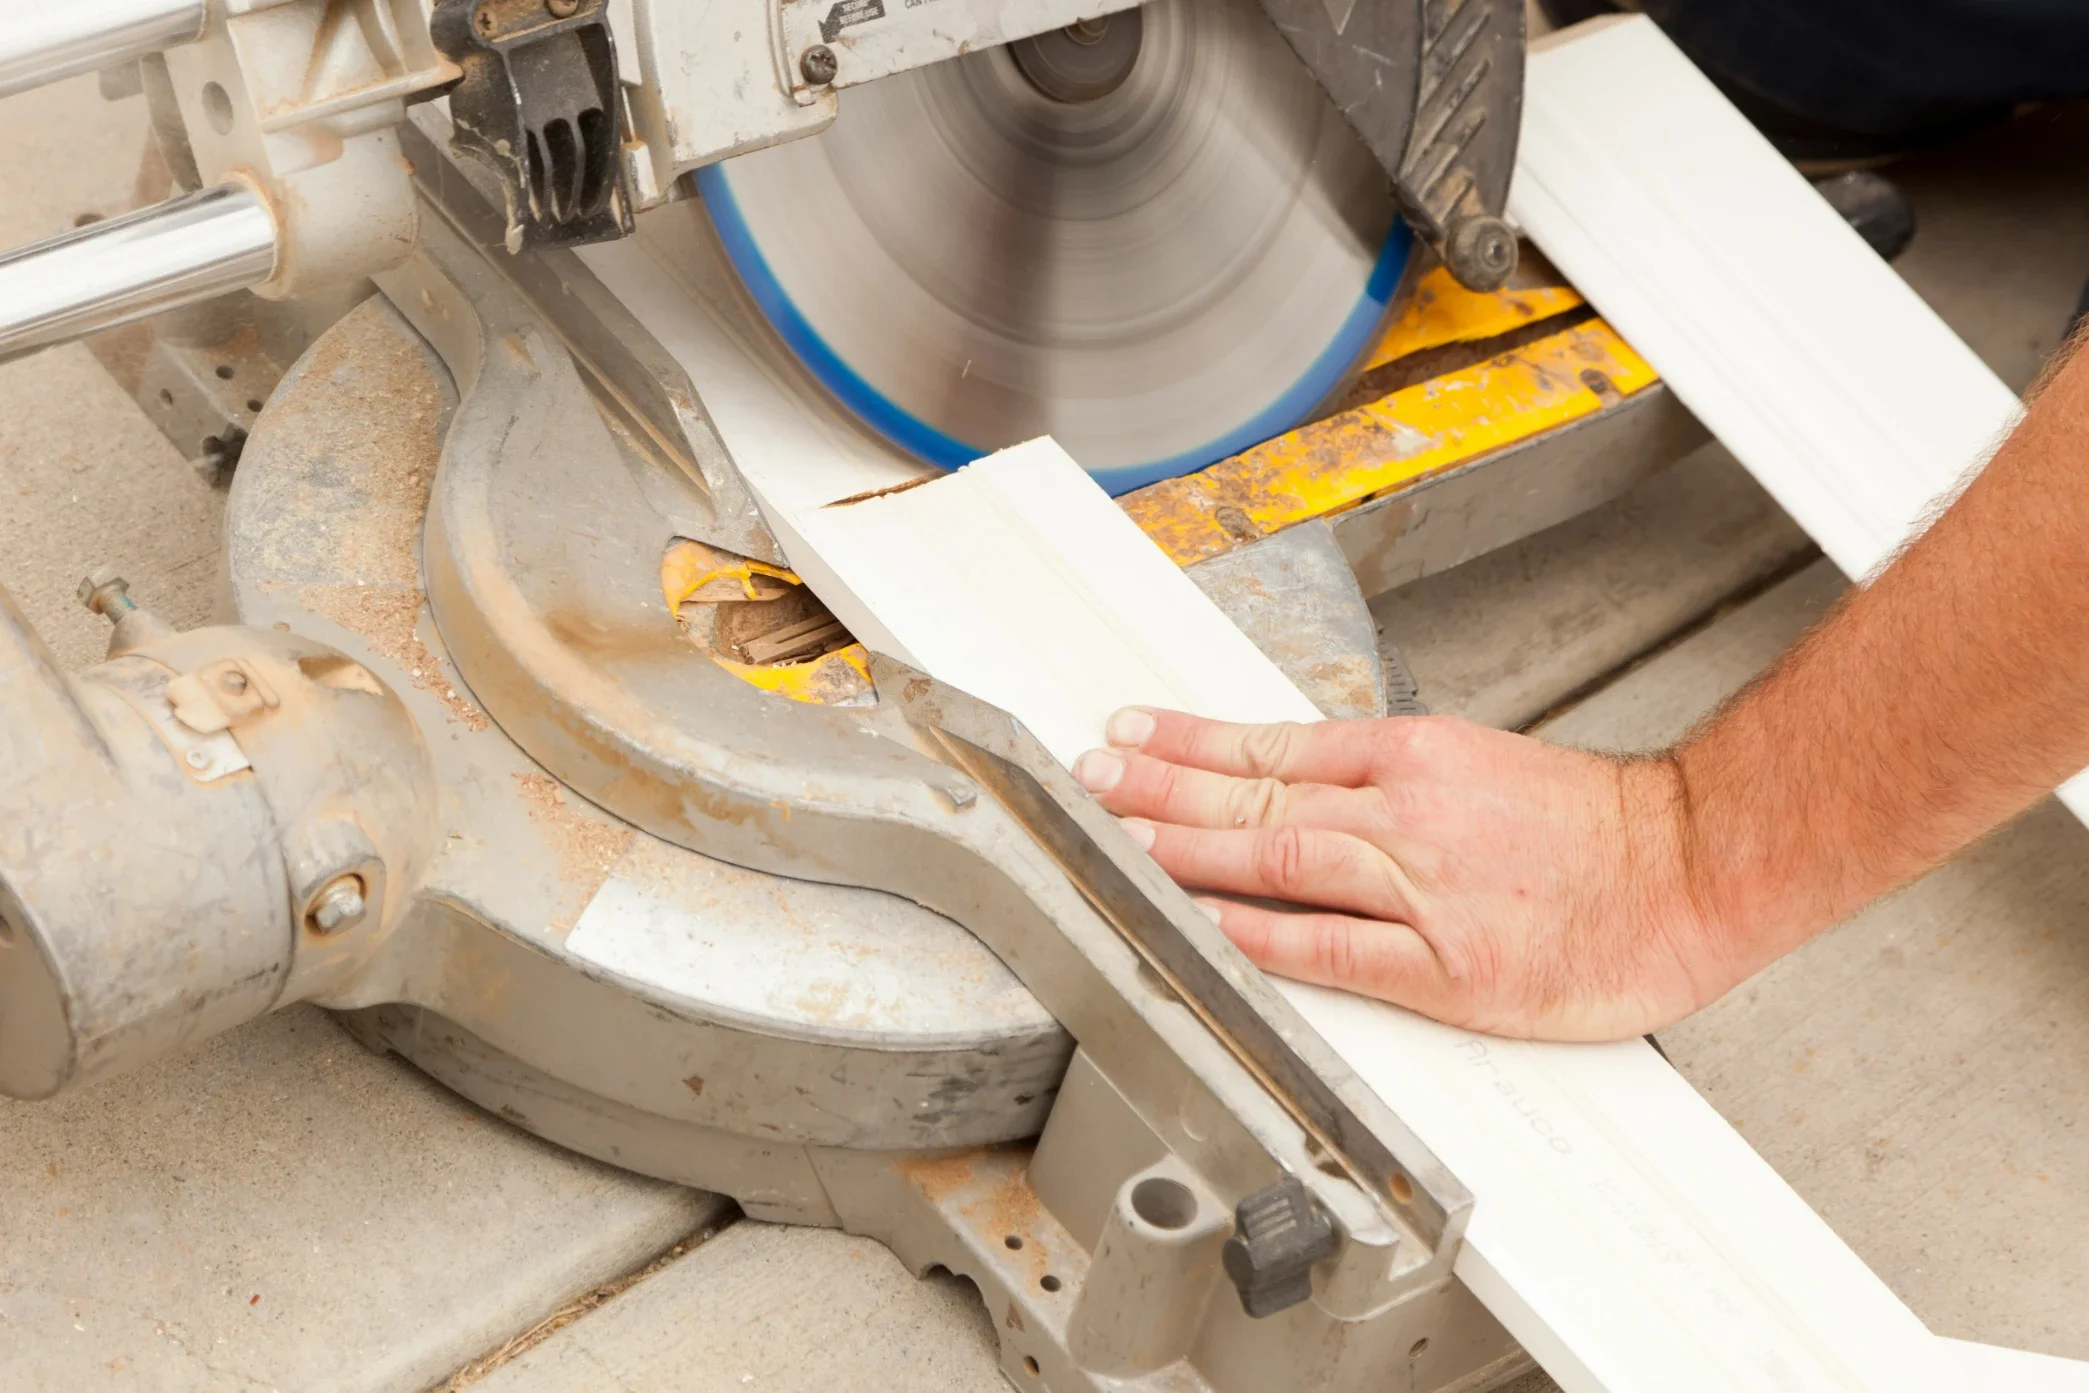
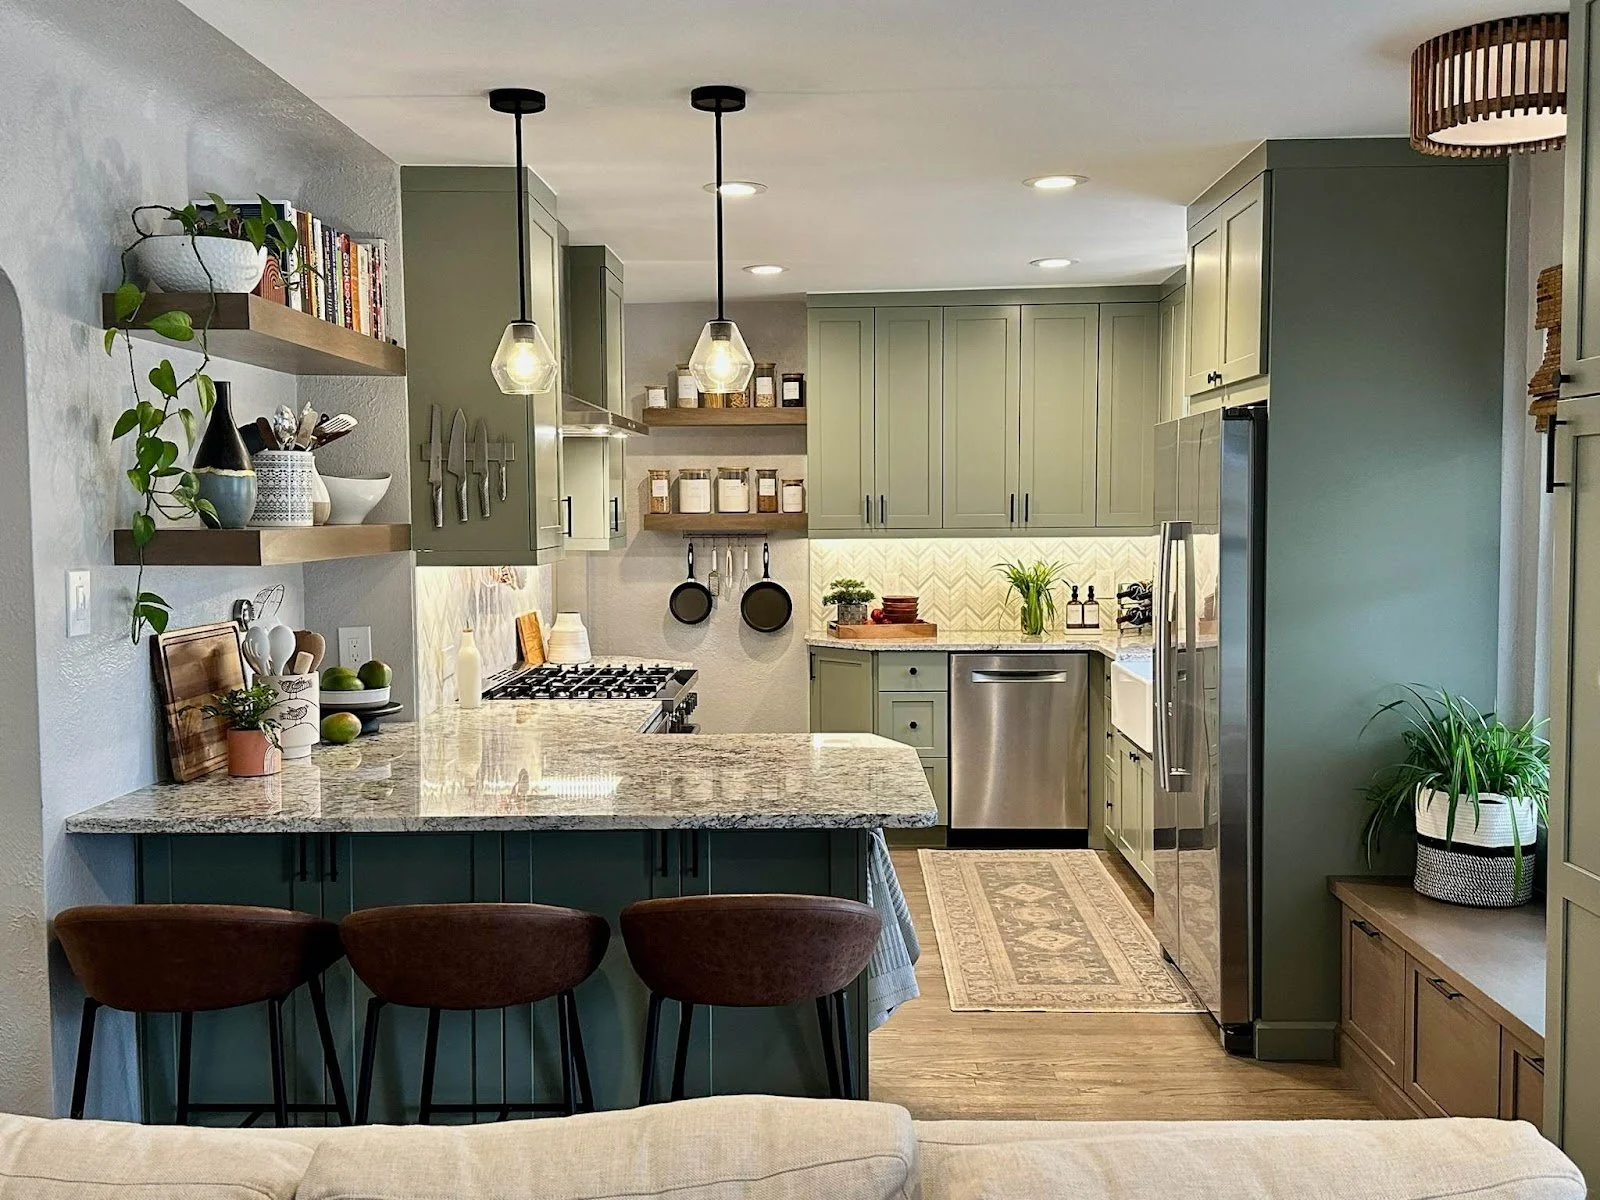
Laminate Flooring
Laminate flooring is a versatile and durable option made from multiple layers, including a high-density fiberboard core and a photographic layer that mimics wood or stone.
Laminate is renowned for its durability and resistance to scratches and stains. It's an excellent option for high-traffic areas and is available in various styles and finishes, catering to different aesthetic preferences and budgets.
Prices range from $3 to $5 per square foot for standard options, making it budget-friendly.
Installation
Prepare the Subfloor: Ensure the subfloor is clean, dry, and level.
Lay Underlayment: Roll out the underlayment to provide a moisture barrier and cushioning.
Start Laying Planks: Begin in a corner, laying the first row of planks with the tongue side facing the wall.
Click and Lock: Align the next plank and snap it into place.
Trim Planks: Use a saw to trim planks to fit around edges and corners.
Finishing Touches: Install baseboards and transition strips to cover the expansion gaps.
Luxury Vinyl Plank (LVP) and Tile (LVT)
Luxury vinyl planks and tiles are engineered to mimic natural materials like wood and stone. Comprising multiple layers, they offer durability and water resistance, making them suitable for any room in the house.
Its affordability, with prices ranging from $2 to $7 per square foot, combined with the variety of styles, makes it a favorite among DIYers.
Installation Methods
Click-Lock Installation:
Prepare the Subfloor: Ensure it is clean and level.
Lay Underlayment: Depending on the product, this might be required.
Click and Lock: Begin in one corner, snapping planks together.
Trim and Fit: Cut planks to size as needed using a utility knife or saw.
Peel-and-Stick Installation:
Clean the Subfloor: The subfloor must be clean and dry.
Plan Layout: Start from the center of the room or a corner.
Peel and Stick: Remove the backing and press tiles into place.
Cut and Fit: Trim tiles with a utility knife to fit edges and corners.
Carpet Tiles
Carpet tiles are modular and come in various colors and patterns, making them ideal for adding comfort and insulation to rooms.
They are durable, affordable, and allow for individual tile replacement if damaged. So, if you have a busy household, this is the option for you.
Installation
Prepare the Subfloor: Make sure it is clean and level.
Plan the Layout: Determine the direction of the pile and layout pattern.
Peel and Stick: Remove the backing and press each tile into place.
Secure Edges: Use double-sided carpet tape for added security if needed.
Trim and Fit: Cut tiles to fit edges and around obstacles using a utility knife.
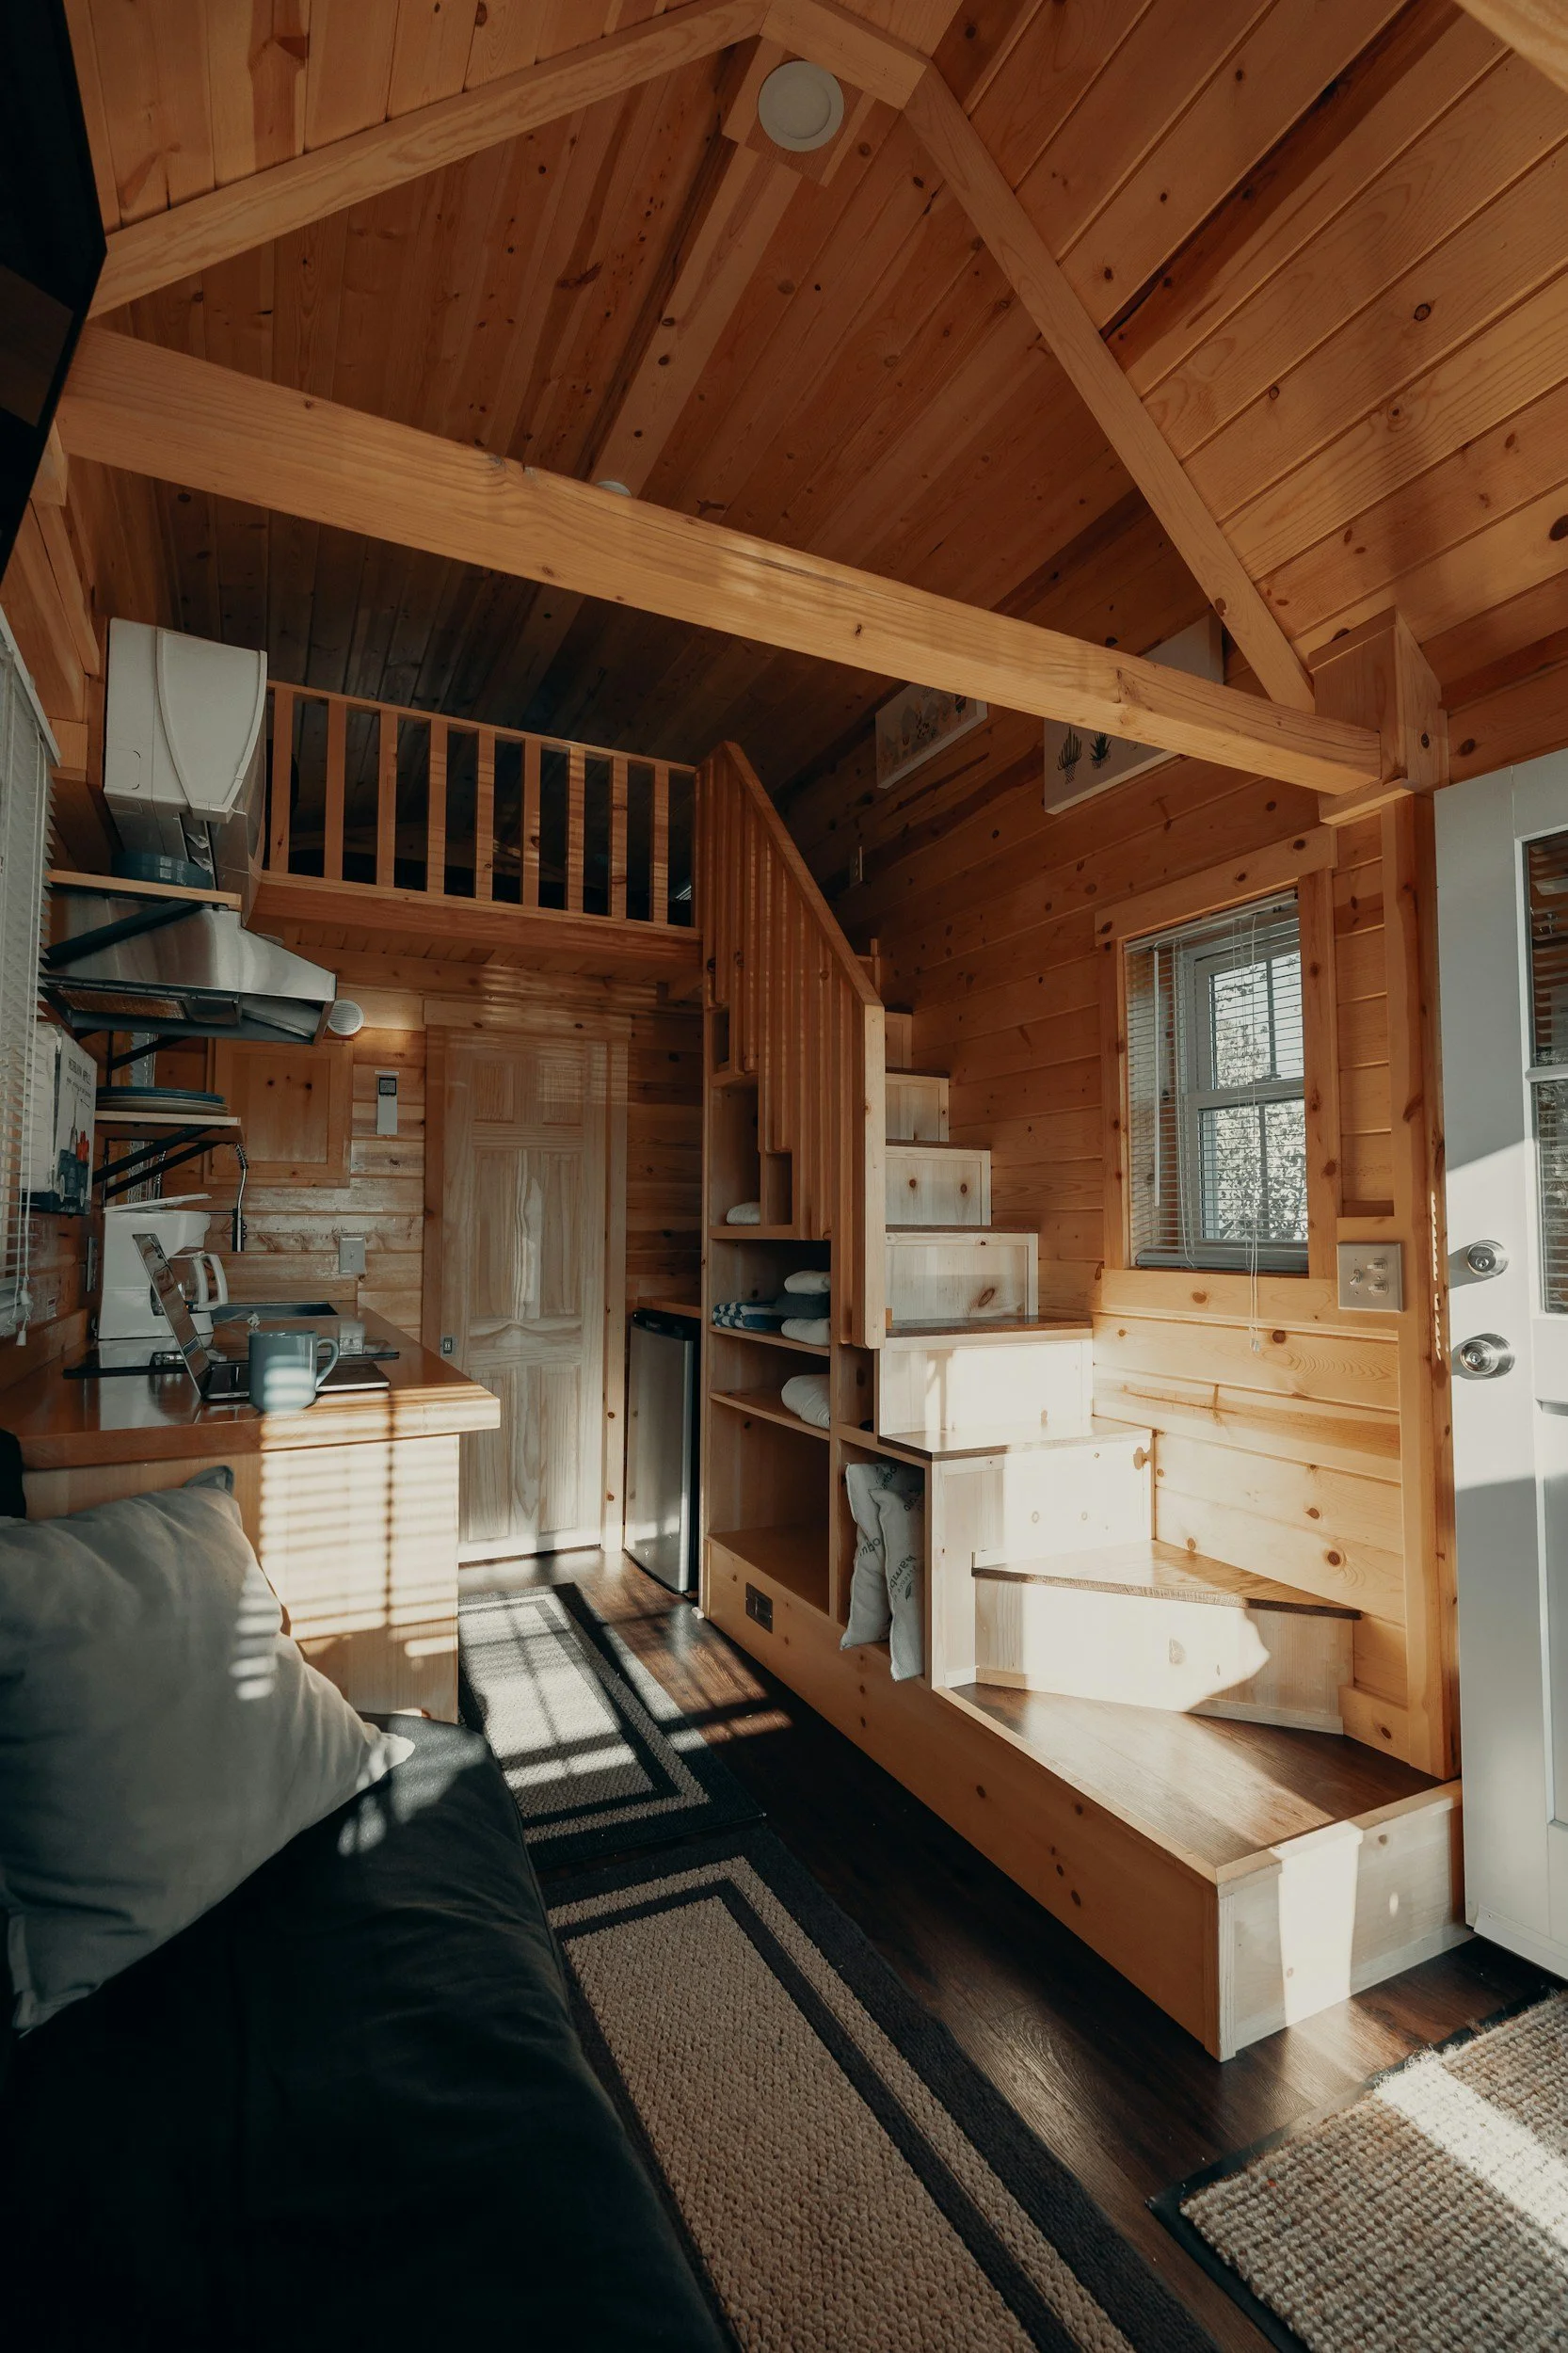
Engineered Hardwood
Engineered hardwood consists of a top layer of real wood veneer over a plywood core, offering the beauty of hardwood with added stability. It’s also less susceptible to moisture and temperature changes.
Installation
Prepare the Subfloor: Ensure it is clean and level.
Lay Underlayment: This helps with moisture protection and sound insulation.
Click and Lock: Snap the planks together, starting from a corner.
Trim Planks: Use a saw to cut planks to fit around edges.
Finishing Touches: Install baseboards and transitions to cover gaps.
Peel-and-Stick Vinyl Tiles
The word “sticky” might sound like a disaster for any DIYer, but not this time! Peel-and-stick are known for being easy to install. They are ideal for quick room updates and offer a wide range of design options.
Installation
Prepare the Subfloor: Clean and dry the subfloor thoroughly.
Plan the Layout: Decide on the tile pattern and start point.
Peel and Stick: Remove the backing and press the tiles onto the subfloor.
Trim and Fit: Use a utility knife to cut tiles to fit edges and corners.
Conclusion
Choosing easy-to-install options like laminate, luxury vinyl, carpet tiles, engineered hardwood, and peel-and-stick vinyl ensures that your dream home makeover doesn’t turn into a nightmare.
These materials not only simplify the installation process but also provide durability and aesthetic appeal, making them perfect for any DIY enthusiast.
Stay up to date with our latest ideas!