Home Foundation Repair: DIY Techniques for Cracks and Structural Integrity
Learn DIY techniques for repairing home foundation cracks and maintaining structural integrity with our comprehensive guide.
Your home foundation is not just a literal support upon which your structure rests, but it is the foundation of security and durability for your home. Structures subjected to pressure and environmental factors for several years are likely to have cracks on the foundation and, should such a problem be left unaddressed. The security of your house would be at risk. Fixing these cracks through proper DIY techniques ensures not just the preservation of your property but also increases the prospects of a worry-free everyday life. Here, all the detailed DIY approaches to repairing foundation cracks will be highlighted to help you protect your home effectively.
Understanding Foundation Cracks
Before delving deeper into repair methods, it is necessary to categorize and explain the nature and causes of foundation cracks.
Non-Structural Cracks:
They are just small cracks that do not pose a threat to the stability of the structure's foundation. They are mostly the result of concrete shrinkage or minor shifting and can easily be fixed using home remedies.
Structural Cracks:
These are a bit broader and signify a structural problem that might be looming. Structural cracks are more likely to be wider and longer and may also be coupled with other various symptoms, such as stinging floors or doors. They may call for a professional inspection and may require intricate repair work.
DIY Techniques for Repairing Foundation Cracks
The following DIY techniques could be used to ensure safe foundation repair of your home at an early stage:
1. Surface Cracks Repair with Epoxy
The use of DIY epoxy kits is the best way to repair cracks at home. Following are the materials needed and the proper method of usage:
Materials Needed:
Epoxy injected kit
Safety goggles
Gloves
Putty knife
Cleaning items
Steps:
Preparation: First and foremost, you should sweep the crack with a wire brush and take out any debris, dust or loose particles with a vacuum cleaner. This step helps to make sure that epoxy will stick to the surface it is being applied on well.
Mix Epoxy: To mix epoxy resin, one has to follow the manufacturer's instructions properly. Sometimes, this includes combining the epoxy resins with the hardener in the correct proportions.
Inject Epoxy: To renew these areas, equip a caulking gun with mixed epoxy to apply the material to the crack. Applying the epoxy, start at the bottom of the crack, extending upto the top to achieve full penetration of the crack. Put constant pressure on the top of the caulking gun to have a uniform flow of the sealant.
Finish: After this process, you should allow the epoxy to cure, depending on the manufacturer’s instructions. It often includes waiting for some time for the epoxy to cure and reach its full potential of strength. After the epoxy has set into a gel skin, as it is often called, remove any surplus epoxy with the aid of a putty knife. When joining the pieces of the repaired area together, level it so that it flows with the rest of the surface.
2. Patch small cracks with hydraulic cement
Hydraulic cement is another best chemical to repair cracks at home to ensure that early foundation repair is taken care of:
Materials Needed:
Hydraulic cement
Water
Safety goggles
Gloves
Putty knife
Steps:
Preparation: Scrub the cracks through to the base and moisten it with water. Pre-saturation generally helps there be keying between the crack surface and hydraulic cement.
Mix Cement: For hydraulic cement, mix according to the manufacturer’s recommendations on the proportion of the hydraulic cement and water. The mixture should be thick, nearly a paste, so that when applied, it forms a good spread and can be shaped to whatever form the dress is required.
Apply Cement: Use a putty knife to apply some hydraulic cement mixture to the crack, compacting the cement to fill the crack from bottom to top. Tightly compact so that it is free of holes or cracks.
Finish: Finally, use the putty knife or a trowel to scrape a flat plane in that region to ensure that the patch lies with the rest of the surface area. Do not place any weight or pressure on the patched area until the curing time is indicated in the product’s instructions.
3. Seal Larger Cracks with Polyurethane Foam
Polyurethane foam is a solid polymeric foam based on polyurethane chemistry which could be used to fill early cracks at home.
Materials Needed:
Polyurethane foam sealant
Safety goggles
Gloves
Putty knife
Cleaning supplies
Steps:
Preparation: It is necessary to eliminate any dirt or debris, as well as increase understanding of the moisture situation within the crack. Make sure that the crack that you settle for is as dry as possible before introducing the foam.
Apply Foam: Take a nozzle of the polyurethane foam sealant and apply it to the crack. Begin to dispense the foam gradually and uniformly, right at the crack point.
Finish: As suggested by the producers, let the foam cure and expand to its final density and hardness. Depending on the product used, this may take several hours. After the foam has been set, you will need to cut off any thin foam material that was extruded outside of the crack line with a knife. To ensure the repaired area closely matches the original surface, level it with a putty knife or sandpaper, depending on the damaged area.
Tips for Success
Following are the tips for successful application of DIY techniques:
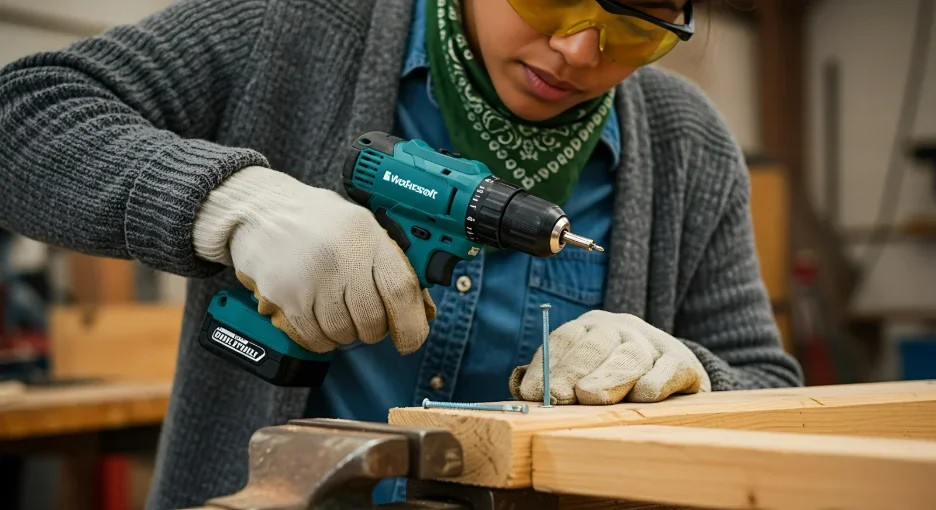
Safety first: Whenever you are handling any chemical or tool, wear safety goggles and gloves as a precaution. It will keep you safe from any damage that may occur due to the chemicals used.
Follow instructions: Comply with the manufacturer’s recommendations on how to prepare the adhesive and apply it to the sheeting, as well as the time required for the repair to work.
Surface Preparation: Crack preparation before applying repair material is the prime necessity that determines the durability of the foundation repair work.
Evaluate Structural Issues: If your home has many cracks, especially big ones, that affect its strength, it would be advisable to seek the services of a professional to advise you and fix the problem for you for a more stable and safe foundation.
Conclusion
The DIY techniques involve utilizing basic materials which can be used to repair basic cracks in the home’s foundation, in a relatively affordable manner. However, it is also useful to appreciate the intensity of the crack and consult a professional concerning structure. This way, you will be able to understand the causes of the development of cracks and follow the correct procedure of repair to keep your home foundation firm at all times in the future.


