The Ultimate Guide to Building Custom Furniture for Your Needs
Learn how to design and build custom furniture tailored to your specific needs with this comprehensive guide.

Have you ever dreamt of having a piece of furniture that perfectly complements your space and fulfills your specific needs? Custom furniture offers the ideal solution, allowing you to tailor size, style, and functionality to your unique preferences. But the prospect of building your furniture might seem daunting. This comprehensive guide is here to empower you! We'll walk you through the entire process, from meticulous planning to applying the finishing touches, so you can craft beautiful and functional furniture pieces for your home.
Planning Your Project
Before diving headfirst into construction, meticulous planning is crucial for a successful DIY furniture project. Here are some key considerations to ensure your creation meets your needs and expectations:
Functionality:
What purpose will your furniture serve? Analyze your needs. Do you require a sturdy coffee table with ample storage space for magazines and coasters? Perhaps a comfortable reading nook with built-in shelves for your favorite books? Clearly define the functionality you desire (storage, seating, display) and incorporate any specific features you need (drawers, shelves, compartments) into your plan.
Design:
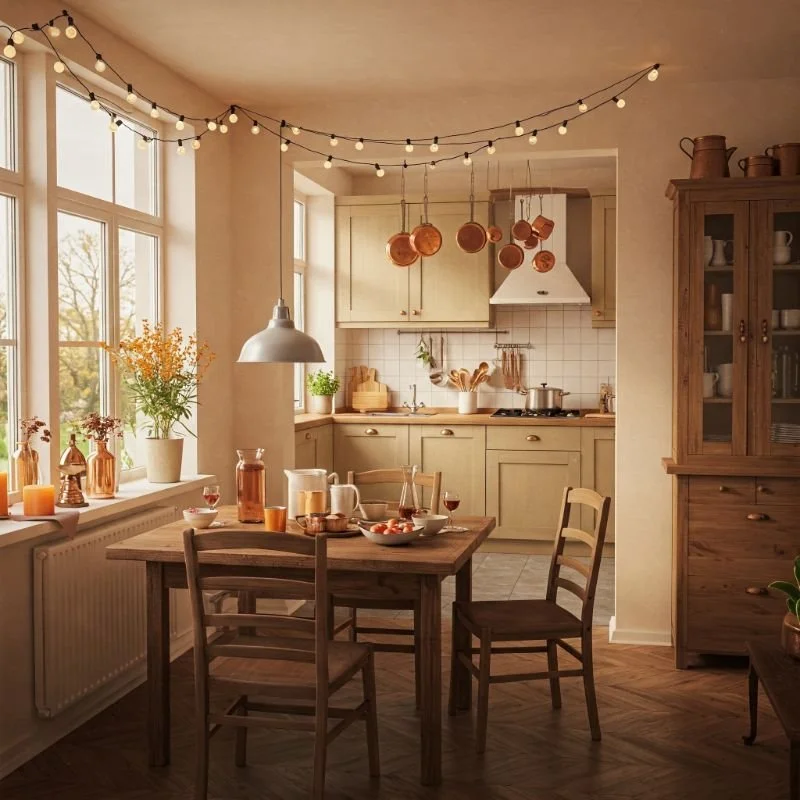
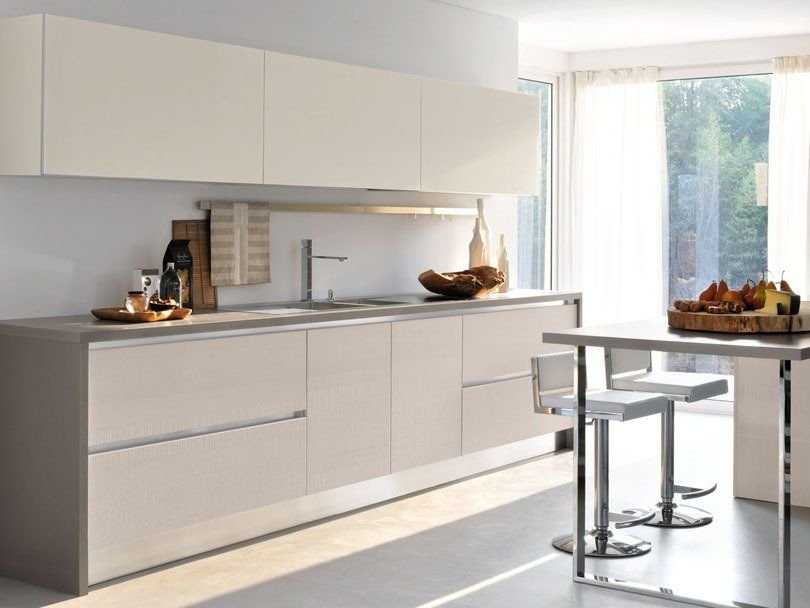
Unleash your creativity! Sketch your own design or browse online for inspiration. Considering the size constraints of your space—a massive bookshelf might overpower a small living room. Think about the aesthetic you want to achieve—modern and sleek, rustic and charming, or classic and timeless. For instance, if you prefer a traditional look, consider church pew seating as an option that combines both functionality and classic style. These factors will influence your design choices.
Material Selection:
Choose the right wood for your project. Hardwoods like oak and maple offer superior durability for high-use pieces like tables and chairs. Softer woods like pine or spruce are more budget-friendly and work well for lighter furniture like nightstands or shelves. Consider the grain patterns and color variations of different wood types to achieve your desired aesthetic.
Don't forget about the hardware! Select hinges, drawer pulls, knobs, and other functional elements that complement your design and fit your budget. For instance, if you’re aiming for a sleek, modern aesthetic, black pull handles can add a refined touch of sophistication to your pieces. You can conveniently purchase black pull handles online at Avant-Garde Hardware, where you'll find a range of stylish options to perfectly complement your design.
Tools of the Trade
Building custom furniture requires the right tools for the job. While the specific tools might vary depending on the complexity of your project, here's a breakdown of the essentials:
Power Tools:
Circular Saw: This versatile tool allows you to cut lumber to precise dimensions. Choose blades appropriate for the type of wood you're working with to ensure clean cuts. Always prioritize safety; wear eye protection and use a cutting guide for stability.
Drill/Driver: A reliable drill/driver is essential for drilling pilot holes to prevent wood splitting, driving screws for secure assembly, and attaching hardware. Familiarize yourself with different screwdriver bits and their uses (Phillips head, flat head, etc.)
Sander: Smoothing rough edges and preparing surfaces for a beautiful finish is crucial. Sanding tools come in various forms: orbital sanders for larger surfaces, palm sanders for detailed work, and sanding blocks for achieving a smooth finish by hand. You'll need different grits of sandpaper (coarse to fine) for progressive sanding.
(Optional) Router: For more advanced projects, a router can be a valuable tool. It allows you to create decorative cuts and specialized joinery techniques, such as dado joints for added strength. Explore different router bits to achieve various effects.
Hand Tools:
Tape Measure: Accurate measurements are the foundation of any successful woodworking project. Learn how to read tape measures correctly and take precise measurements of your materials before cutting.
Level: This tool ensures your furniture is square and level, preventing wobbly or uneven pieces. There are different types of levels (torpedo level, bubble level) – choose the one that best suits your needs.
Square: A combination square, with its ruler and adjustable head, is a versatile tool for checking square cuts and layouts throughout the building process.
Hammer: Select the right hammer for the job. A claw hammer is ideal for driving nails and general carpentry tasks. A mallet with a softer head is perfect for delicate work where preventing damage is crucial.
Chisel: Fine carpentry work and cleaning out joinery pockets often require a sharp chisel. Learn proper chisel-use techniques to ensure safety and avoid damaging the wood.
Sandpaper: As mentioned earlier, various grits of sandpaper are essential for smoothing and finishing wood surfaces. You can use sandpaper by hand with sanding blocks or utilize a power sander for faster results.
Clamps: These are your silent heroes! Clamps hold pieces together securely during assembly and glue-up, ensuring a strong and stable finished product. C-clamps are great for general use, while bar clamps come in handy for larger projects.
Building Your Custom Furniture
Now that you have your plan, tools, and materials, let's get to the exciting part: building your custom furniture! Here's a breakdown of the general steps involved:
Cutting Lumber to Size: Using your well-honed measuring skills and a cutting guide for accuracy, cut your lumber pieces to the exact dimensions specified in your plan. Remember, safety first! Wear eye protection and use caution while operating the circular saw.
Preparing Joints: The strength and stability of your furniture depend on the joinery techniques you employ. Common joinery methods include butt joints for simple connections and dado joints for added strength. Choose the appropriate joinery technique based on your project design and desired level of stability.
Assembly: With your joinery prepped, it's time to assemble the individual pieces. Apply wood glue to the joining surfaces for a secure bond. Use screws or nails (depending on your joinery method) to fasten the pieces together, remembering to pre-drill pilot holes to prevent wood splitting. Clamps are your best friends during this stage, ensuring everything stays aligned and secure as the glue dries.
Sanding for a Smooth Finish: Once your furniture is assembled, it's time to achieve a smooth and professional-looking finish. Start with a coarse-grit sandpaper to remove any rough spots and imperfections. Gradually progress to finer grits of sandpaper for a polished finish. Sanding tools like orbital sanders can expedite this process for larger surfaces while sanding blocks are perfect for detailed areas.
Conclusion
Building custom furniture might seem like a daunting task, but with careful planning, the right tools, and a dedicated approach, it's an achievable and incredibly rewarding experience. By following this guide, you'll gain the knowledge and confidence to craft beautiful and functional furniture pieces that perfectly suit your needs and style. Remember, the journey is just as fulfilling as the finished product, so have fun and embrace your inner woodworker!
Stay up to date with our latest ideas!